RCA RP5030 User Manual - RP5030 - Page 10
Setting the Time - digital
 |
View all RCA RP5030 manuals
Add to My Manuals
Save this manual to your list of manuals |
Page 10 highlights
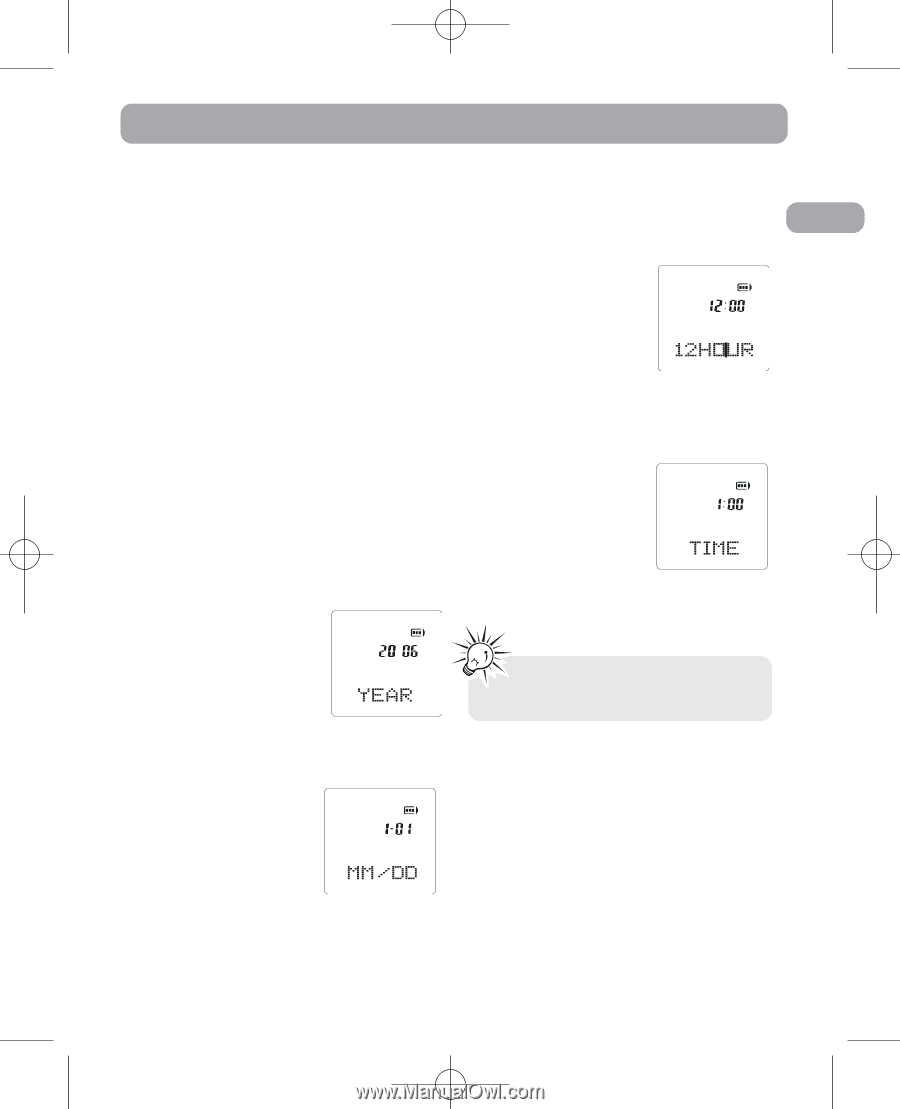
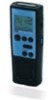
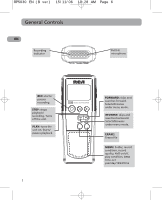
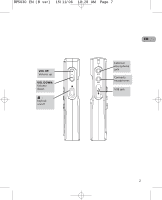
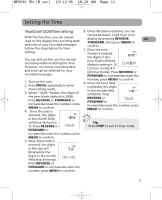
RP5030 EN (B ver) 15/11/06 10:28 AM Page 11 Setting the Time Year/Date/12/24/Time Setting 6. Once the date is entered, you can choose between 12/24 hour clock With this function, you can always read on the display the recording date display by pressing REVERSE /FORWARD, then press MENU to EN and time of your recorded messages. confirm. Follow the steps below for time 7. Once the time setting. format is entered, AM the digits in the You can still use this unit for normal hour field will blink recording without setting the time. (default setting is 12 However, no correct recording date (12 hour mode) & 0 and time can be referred for your (24 hour mode). Press REVERSE or recorded messages. FORWARD to increase/decrease the 1. Turn on the unit. 2. Press MENU repeatedly to enter Time setting mode. 3. When "YEAR" flashes, the digits of the year blinks (default is 2006). Press REVERSE or FORWARD to increase/decrease the number, press MENU to confirm. 4. Once the year is number, press MENU to confirm. 8. Once the hour field is entered, the digits in the minute field AM will blink. Press REVERSE or FORWARD to increase/decrease the number, press MENU to confirm. entered , the digits in the month field will blink (default is Tip: 1). Press REVERSE or Press STOP to exit to Stop mode. FORWARD to increase/decrease the number, press MENU to confirm. 5. Once the month is entered, the digits in the day will MM DD blink(while the digits in the month field stop blinking). Press REVERSE or FORWARD to increase/decrease the number, press MENU to confirm. 6
-
 1
1 -
2
-
3
-
4
-
 5
5 -
 6
6 -
 7
7 -
 8
8 -
 9
9 -
 10
10 -
 11
11 -
 12
12 -
 13
13 -
 14
14 -
 15
15 -
16
-
17
-
18
-
19
-
20
-
21
-
22
-
23
-
24
-
25
 |
 |