RCA X3030 User Manual - X3030 - Page 36
Recording Video to Your Lyra Recorder
 |
UPC - 044319650105
View all RCA X3030 manuals
Add to My Manuals
Save this manual to your list of manuals |
Page 36 highlights
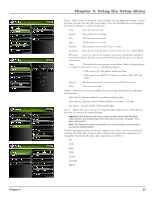
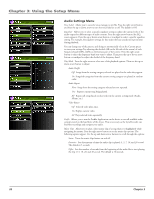
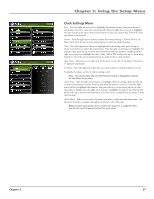
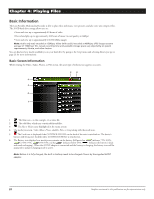
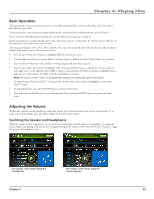
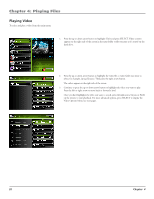
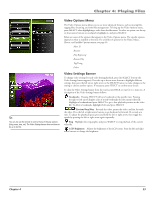
Chapter 4: Playing Files Recording Video to Your Lyra Recorder Recording from an Audio/Video Component You can record video from video components that have video output jacks, such as a TV, VCR, cable box, or satellite box, using the supplied Line In cable. Notes: If you want to record at a lower quality to take up less space, or to record at a higher quality for better video, change the Video Record Quality setting in the Setup menu (go to Chapter 3). The default record quality is High. A 30-minute program recorded at this quality will take up approximately 550 MB. The file size limit when recording is 4GB, so if your file is larger than that, it will be split into multiple files. To view recorded content on your TV, it is recommended you set the Video Record Quality to High (high quality). To view recorded content on your Lyra Recorder, it is recommended you set the Video Record Quality to Medium (standard play). 1. Make sure your Lyra Recorder is off. 2. Connect the 3.5mm mini-plug end of the cable to the LINE IN/OUT jack on your Lyra Recorder. 3. Connect the yellow (video) to the Video Output jack to the component. If you want to record sound, connect the red (audio right) and white (audio left) cables to the corresponding right and left Audio Output jacks on your component. See page 10. 4. Turn on the power to your component, then turn on your Lyra Recorder. Note: It is Suggested that you use the AC Power supply during recording. 5. Press the RECORD button on the top of the Lyra Recorder when you're ready to record (the Recording Mode screen appears). Select the type of recording you want. Then, press PLAY on the component you're recording from (for example, a VCR). 6. Select recording duration from the pop-up dialog. 7. Press SELECT to begin recording. Once recording begins, the record screen appears with status and elapsed time shown. 8. When you're finished recording, press STOP. 9. To rename the file, go to Using the On-Screen Keyboard on page 51 for information. 30 Chapter 4
-
 1
1 -
2
-
3
-
4
-
5
-
6
-
7
-
8
-
9
-
10
-
11
-
12
-
13
-
14
-
15
-
16
-
17
-
18
-
19
-
20
-
21
-
22
-
23
-
24
-
25
-
26
-
27
-
28
-
29
-
30
-
 31
31 -
 32
32 -
 33
33 -
 34
34 -
 35
35 -
 36
36 -
 37
37 -
 38
38 -
 39
39 -
 40
40 -
 41
41 -
42
-
43
-
44
-
45
-
46
-
47
-
48
-
49
-
50
-
51
-
52
-
53
-
54
-
55
-
56
-
57
-
58
-
59
-
60
-
61
-
62
-
63
-
64
-
65
-
66
-
67
-
68
 |
 |
