Ricoh Aficio MP 2000 Facsimile Reference - Page 75
Programming Destinations from Check Destination Screen, Program/Change, Program
 |
View all Ricoh Aficio MP 2000 manuals
Add to My Manuals
Save this manual to your list of manuals |
Page 75 highlights
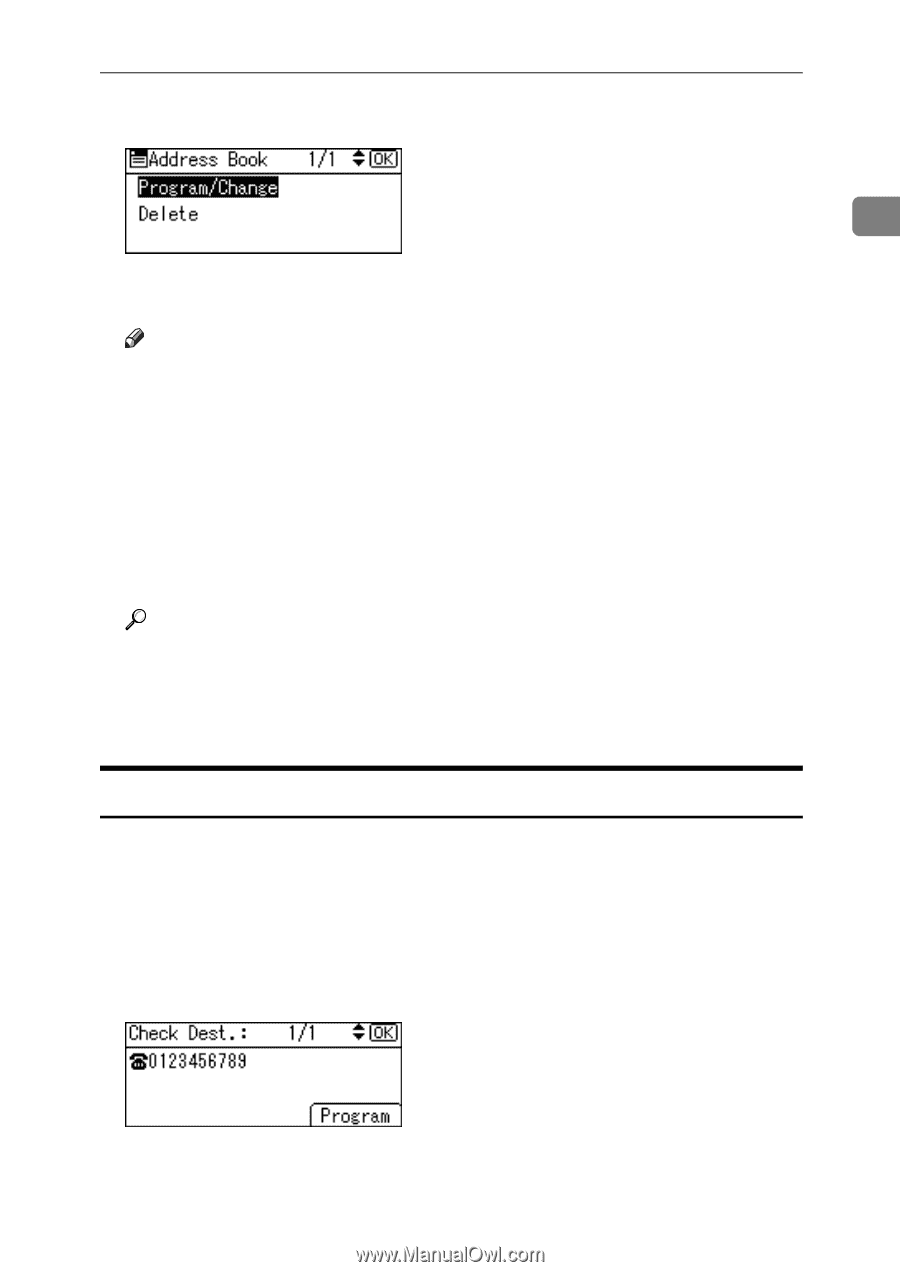
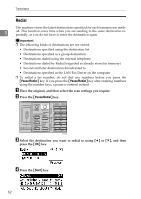
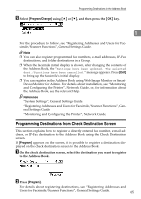
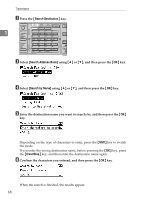
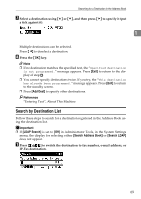
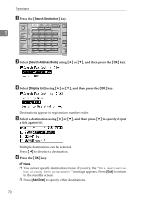
Programming Destinations in the Address Book E Select [Program/Change] using {U} or {T}, and then press the {OK} key. 1 For the procedure to follow, see "Registering Addresses and Users for Facsimile/Scanner Functions", General Settings Guide. Note ❒ You can also register programmed fax numbers, e-mail addresses, IP-Fax destinations, and folder destinations in a Group. ❒ When the facsimile initial display is shown, after changing the contents of the Address Book, the "Settings have been updated. The selected dest./functions have been cancelled." message appears. Press [Exit] to bring up the facsimile's initial display. ❒ You can register in the Address Book using Web Image Monitor or SmartDeviceMonitor for Admin. For details about installation, see "Monitoring and Configuring the Printer", Network Guide, or, for information about the Address Book, see the relevant Help. Reference "System Settings", General Settings Guide "Registering Addresses and Users for Facsimile/Scanner Functions", General Settings Guide "Monitoring and Configuring the Printer", Network Guide Programming Destinations from Check Destination Screen This section explains how to register a directly entered fax number, e-mail address, or IP-Fax destination to the Address Book using the Check Destination screen. If [Program] appears on the screen, it is possible to register a destination displayed on the check destination screen to the Address Book. A On the check destination screen, select the destination you want to register to the Address Book. B Press [Program]. For details about registering destinations, see "Registering Addresses and Users for Facsimile/Scanner Functions", General Settings Guide. 65
-
 1
1 -
2
-
3
-
4
-
5
-
6
-
7
-
8
-
9
-
10
-
11
-
12
-
13
-
14
-
15
-
16
-
17
-
18
-
19
-
20
-
21
-
22
-
23
-
24
-
25
-
26
-
27
-
28
-
29
-
30
-
31
-
32
-
33
-
34
-
35
-
36
-
37
-
38
-
39
-
40
-
41
-
42
-
43
-
44
-
45
-
46
-
47
-
48
-
49
-
50
-
51
-
52
-
53
-
54
-
55
-
56
-
57
-
58
-
59
-
60
-
61
-
62
-
63
-
64
-
65
-
66
-
67
-
68
-
69
-
 70
70 -
 71
71 -
 72
72 -
 73
73 -
 74
74 -
 75
75 -
 76
76 -
 77
77 -
 78
78 -
 79
79 -
 80
80 -
81
-
82
-
83
-
84
-
85
-
86
-
87
-
88
-
89
-
90
-
91
-
92
-
93
-
94
-
95
-
96
-
97
-
98
-
99
-
100
-
101
-
102
-
103
-
104
-
105
-
106
-
107
-
108
-
109
-
110
-
111
-
112
-
113
-
114
-
115
-
116
-
117
-
118
-
119
-
120
-
121
-
122
-
123
-
124
-
125
-
126
-
127
-
128
-
129
-
130
-
131
-
132
-
133
-
134
-
135
-
136
-
137
-
138
-
139
-
140
-
141
-
142
-
143
-
144
-
145
-
146
-
147
-
148
-
149
-
150
-
151
-
152
-
153
-
154
-
155
-
156
-
157
-
158
-
159
-
160
-
161
-
162
-
163
-
164
-
165
-
166
-
167
-
168
-
169
-
170
-
171
-
172
-
173
-
174
-
175
-
176
-
177
-
178
-
179
-
180
-
181
-
182
-
183
-
184
-
185
-
186
-
187
-
188
-
189
-
190
-
191
-
192
-
193
-
194
-
195
-
196
-
197
-
198
-
199
-
200
-
201
-
202
-
203
-
204
 |
 |