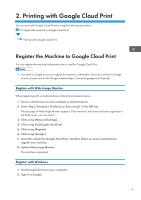
Ricoh M C250FWB Google Cloud Print Guide - Page 8
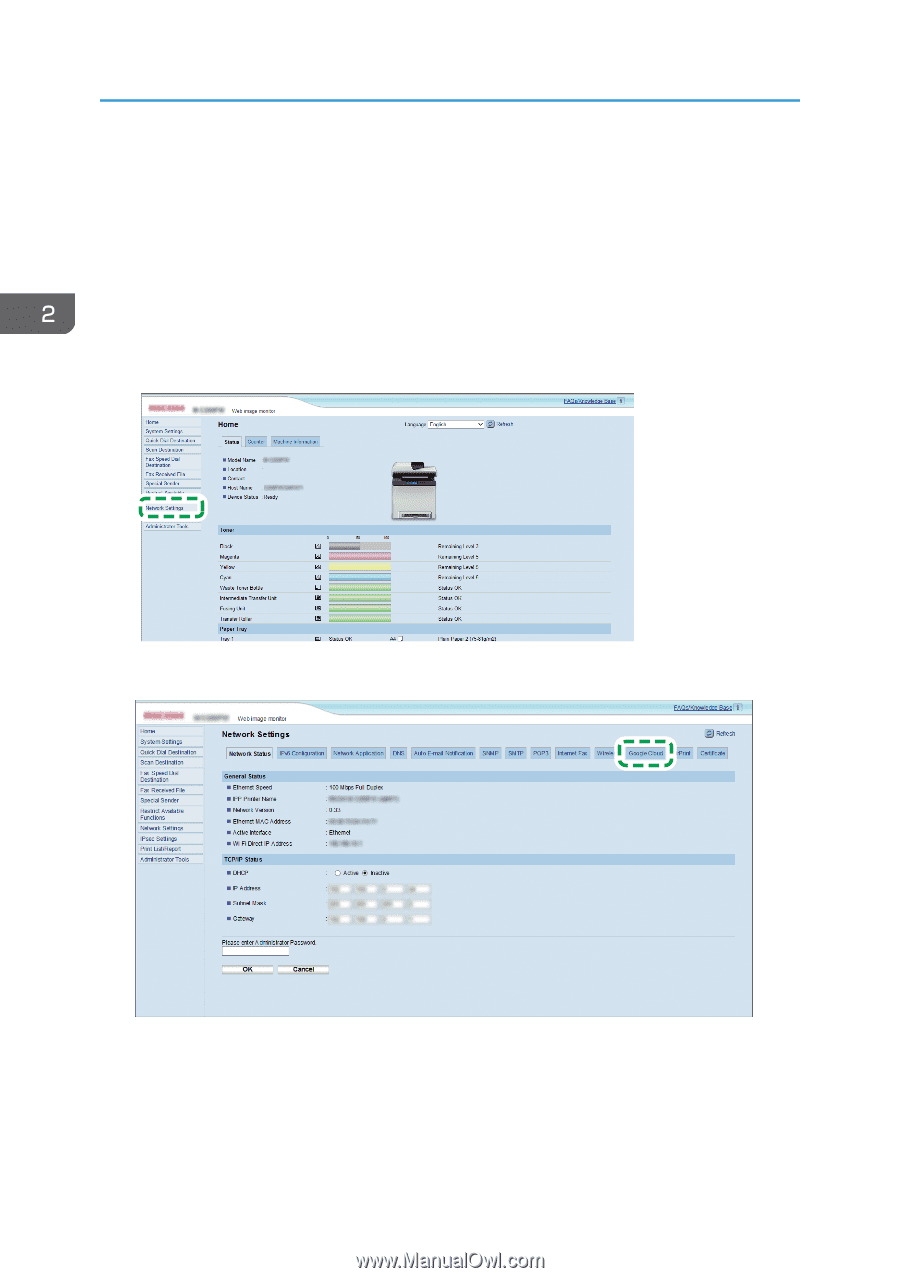
Click the [Google Cloud] tab., Click [Network Settings].
 |
View all Ricoh M C250FWB manuals
Add to My Manuals
Save this manual to your list of manuals |
Page 8 highlights
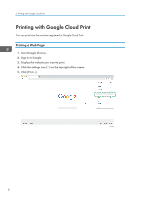
2. Printing with Google Cloud Print 3. Enter "chrome://devices" in the URL bar, and then press the Enter key. The screen for registering the machine is displayed. 4. Confirm the machine is displayed in [New devices], and then click [Register]. 5. When the confirmation message is displayed, click [Register]. 6. Enter "http://(machine's IP address or host name)/" in the URL bar. The top page of Web Image Monitor appears. If the machine's host name has been registered to the DNS server, you can enter it. 7. Click [Network Settings]. ECC501 8. Click the [Google Cloud] tab. ECC531 The confirmation message for registering the machine is displayed. 9. Click [OK]. 10. Confirm that the machine is registered in the screen displayed in Step 4. 6
-
 1
1 -
2
-
 3
3 -
 4
4 -
 5
5 -
 6
6 -
 7
7 -
 8
8 -
 9
9 -
 10
10 -
 11
11 -
 12
12 -
 13
13 -
14
-
15
-
16
-
17
-
18
-
19
-
20
 |
 |
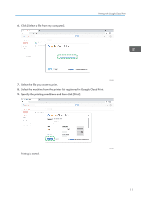
3.
Enter "chrome://devices" in the URL bar, and then press the Enter key.
The screen for registering the machine is displayed.
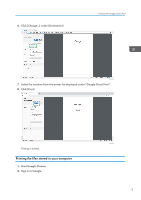
4.
Confirm the machine is displayed in [New devices], and then click [Register].
5.
When the confirmation message is displayed, click [Register].
6.
Enter "http://(machine's IP address or host name)/" in the URL bar.
The top page of Web Image Monitor appears. If the machine's host name has been registered to
the DNS server, you can enter it.
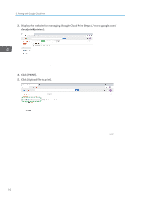
7.
Click [Network Settings].
ECC501
8.
Click the [Google Cloud] tab.
ECC531
The confirmation message for registering the machine is displayed.
9.
Click [OK].
10.
Confirm that the machine is registered in the screen displayed in Step 4.
2. Printing with Google Cloud Print
6