Ricoh MP 3055 Driver Installation Guide - Page 30
If Bidirectional Communication is Disabled, Windows 8/8.1, Windows Server 2012/2012 R2
 |
View all Ricoh MP 3055 manuals
Add to My Manuals
Save this manual to your list of manuals |
Page 30 highlights
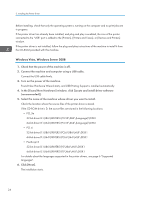
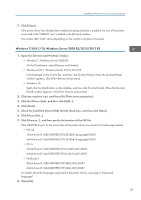
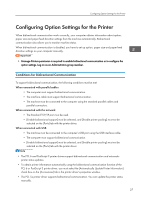
2. Installing the Printer Driver If Bidirectional Communication is Disabled This section describes how to set up option, paper size and paper feed direction settings on your computer manually. 1. Open the printer window. • Windows Vista, Windows Server 2008: On the [Start] menu, select [Control Panel], and then click [Printers] in [Hardware and Sound] category. • Windows 7, Windows Server 2008 R2: On the [Start] menu, select [Devices and Printers]. • Windows 8/8.1, Windows Server 2012/2012 R2: Click [Settings] on the Charm Bar, and then click [Control Panel]. When the [Control Panel] window appears, click [View devices and printers]. • Windows 10 Right-click the [Start] button on the desktop, and then click [Control Panel]. When the [Control Panel] window appears, click [View devices and printers]. 2. Open the printer properties dialog box. • Windows Vista, Windows Server 2008: Right-click the machine's icon, and then click [Properties]. • Windows 7/8/8.1/10, Windows Server 2008 R2/2012/2012 R2: Right-click the machine's icon, and then click [Printer properties]. 3. Click the [Accessories] tab. If options in the [Accessories] tab are disabled, bidirectional connection is enabled. In this case, no change is necessary for option settings. 4. Select options installed from the [Options] area, and then make the necessary settings. 5. Click [Change Input Tray Settings...]. 6. In [Input Tray:] select which trays to use, and then, in [Paper Size:] select the size of the paper that you want to load in each tray. Click [Modify Input Tray/Paper Size] to apply the setting for each tray. 7. Click [OK]. 8. Click [Apply]. 9. Click [OK] to close the printer properties window. • To specify an optional Adobe PostScript when using a PostScript 3 printer driver, select [Adobe PostScript] in the "PostScript:" list on the [Accessories] tab. 28
-
 1
1 -
2
-
3
-
4
-
5
-
6
-
7
-
8
-
9
-
10
-
11
-
12
-
13
-
14
-
15
-
16
-
17
-
18
-
19
-
20
-
21
-
22
-
23
-
24
-
 25
25 -
 26
26 -
 27
27 -
 28
28 -
 29
29 -
 30
30 -
 31
31 -
 32
32 -
 33
33 -
 34
34 -
 35
35 -
36
-
37
-
38
-
39
-
40
-
41
-
42
-
43
-
44
-
45
-
46
-
47
-
48
-
49
-
50
-
51
-
52
-
53
-
54
-
55
-
56
-
57
-
58
-
59
-
60
 |
 |
