Samsung CLP 300 User Manual (ENGLISH) - Page 25
Printing on Transparencies, Printing on Preprinted Paper, Software - heat roller
 |
UPC - 635753721041
View all Samsung CLP 300 manuals
Add to My Manuals
Save this manual to your list of manuals |
Page 25 highlights
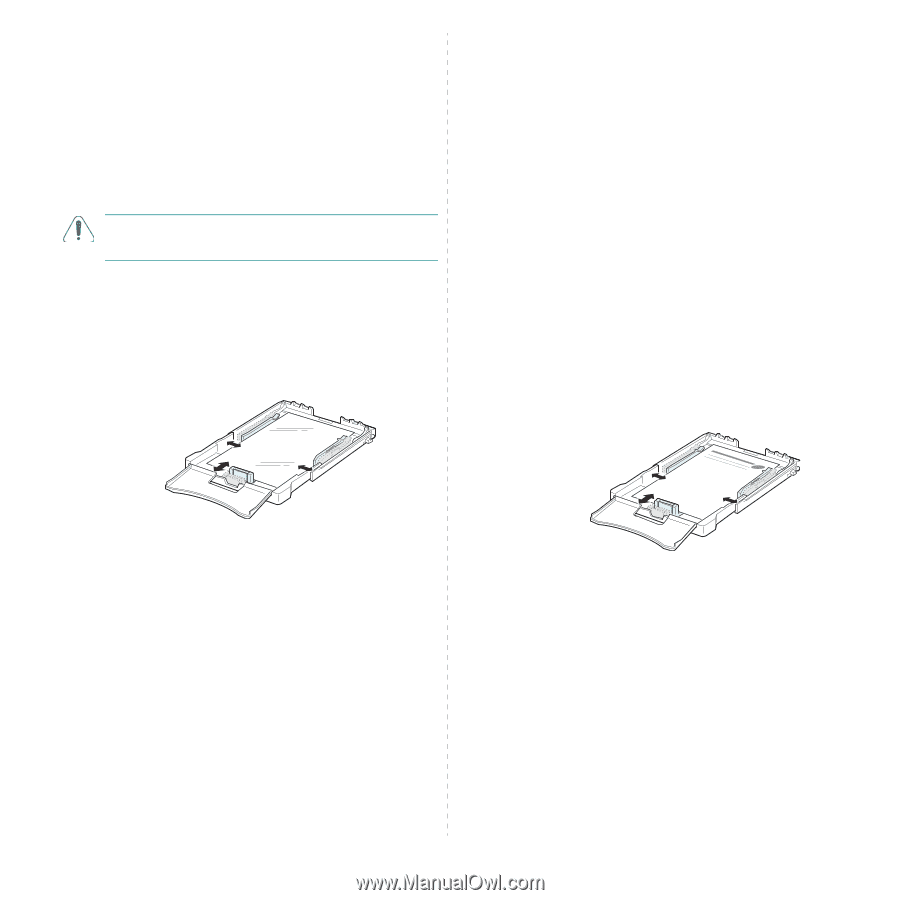
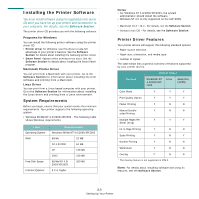
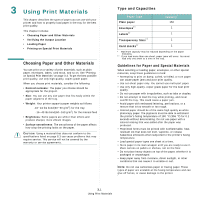
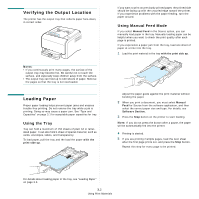
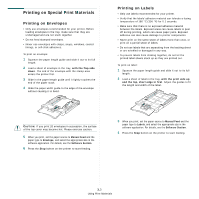
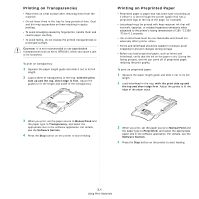
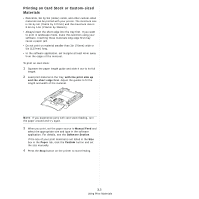
Printing on Transparencies • Place them on a flat surface after removing them from the machine. • Do not leave them in the tray for long periods of time. Dust and dirt may accumulate on them resulting in spotty printing. • To avoid smudging caused by fingerprints, handle them and coated paper carefully. • To avoid fading, do not expose the printed transparencies to prolonged sunlight. CAUTION: It is not recommended to use paperbacked transparencies such as Xerox 3R91334, which can cause a jam or be scratched. To print on transparency: 1 Squeeze the paper length guide and slide it out to its full length. 2 Load a sheet of transparency in the tray, with the print side up and the top, short edge in first. Adjust the guides to fit the length and width of the transparency. Printing on Preprinted Paper • Preprinted paper is paper that has some type of printing on it before it is sent through the printer (paper that has a preprinted logo at the top of the page, for example). • Letterhead must be printed with heat-resistant ink that will not melt, vaporize, or release hazardous emissions when subjected to the printer's fusing temperature of 180 °C (356 °F) for 0.1 seconds. • Ink on letterhead must be non-flammable and should not adversely affect printer rollers. • Forms and letterhead should be sealed in moisture-proof wrapping to prevent changes during storage. • Before you load preprinted paper, such as forms and letterhead, verify that the ink on the paper is dry. During the fusing process, wet ink can come off of preprinted paper, reducing the print quality. To print on preprinted paper: 1 Squeeze the paper length guide and slide it out to its full length. 2 Load letterhead in the tray, with the print side up and the top and short edge first. Adjust the guides to fit the edge of the paper stack. 3 When you print, set the paper source to Manual Feed and the paper type to Transparency, and select the appropriate size in the software application. For details, see the Software Section. 4 Press the Stop button on the printer to start feeding. 3 When you print, set the paper source to Manual Feed and the paper type to Preprinted, and select the appropriate paper size in the software application. For details, see the Software Section. 4 Press the Stop button on the printer to start feeding. 3.4 Using Print Materials
-
 1
1 -
2
-
3
-
4
-
5
-
6
-
7
-
8
-
9
-
10
-
11
-
12
-
13
-
14
-
15
-
16
-
17
-
18
-
19
-
 20
20 -
 21
21 -
 22
22 -
 23
23 -
 24
24 -
 25
25 -
 26
26 -
 27
27 -
 28
28 -
 29
29 -
 30
30 -
31
-
32
-
33
-
34
-
35
-
36
-
37
-
38
-
39
-
40
-
41
-
42
-
43
-
44
-
45
-
46
-
47
-
48
-
49
-
50
-
51
-
52
-
53
-
54
-
55
-
56
-
57
-
58
-
59
-
60
-
61
-
62
-
63
-
64
-
65
-
66
-
67
-
68
-
69
-
70
-
71
-
72
-
73
-
74
-
75
-
76
-
77
-
78
-
79
-
80
-
81
-
82
-
83
-
84
-
85
-
86
-
87
-
88
-
89
-
90
-
91
 |
 |