Samsung LN32B360C5DXZA User Manual (ENGLISH) - Page 30
Setting up the TV with your PC, English - 28, Display Modes, Auto Adjustment, Screen - screen replacement
 |
View all Samsung LN32B360C5DXZA manuals
Add to My Manuals
Save this manual to your list of manuals |
Page 30 highlights
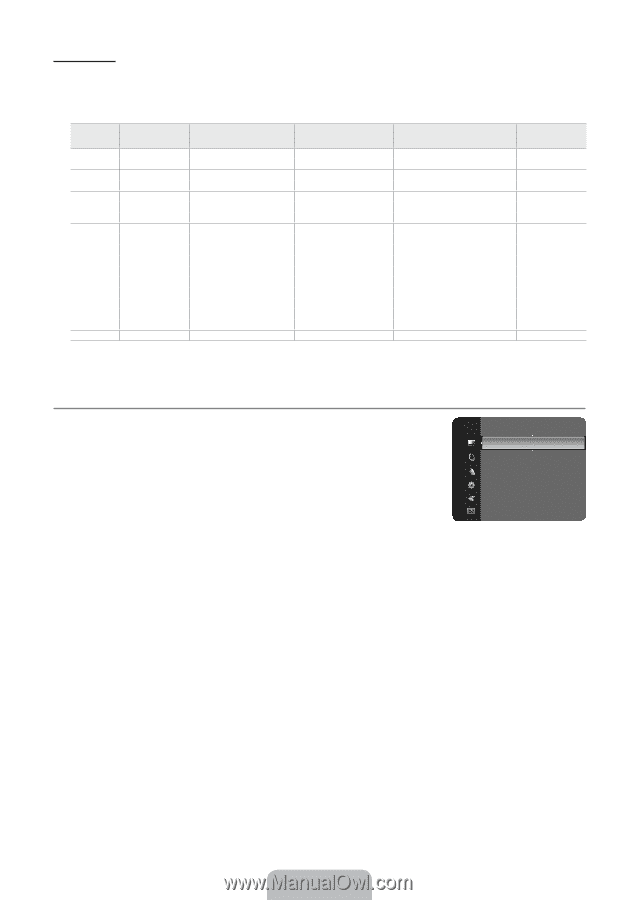
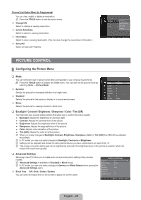
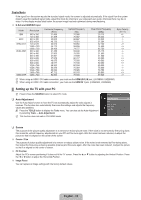
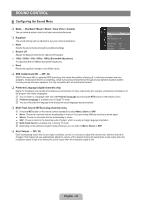
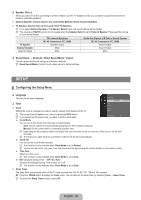
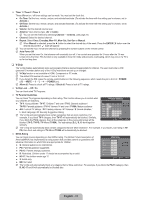
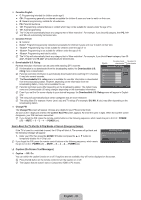
Display Modes If the signal from the system equals the standard signal mode, the screen is adjusted automatically. If the signal from the system doesn't equal the standard signal mode, adjust the mode by referring to your videocard user guide; otherwise there may be no video. For the display modes listed below, the screen image has been optimized during manufacturing. D-Sub and HDMI/DVI Input Mode IBM MAC VESA CVT VESA DMT VESA GTF Resolution 640 x 350 720 x 400 640 x 480 832 x 624 720 x 576 1280 x 720 1280 x 720 640 x 480 640 x 480 640 x 480 800 x 600 800 x 600 800 x 600 1024 x 768 1024 x 768 1024 x 768 1360 x 768 1280 x 720 Horizontal Frequency (KHz) 31.469 31.469 35.000 49.726 35.910 44.772 56.456 31.469 37.500 37.861 37.879 46.875 48.077 48.363 56.476 60.023 47.712 52.500 Vertical Frequency (Hz) 70.086 70.087 66.667 74.551 59.950 59.855 74.777 59.940 75.000 72.809 60.317 75.000 72.188 60.004 70.069 75.029 60.015 70.000 Pixel Clock Frequency (MHz) 25.175 28.322 30.240 57.284 32.750 74.500 95.750 25.175 31.500 31.500 40.000 49.500 50.000 65.000 75.000 78.750 85.500 89.040 Sync Polarity (H / V) N When using an HDMI / DVI cable connection, you must use the HDMI (DVI) IN jack. (LN19B360, LN22B360) N When using an HDMI / DVI cable connection, you must use the HDMI IN 1 jack. (LN26B360, LN32B360) ¦ Setting up the TV with your PC N Preset: Press the SOURCE button to select PC mode. ❑ Auto Adjustment Use the Auto Adjust function to have the TV set automatically adjust the video signals it receives. The function also automatically fine-tunes the settings and adjusts the frequency values and positions. T Press the TOOLS button to display the Tools menu. You can also set the Auto Adjustment by selecting Tools → Auto Adjustment. N This function does not work in DVI-HDMI mode. Picture Brightness : 45 Sharpness : 50 Auto Adjustment ► Screen Advanced Settings Picture Options Picture Reset ❑ Screen The purpose of the picture quality adjustment is to remove or reduce picture noise. If the noise is not removed by fine tuning alone, then make the vertical frequency adjustments on your PC and fine tune again. After the noise has been reduced, re-adjust the picture so that it is aligned on the center of the screen. Coarse / Fine The purpose of picture quality adjustment is to remove or reduce picture noise. If the noise is not removed by Fine-tuning alone, then adjust the frequency as best as possible (Coarse) and Fine-tune again. After the noise has been reduced, readjust the picture so that it is aligned on the center of screen. PC Position Adjust the PC's screen positioning if it does not fit the TV screen. Press the ▲ or ▼ button to adjusting the Vertical-Position. Press the ◄ or ►button to adjust the Horizontal-Position. Image Reset You can replace all image settings with the factory default values. English - 28
-
 1
1 -
2
-
3
-
4
-
5
-
6
-
7
-
8
-
9
-
10
-
11
-
12
-
13
-
14
-
15
-
16
-
17
-
18
-
19
-
20
-
21
-
22
-
23
-
24
-
 25
25 -
 26
26 -
 27
27 -
 28
28 -
 29
29 -
 30
30 -
 31
31 -
 32
32 -
 33
33 -
 34
34 -
 35
35 -
36
-
37
-
38
-
39
-
40
-
41
-
42
-
43
-
44
-
45
-
46
-
47
-
48
-
49
-
50
-
51
-
52
-
53
-
54
-
55
-
56
-
57
-
58
-
59
-
60
-
61
-
62
-
63
-
64
-
65
-
66
-
67
-
68
-
69
-
70
-
71
-
72
-
73
-
74
-
75
-
76
-
77
-
78
-
79
-
80
-
81
-
82
-
83
-
84
-
85
-
86
-
87
-
88
-
89
-
90
-
91
-
92
-
93
 |
 |