Seiko 6A32 Technical Guide - Page 8
mounting positions - setting
 |
View all Seiko 6A32 manuals
Add to My Manuals
Save this manual to your list of manuals |
Page 8 highlights
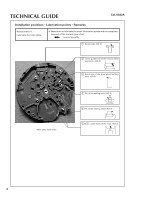
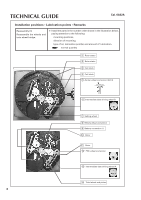
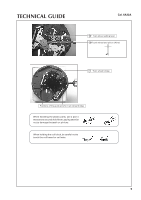
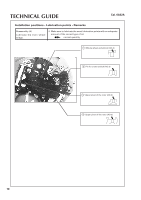
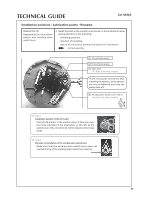
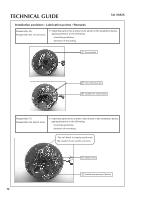
TECHNICAL GUIDE Cal. 6A32A Installation positions • Lubrication points • Remarks Reassembly (3) Reassemble the wheels and train wheel bridge. ❇ Install the parts in the number order shown in the illustration below, paying attention to the following: mounting positions, direction of mounting, type of oil, lubrication point(s) and amount of lubrication. normal quantity 1 Rotor stator 2 Rotor stator 3 Coil block 4 Coil block 5 Center wheel and pinion (AO-3) 6 Intermediate date driving wheel B 7 Setting wheel 8 Minute wheel and pinion 9 Battery connection (-) 10 Rotor 11 Rotor 12 Fifth wheel and pinion 13 Intermediate date driving wheel A 14 Third wheel and pinion 8
-
 1
1 -
2
-
 3
3 -
 4
4 -
 5
5 -
 6
6 -
 7
7 -
 8
8 -
 9
9 -
 10
10 -
 11
11 -
 12
12 -
 13
13 -
14
-
15
-
16
-
17
-
18
-
19
-
20
-
21
-
22
-
23
-
24
 |
 |
8
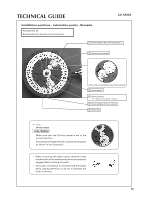
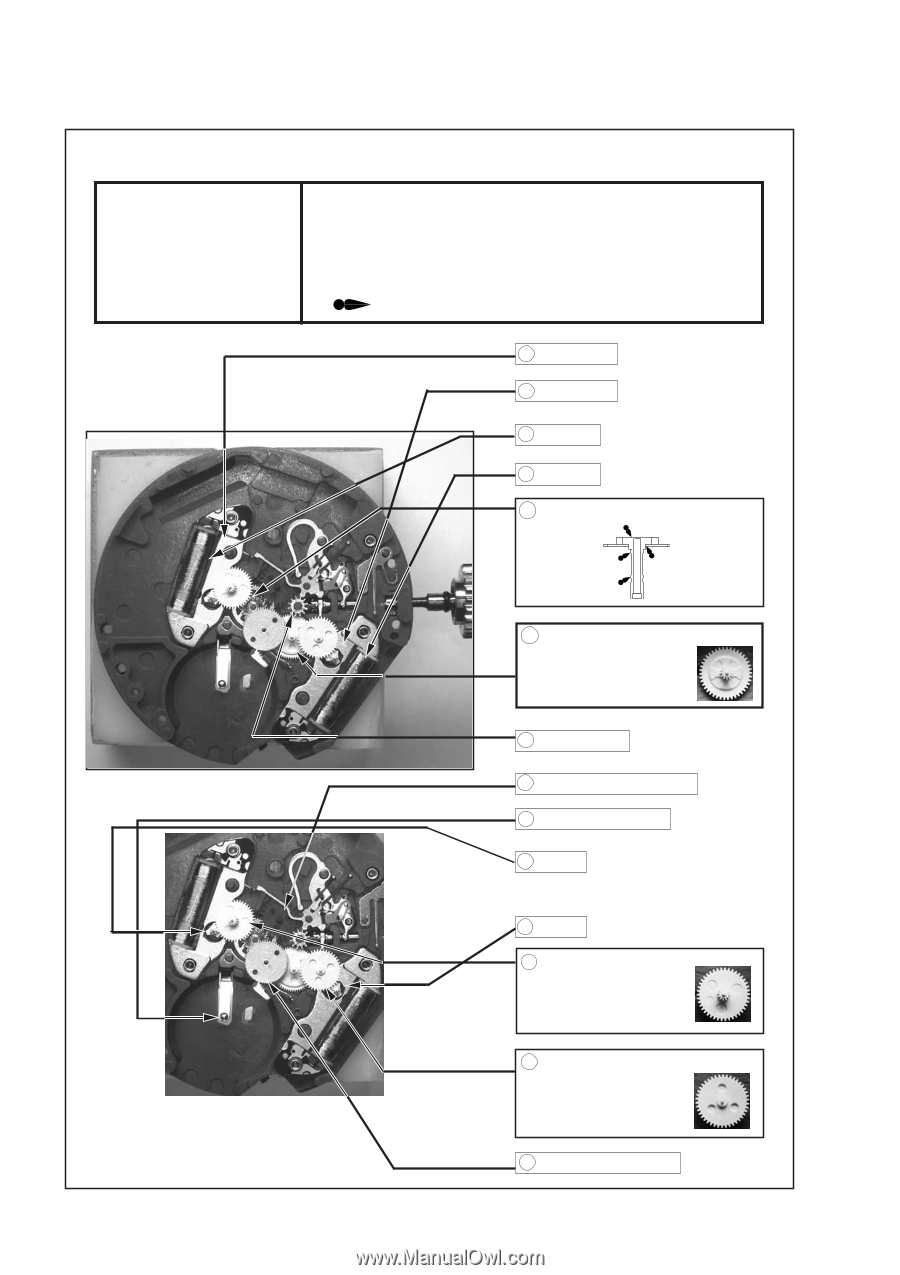
TECHNICAL GUIDE
Cal. 6A32A
Installation positions • Lubrication points • Remarks
Reassembly (3)
Reassemble the wheels and
train wheel bridge.
❇
Install the parts in the number order shown in the illustration below,
paying attention to the following:
mounting positions,
direction of mounting,
type of oil, lubrication point(s) and amount of
lubrication.
normal quantity
7
Setting wheel
8
Minute wheel and pinion
10
Rotor
11
Rotor
9
Battery connection (-)
1
Rotor stator
2
Rotor stator
3
Coil block
4
Coil block
12
Fifth wheel and pinion
13
Intermediate date driving wheel A
14
Third wheel and pinion
6
Intermediate date driving wheel B
5
Center wheel and pinion (AO-3)