Sharp R1880LS R-1880LS Microwave Operation Manual - Page 30
Service Call Check - microwave parts
 |
UPC - 074000616127
View all Sharp R1880LS manuals
Add to My Manuals
Save this manual to your list of manuals |
Page 30 highlights
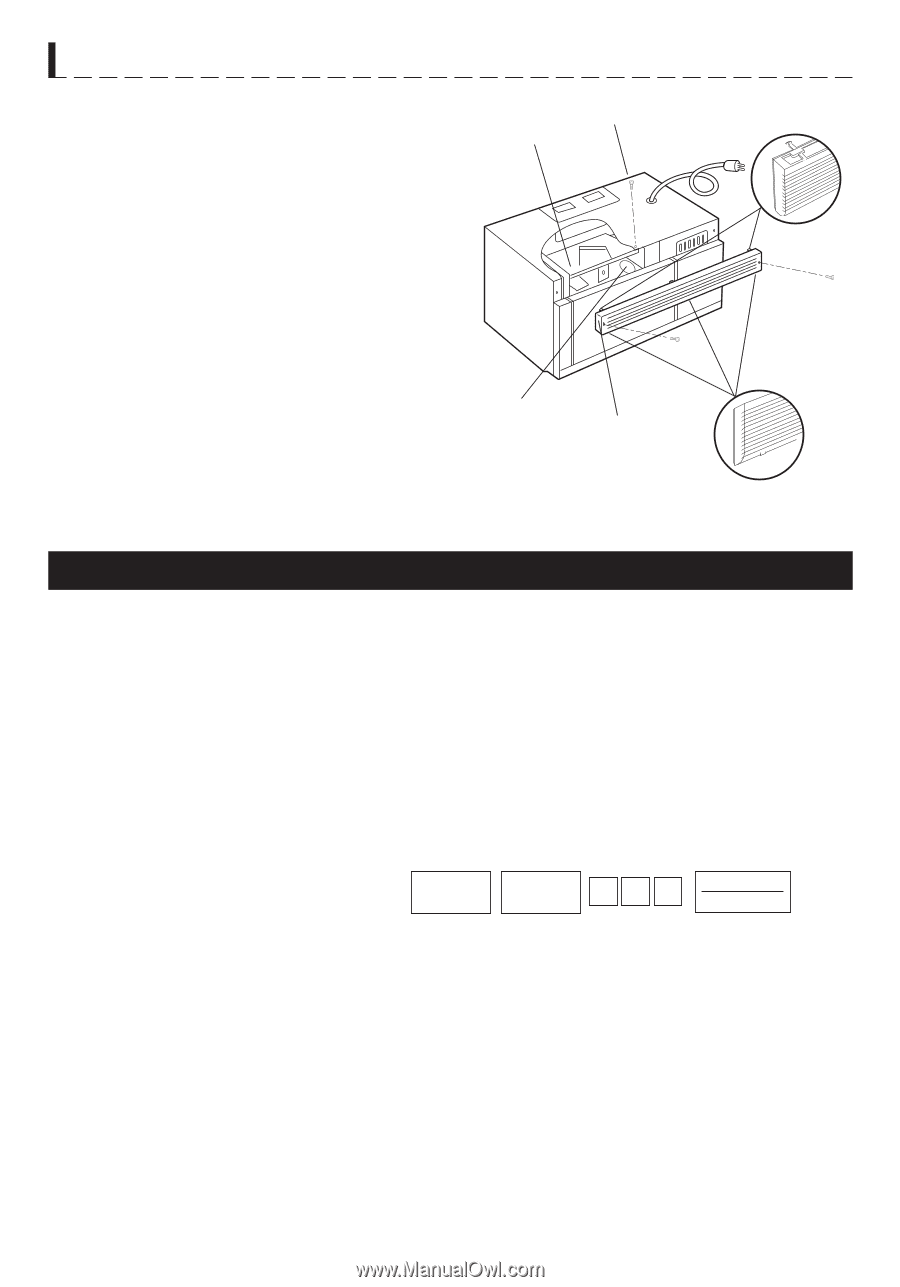
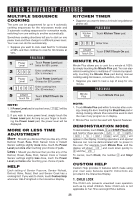
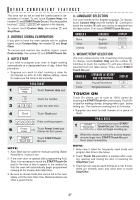
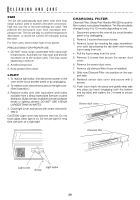
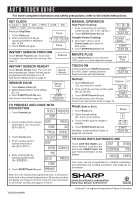
CLEANING AND CARE Oven Light Remove the louver per instructions 1-4 above and charcoal filter, if used. 5. Slide the light cover forward and lift up. 6. Remove old light bulb and replace only with an equivalent watt bulb available from a Sharp Authorized Servicer or parts distributor. Bulbs are also available at most hardware stores or lighting centers. DO NOT USE A BULB LARGER THAN 30 WATTS. 7. Replace the oven light cover and charcoal filter, if used; push louver back in place (engaging both the bottom and top tabs) and replace the louver mounting screws. Screw Charcoal filter Screw Oven light Louver Top tab Screw Bottom tab SERVICE CALL CHECK Please check the following before calling for service: 1. Place one cup of water in a glass measuring cup in the oven and close the door securely. Operate the oven for two minutes at HIGH 100%. A. Does the light come on in the oven? YES _____ NO _____ B. Does the cooling fan work? (Put your hand over the top ventilation openings.) YES _____ NO _____ C. Does the turntable rotate when the Turntable On/Off pad is touched and TURNTABLE ON is in the display? YES _____ NO _____ (It is normal for the turntable to turn in either direction when TURNTABLE ON is in the display.) D. Is the water in the oven warm? YES _____ NO _____ 2. Remove the water from the oven and program: Co nvec 450˚F 500 START Touch On A. Do CONV and COOK light? B. After the oven shuts off, is the inside of the oven hot? YES _____ NO _____ YES _____ NO _____ If "NO" is the answer to any of the above questions, please check electrical outlet, fuse and/or circuit breaker. If either or both are not functioning properly, CONTACT YOUR NEAREST SHARP AUTHORIZED SERVICER. A microwave oven should never be serviced by a "do-it-yourself" repair person. NOTE: If time appearing in the display is counting down very rapidly, check Demonstration Mode on page 26 and cancel. 30
-
 1
1 -
2
-
3
-
4
-
5
-
6
-
7
-
8
-
9
-
10
-
11
-
12
-
13
-
14
-
15
-
16
-
17
-
18
-
19
-
20
-
21
-
22
-
23
-
24
-
 25
25 -
 26
26 -
 27
27 -
 28
28 -
 29
29 -
 30
30 -
 31
31 -
 32
32
 |
 |