Sharp ZQ160 Operation Manual - Page 15
Schedule, Alarm
 |
View all Sharp ZQ160 manuals
Add to My Manuals
Save this manual to your list of manuals |
Page 15 highlights
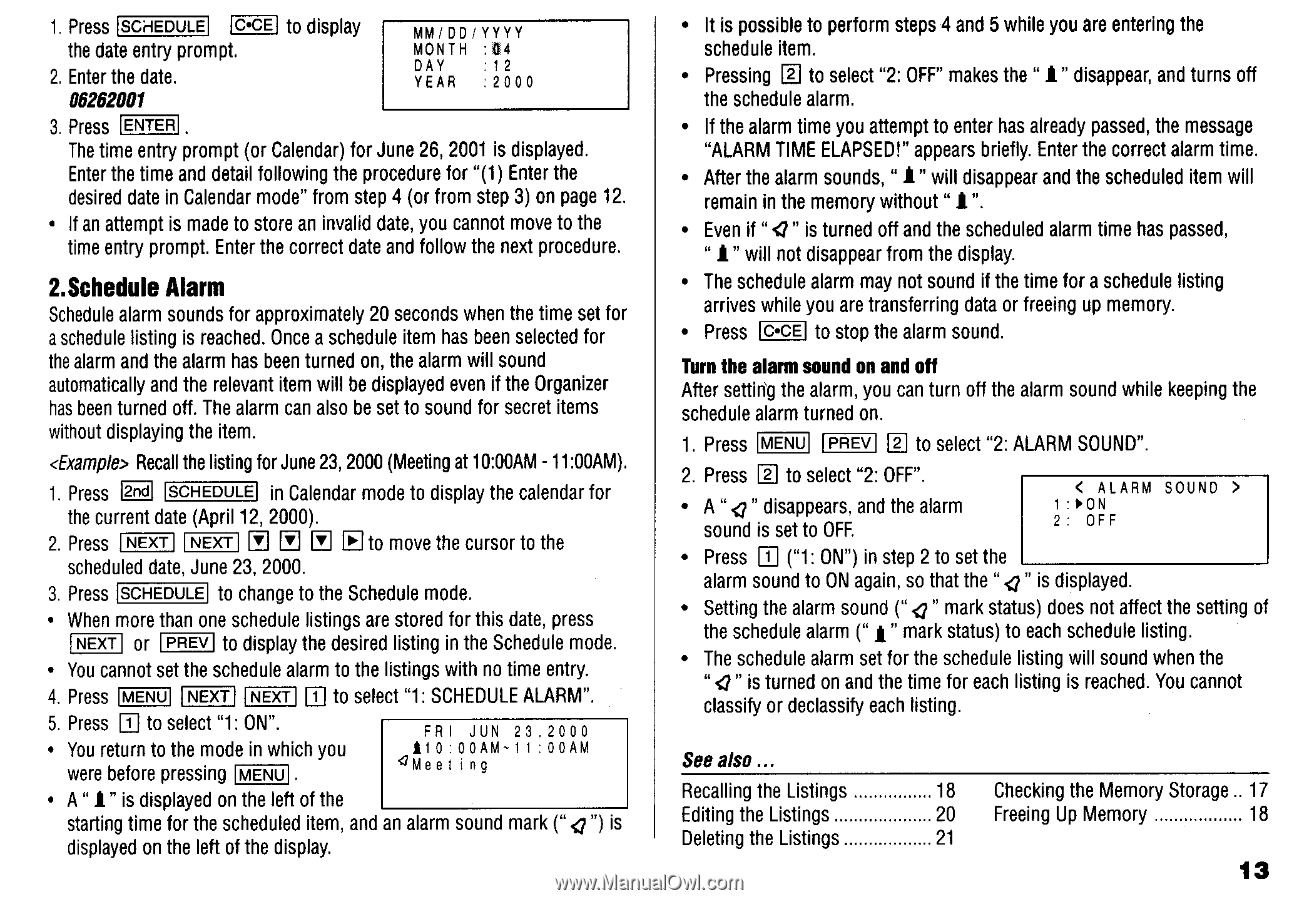
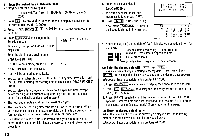
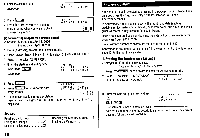
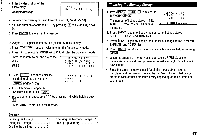
1. Press SCHEDULE C•CE to display the date entry prompt. 2. Enter the date. 06262001 MM/DD/YYYY MONTH :04 DAY : 12 YEAR : 2000 3. Press ENTER The time entry prompt (or Calendar) for June 26, 2001 is displayed. Enter the time and detail following the procedure for "(1) Enter the desired date in Calendar mode" from step 4 (or from step 3) on page 12. • If an attempt is made to store an invalid date, you cannot move to the time entry prompt. Enter the correct date and follow the next procedure. 2.Schedule Alarm Schedule alarm sounds for approximately 20 seconds when the time set for a schedule listing is reached. Once a schedule item has been selected for the alarm and the alarm has been turned on, the alarm will sound automatically and the relevant item will be displayed even if the Organizer has been turned off. The alarm can also be set to sound for secret items without displaying the item. Recall the listing for June 23, 2000 (Meeting at 10:00AM - 11:00AM). 1. Press Erl SCHEDULE in Calendar mode to display the calendar for the current date (April 12, 2000). 2. Press NEXT NEXT 11 El to move the cursor to the scheduled date, June 23, 2000. 3. Press SCHEDULE to change to the Schedule mode. • When more than one schedule listings are stored for this date, press NEXT or PREV to display the desired listing in the Schedule mode. • You cannot set the schedule alarm to the listings with no time entry. 4. Press MENU NEXT NEXT 1:1 to select "1: SCHEDULE ALARM". 5. Press E to select "1: ON". • You return to the mode in which you were before pressing MENU • FRI JUN 23 .2000 110 :00AM-1 1 00AM QMee 1 ng • A " 1" is displayed on the left of the starting time for the scheduled item, and an alarm sound mark ("< ") is displayed on the left of the display. • It is possible to perform steps 4 and 5 while you are entering the schedule item. • Pressing 0 to select "2: OFF" makes the " 1" disappear, and turns off the schedule alarm. • If the alarm time you attempt to enter has already passed, the message "ALARM TIME ELAPSED!" appears briefly. Enter the correct alarm time. • After the alarm sounds, " 1" will disappear and the scheduled item will remain in the memory without "1". • Even if ".0" is turned off and the scheduled alarm time has passed, " 1" will not disappear from the display. • The schedule alarm may not sound if the time for a schedule listing arrives while you are transferring data or freeing up memory. • Press C•CE to stop the alarm sound. Turn the alarm sound on and off After setting the alarm, you can turn off the alarm sound while keeping the schedule alarm turned on. 1. Press MENU PREV E to select "2: ALARM SOUND". 2. Press 0 to select "2: OFF". • A " < " disappears, and the alarm sound is set to OFF. • Press E ("1: ON") in step 2 to set the < ALARM SOUND > 1 : 1.ON 2 : OFF alarm sound to ON again, so that the "Q" is displayed. • Setting the alarm sound ("< " mark status) does not affect the setting of the schedule alarm ("1" mark status) to each schedule listing. • The schedule alarm set for the schedule listing will sound when the "
-
 1
1 -
2
-
3
-
4
-
5
-
6
-
7
-
8
-
9
-
 10
10 -
 11
11 -
 12
12 -
 13
13 -
 14
14 -
 15
15 -
 16
16 -
 17
17 -
 18
18 -
 19
19 -
 20
20 -
21
-
22
-
23
-
24
-
25
-
26
-
27
-
28
-
29
-
30
-
31
-
32
-
33
 |
 |