Sony Ericsson W660i User Guide - Page 43
POP3 or IMAP4., enter the username
 |
View all Sony Ericsson W660i manuals
Add to My Manuals
Save this manual to your list of manuals |
Page 43 highlights
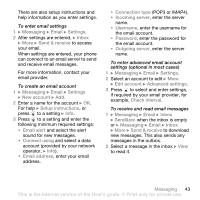
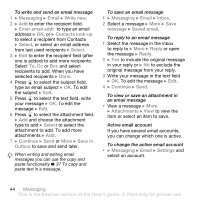
There are also setup instructions and help information as you enter settings. To enter email settings 1 } Messaging } Email } Settings. 2 After settings are entered, } Inbox } More } Send & receive to access your email. When settings are entered, your phone can connect to an email server to send and receive email messages. For more information, contact your email provider. To create an email account 1 } Messaging } Email } Settings } New account } Add. 2 Enter a name for the account } OK. For help } Setup instructions, or press to a setting } Info. 3 Press to a setting and enter the following minimum required settings: • Email alert and select the alert sound for new messages. • Connect using and select a data account (provided by your network operator, } Info). • Email address, enter your email address. • Connection type (POP3 or IMAP4). • Incoming server, enter the server name. • Username, enter the username for the email account. • Password, enter the password for the email account. • Outgoing server, enter the server name. To enter advanced email account settings (optional in most cases) 1 } Messaging } Email } Settings. 2 Select an account to edit } More } Edit account } Advanced settings. 3 Press to select and enter settings, if required by your email provider, for example, Check interval. To receive and read email messages 1 } Messaging } Email } Inbox } Send&rec when the inbox is empty or } Messaging } Email } Inbox } More } Send & receive to download new messages. This also sends any messages in the outbox. 2 Select a message in the inbox } View to read it. Messaging 43 This is the Internet version of the User's guide. © Print only for private use.
-
 1
1 -
2
-
3
-
4
-
5
-
6
-
7
-
8
-
9
-
10
-
11
-
12
-
13
-
14
-
15
-
16
-
17
-
18
-
19
-
20
-
21
-
22
-
23
-
24
-
25
-
26
-
27
-
28
-
29
-
30
-
31
-
32
-
33
-
34
-
35
-
36
-
37
-
 38
38 -
 39
39 -
 40
40 -
 41
41 -
 42
42 -
 43
43 -
 44
44 -
 45
45 -
 46
46 -
 47
47 -
 48
48 -
49
-
50
-
51
-
52
-
53
-
54
-
55
-
56
-
57
-
58
-
59
-
60
-
61
-
62
-
63
-
64
-
65
-
66
-
67
-
68
-
69
-
70
-
71
-
72
-
73
-
74
-
75
-
76
-
77
-
78
-
79
-
80
-
81
-
82
-
83
-
84
-
85
-
86
-
87
-
88
-
89
-
90
-
91
-
92
-
93
-
94
-
95
-
96
-
97
-
98
-
99
-
100
-
101
 |
 |