Sony CDP-302 Operating Instructions - Page 17
Trouble, Checks
 |
View all Sony CDP-302 manuals
Add to My Manuals
Save this manual to your list of manuals |
Page 17 highlights
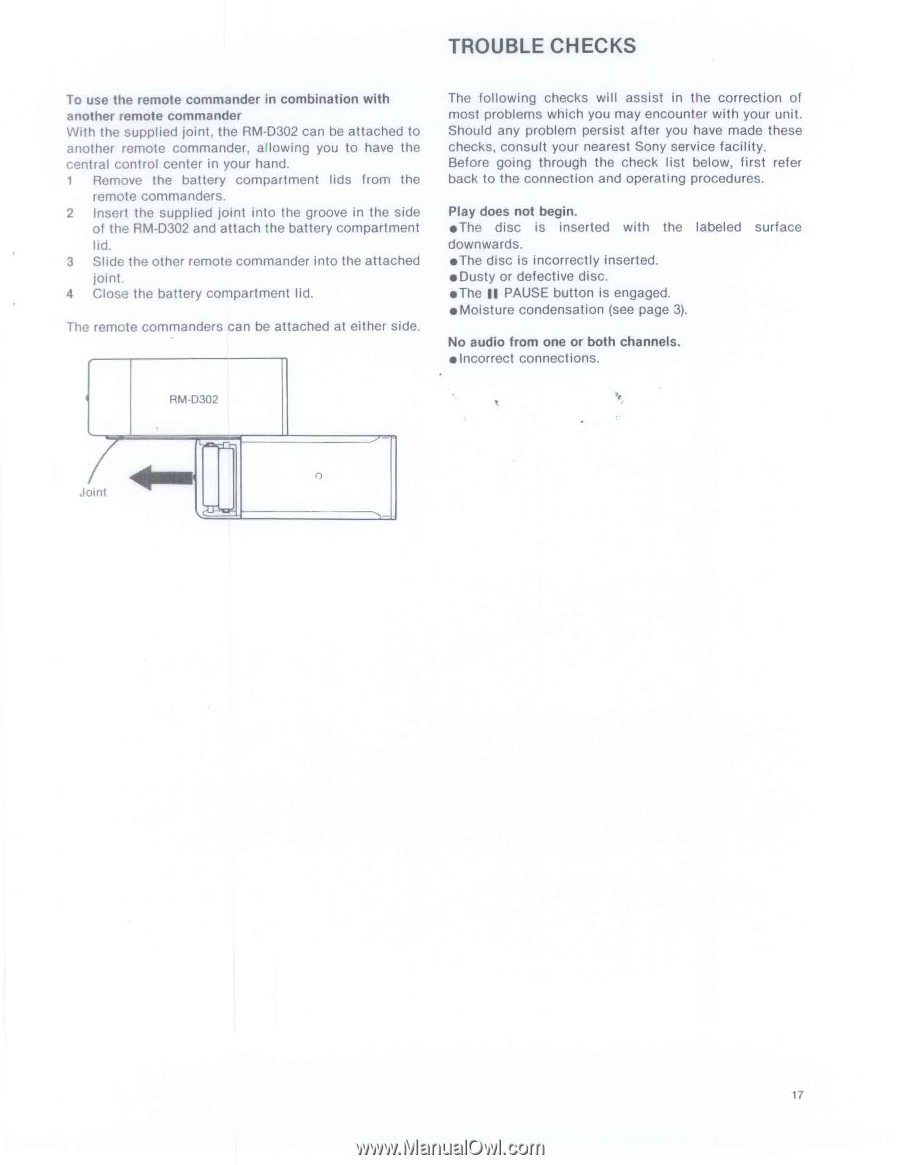
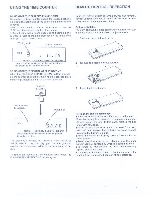
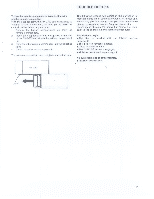
TROUBLE CHECKS To use the remote commander in combination with another remote commander With the supplied joint, the RM•D302 can be attached to another remote commander, allowing you to have the central control center in your hand. 1 Remove the battery compartment lids from the remote commanders. 2 Insert the supplied joint into the groove in the side of the RM-D302 and attach the battery compartment lid. 3 Slide the other remote commander into the attached joint. 4 Close the battery compartment lid. The remote commanders can be attached at either side. The following checks will assist in the correction of most problems which you may encounter with your unit. Should any problem persist after you have made these checks, consult your nearest Sony service facility. Before going through the check list below, first refer back to the connection and operating procedures. Play does not begin. •The disc is inserted with the labeled downwards. •The disc is incorrectly inserted. • Dusty or defective disc. •The II PAUSE button is engaged. • Moisture condensation (see page 3). surface No audio from one or both channels. • Incorrect connections. RM-D302 Joint 17
-
 1
1 -
2
-
3
-
4
-
5
-
6
-
7
-
8
-
9
-
10
-
11
-
 12
12 -
 13
13 -
 14
14 -
 15
15 -
 16
16 -
 17
17 -
 18
18 -
 19
19
 |
 |