Sony CDP-CE500 Operating Instructions - Page 14
Press ENTER., To stop transferring, Folder and file generation rules - cd player specifications
 |
UPC - 027242805453
View all Sony CDP-CE500 manuals
Add to My Manuals
Save this manual to your list of manuals |
Page 14 highlights
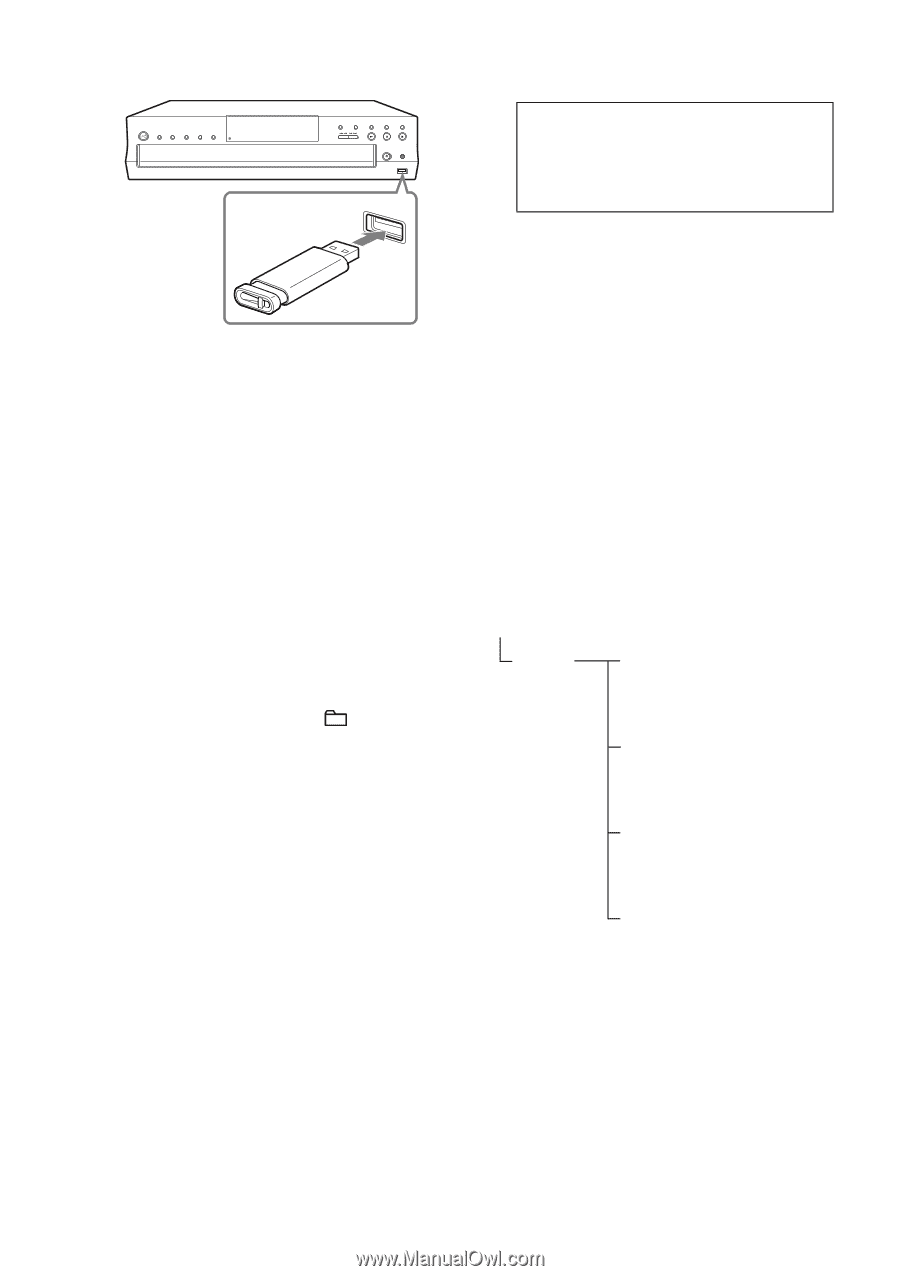
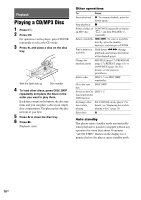
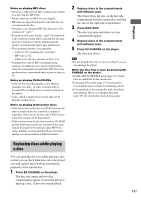
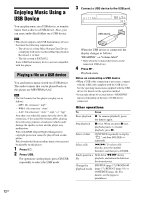
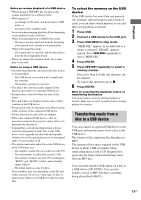
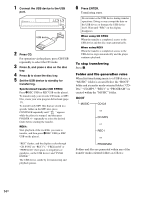
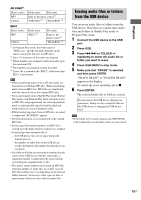
1 Connect the USB device to the USB port. USB USB device 2 Press CD. For operation via the player, press CD/USB repeatedly to select the CD mode. 3 Press Z, and place a disc on the disc tray. 4 Press Z to close the disc tray. 5 Set the USB device to standby for transferring. Synchronized transfer (CD SYNC): Press z REC USB (or REC USB on the player). To transfer only your favorite CD tracks or MP3 files, create your own program beforehand (page 17). To transfer only MP3 files that are stored in a specific folder on the MP3 disc, press CONTINUE repeatedly until " " appears while the player is stopped, and then press FOLDER +/- repeatedly to select the desired folder before starting the transfer. REC1: Start playback of the track/file you want to transfer, and then press z REC USB (or REC USB on the player). "REC" flashes, and the display cycles through "CD SYNC (or "REC1")," "FREExxxM" or "FREExxxG" (free space, in megabytes or gigabytes, on the USB device) and "PUSH ENTER." The USB device stands by for transferring and playback pauses. 6 Press ENTER. Transferring starts. Do not remove the USB device during transfer operations. Doing so may corrupt the data on the USB device or damage the USB device itself. Wait until "REC" on the display disappears. When using CD SYNC When the transfer is completed, access to the USB device and the disc stops automatically. When using REC1 When the transfer is completed, access to the USB device stops automatically and the player continues playback. To stop transferring Press x. Folder and file generation rules When first transferring music to a USB device, a "MUSIC" folder is created below the "ROOT" folder and a transfer mode-oriented folder ("CDDA," "CD-MP3," "REC1" or "PROGRAM") is created within the "MUSIC" folder. ROOT MUSIC CD-DA or CD-MP3 or REC1 or PROGRAM Folders and files are generated within any of the transfer mode-oriented folders as follows: 14US
-
 1
1 -
2
-
3
-
4
-
5
-
6
-
7
-
8
-
 9
9 -
 10
10 -
 11
11 -
 12
12 -
 13
13 -
 14
14 -
 15
15 -
 16
16 -
 17
17 -
 18
18 -
 19
19 -
20
-
21
-
22
-
23
-
24
 |
 |