Sony DSC-P93A Operating Instructions - Page 94
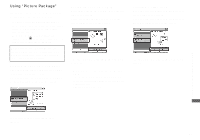
Copying images using “Picture Package
 |
View all Sony DSC-P93A manuals
Add to My Manuals
Save this manual to your list of manuals |
Page 94 highlights
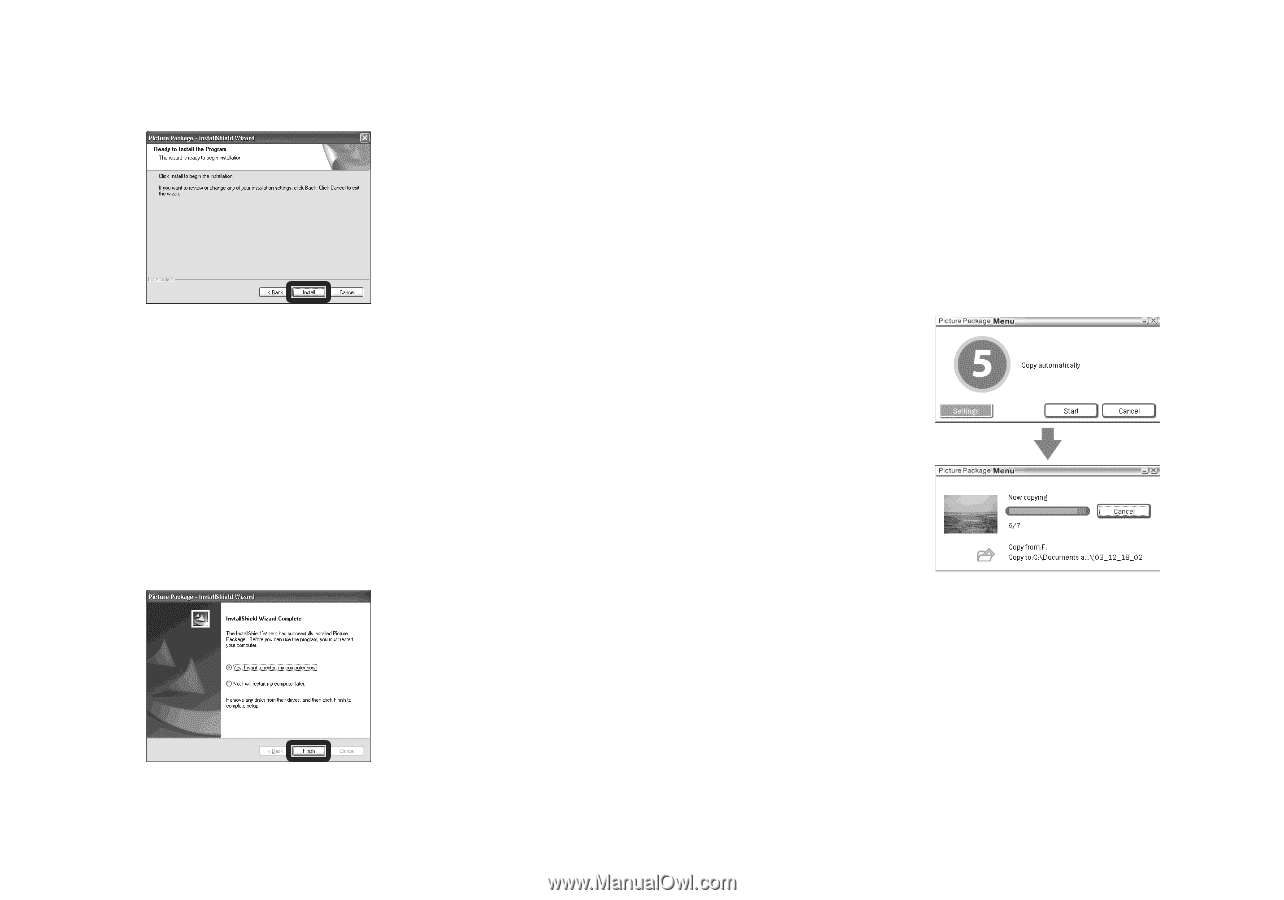
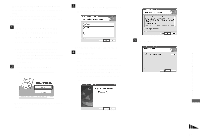
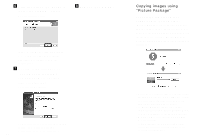
f Click [Install] on the "Ready to Install the Program" screen. The installation starts. h Remove the CD-ROM. If the "Welcome to setup for Direct X" screen appears after you install the application software, follow the instructions. g Confirm if the checkbox of "Yes, I want to restart my computer now" is checked, then click [Finish]. Your computer restarts. The shortcut icons of "Picture Package Menu" and "Picture Package destination Folder" are displayed. 94 Copying images using "Picture Package" Connect the camera and your computer with the USB cable. "Picture Package" starts up automatically and the images in the "Memory Stick" are copied to the computer automatically. After the images are copied, "Picture Package Viewer" starts up and the images copied are displayed. • Normally "Picture Package" and "Date" folders are created inside the "My Documents" folder, and all of the image files recorded with the camera are copied into these folders. • If "Picture Package" cannot copy images automatically, start up "Picture Package Menu" and check [Settings] in [Copy automatically]. • Windows XP is set so that the OS AutoPlay Wizard activates. If you deactivate the OS AutoPlay Wizard, cancel the activation using [Settings] on the "Picture Package Menu."
-
 1
1 -
2
-
3
-
4
-
5
-
6
-
7
-
8
-
9
-
10
-
11
-
12
-
13
-
14
-
15
-
16
-
17
-
18
-
19
-
20
-
21
-
22
-
23
-
24
-
25
-
26
-
27
-
28
-
29
-
30
-
31
-
32
-
33
-
34
-
35
-
36
-
37
-
38
-
39
-
40
-
41
-
42
-
43
-
44
-
45
-
46
-
47
-
48
-
49
-
50
-
51
-
52
-
53
-
54
-
55
-
56
-
57
-
58
-
59
-
60
-
61
-
62
-
63
-
64
-
65
-
66
-
67
-
68
-
69
-
70
-
71
-
72
-
73
-
74
-
75
-
76
-
77
-
78
-
79
-
80
-
81
-
82
-
83
-
84
-
85
-
86
-
87
-
88
-
 89
89 -
 90
90 -
 91
91 -
 92
92 -
 93
93 -
 94
94 -
 95
95 -
 96
96 -
 97
97 -
 98
98 -
 99
99 -
100
-
101
-
102
-
103
-
104
-
105
-
106
-
107
-
108
-
109
-
110
-
111
-
112
-
113
-
114
-
115
-
116
-
117
-
118
-
119
-
120
-
121
-
122
-
123
-
124
-
125
-
126
-
127
-
128
-
129
-
130
-
131
-
132
 |
 |