Sony DSCU60 Operating Instructions - Page 81
Removing/Setting the O-ring, Setting the O-ring, O-ring life, over time can cause the waterproof
 |
UPC - 027242627970
View all Sony DSCU60 manuals
Add to My Manuals
Save this manual to your list of manuals |
Page 81 highlights
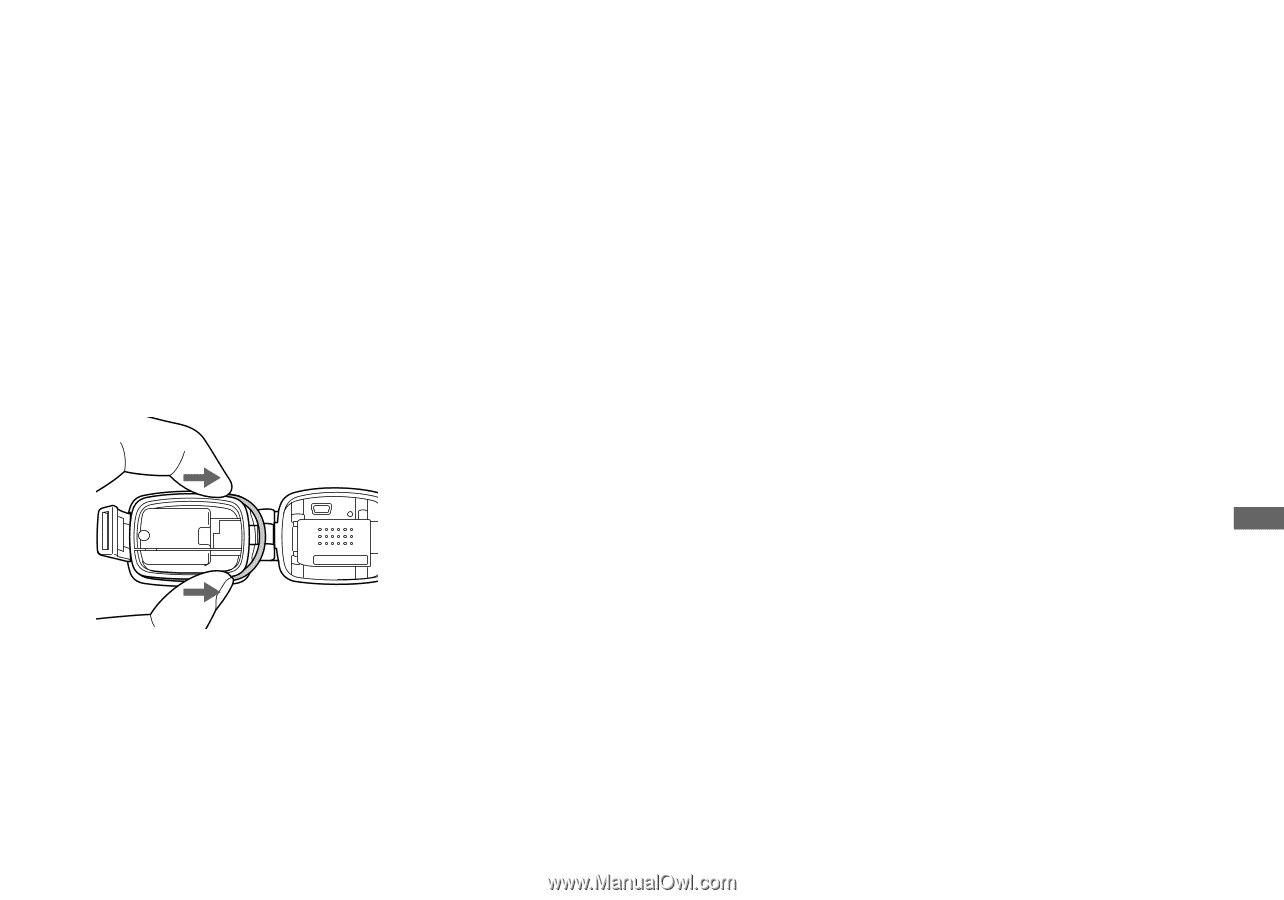
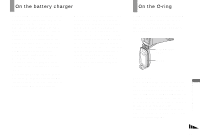
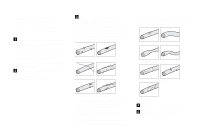
Removing/Setting the O-ring When removing the O-ring for replacement, cleaning or inspection, take care for the following points. If there is mud on the O-ring, or if the camera has been in seawater, be sure to remove the O-ring to clean and inspect it. Removing the O-ring Press lightly on the O-ring with your fingers to shift it from the groove, grasp the slack portion, and remove the O-ring. • Do not use a pointed, sharp or metal object to remove the O-ring. This can scratch the O-ring or the O-ring mating surface which may allow water to leak inside the camera. • Do not place excessive tension on the O-ring. Cleaning the O-ring and the O-ring groove • Use tap water at 30°C or less to wash the O- ring that you removed. Wipe away any water when finished. • The O-ring is specially treated, so take care not to allow grease or oil to adhere to the O-ring. • When sand particles or encrusted salt may be present in the O-ring groove, clean the groove carefully using a cotton swab. Take care that fibers from the cotton swab do not remain in the groove. • Do not use a pointed, sharp or metal object for cleaning, as this may scratch the O-ring groove. Setting the O-ring Place the O-ring in the groove, taking care for the following points. • Do not place excessive tension on the O-ring. • After setting, run a final check for any of the following problems. - Are there any water droplets on the O-ring? - Is the O-ring twisted? - Has any dirt, etc. adhered to the O-ring? - Is the O-ring protruding from the groove? O-ring life • Replace the O-ring with a new one if it becomes cracked, warped, crushed, twisted, split, scratched, rough or otherwise damaged. Even if the O-ring has no problems, deformation and wear over time can cause the waterproof performance to drop, so replace the Oring with a new one after approximately two years of use. • Consult your Sony dealer or local authorized Sony service facility for replacement of O-rings. Order the following parts number when purchasing the O-ring: 3-081-956-ss Additional information 81
-
 1
1 -
2
-
3
-
4
-
5
-
6
-
7
-
8
-
9
-
10
-
11
-
12
-
13
-
14
-
15
-
16
-
17
-
18
-
19
-
20
-
21
-
22
-
23
-
24
-
25
-
26
-
27
-
28
-
29
-
30
-
31
-
32
-
33
-
34
-
35
-
36
-
37
-
38
-
39
-
40
-
41
-
42
-
43
-
44
-
45
-
46
-
47
-
48
-
49
-
50
-
51
-
52
-
53
-
54
-
55
-
56
-
57
-
58
-
59
-
60
-
61
-
62
-
63
-
64
-
65
-
66
-
67
-
68
-
69
-
70
-
71
-
72
-
73
-
74
-
75
-
 76
76 -
 77
77 -
 78
78 -
 79
79 -
 80
80 -
 81
81 -
 82
82 -
 83
83 -
 84
84 -
 85
85 -
 86
86 -
87
-
88
 |
 |