Sony HCD-HP7 Operating Instructions - Page 29
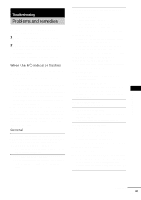
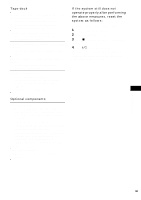
Tape deck, Optional components, If the system still does not, operate properly after performing - troubleshooting
 |
View all Sony HCD-HP7 manuals
Add to My Manuals
Save this manual to your list of manuals |
Page 29 highlights
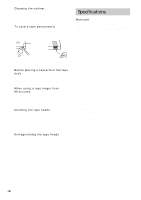
Tape deck The tape does not record or play, or there is a decrease in sound level. • The heads are dirty. Clean them (page 32). • The record/playback heads are magnetised. Demagnetise them (page 32). The tape does not erase completely. • The record/playback heads are magnetised. Demagnetise them (page 32). There is excessive wow or flutter, or the sound drops out. • The capstans or pinch rollers are dirty. Clean them (page 32). Noise increases or the high frequencies are erased. • The record/playback heads are magnetised. Demagnetise them (page 32). The tape does not record. • No cassette is loaded. Load a cassette. • The tab has been removed from the cassette. Cover the broken tab with adhesive tape (page 32). • The tape has wound to the end. If the system still does not operate properly after performing the above measures, reset the system as follows: Use buttons on the unit for the operation. 1 Disconnect the power cord. 2 Reconnect the power cord. 3 Press x, DISPLAY and DISC 1 at the same time. 4 Press ?/1 to turn on the system. The system is reset to the factory settings. You should set the settings you made, such as the preset stations, clock, and timer. Optional components There is no sound. • Refer to General item "There is no sound." (page 27) and check the condition of the system. • Connect the component properly (page 25) while checking: - if the cords are connected properly. - if the cord plugs are firmly inserted all the way. • Turn on the connected component. • Refer to the operating instructions supplied with the connected component and start playing. • Press GAME (MD) on the remote (or FUNCTION on the uint repeatedly) until "MD" appears. The sound is distorted. • Set the volume of the connected component lower. Troubleshooting 29GB
-
 1
1 -
2
-
3
-
4
-
5
-
6
-
7
-
8
-
9
-
10
-
11
-
12
-
13
-
14
-
15
-
16
-
17
-
18
-
19
-
20
-
21
-
22
-
23
-
 24
24 -
 25
25 -
 26
26 -
 27
27 -
 28
28 -
 29
29 -
 30
30 -
 31
31 -
 32
32 -
 33
33 -
 34
34 -
35
-
36
 |
 |
