Sony MHC-GS300AV Operating Instructions - Page 22
Listening to the radio, — Preset Tuning, — Manual Tuning, Labeling the preset stations
 |
View all Sony MHC-GS300AV manuals
Add to My Manuals
Save this manual to your list of manuals |
Page 22 highlights
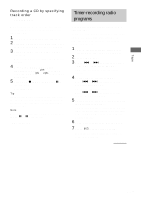
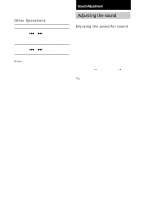
Listening to the radio You can listen to a radio station either by selecting a preset station, or by manually tuning in the station. Listening to a preset station - Preset Tuning Preset radio stations in the tuner's memory first (see "Presetting radio stations" on page 20). 1 Press TUNER/BAND repeatedly to select "FM" or "AM". 2 Press PRESET - or + repeatedly to tune in the desired preset station. Listening to non-preset radio station - Manual Tuning 1 Press TUNER/BAND repeatedly to select "FM" or "AM". 2 Press TUNING - or + repeatedly to tune in the desired station. Tips • To improve broadcast reception, adjust the supplied antennas, or connect a commercially available external antenna. • When an FM stereo program has static noise, press REPEAT/FM MODE repeatedly until "MONO" appears. There will be no stereo effect, but the reception will improve. • Pressing and holding TUNING - or +, the frequency indication changes and scanning stops when the system tunes in a station (Automatic Tuning). • To record from the radio, see "Recording to a tape" on page 24. Labeling the preset stations - Station Name You can label each preset station with up to 12 characters (Station Name). 1 Tune the preset station you want to label (see "Listening to the radio" on this page). 2 Follow the same procedures as from steps 3 to 9 of "Labeling a CD" on page 16. To cancel labeling Press MENU. To check the preset number and frequency The station name appears when you tune the labeled station. To check the preset number and frequency, press DISPLAY. The preset number and frequency are displayed for 4 seconds and it returns to the station name display. To erase the name 1 Tune the station. 2 Press MENU. 3 Press PRESET - or + repeatedly to select "NAME IN", then press ENTER. 4 Press CLEAR repeatedly to erase the name. 5 Press ENTER. 22US
-
 1
1 -
2
-
3
-
4
-
5
-
6
-
7
-
8
-
9
-
10
-
11
-
12
-
13
-
14
-
15
-
16
-
 17
17 -
 18
18 -
 19
19 -
 20
20 -
 21
21 -
 22
22 -
 23
23 -
 24
24 -
 25
25 -
 26
26 -
 27
27 -
28
-
29
-
30
-
31
-
32
-
33
-
34
-
35
-
36
-
37
-
38
-
39
-
40
-
41
-
42
-
43
-
44
 |
 |
