Sony PCV-RX270DS User Guide - Page 25
To preview, switch the Work Panel to Product tray mode and press play.
 |
View all Sony PCV-RX270DS manuals
Add to My Manuals
Save this manual to your list of manuals |
Page 25 highlights
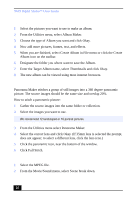
1 Click the Shake tab. 2 Select a mood by clicking a face in the Shaker tray. Shaker tray Movie Shaker 3 Click . A thirty second scene is automatically generated and saved to the Product tray. 4 To preview, switch the Work Panel to Product tray mode and press play. ✍ Scenes created with Shaker begin with black frame and after processing are placed in the first available slot on the Product tray. Limit the number of scenes placed on the Product tray to 5 or less. MovieShaker may stop responding if too many scenes are placed on the Product tray. 25
-
 1
1 -
2
-
3
-
4
-
5
-
6
-
7
-
8
-
9
-
10
-
11
-
12
-
13
-
14
-
15
-
16
-
17
-
18
-
19
-
 20
20 -
 21
21 -
 22
22 -
 23
23 -
 24
24 -
 25
25 -
 26
26 -
 27
27 -
 28
28 -
 29
29 -
 30
30 -
31
-
32
-
33
-
34
-
35
-
36
-
37
-
38
-
39
-
40
-
41
-
42
-
43
-
44
-
45
-
46
-
47
-
48
-
49
-
50
-
51
-
52
-
53
-
54
-
55
-
56
-
57
-
58
-
59
-
60
-
61
-
62
-
63
-
64
-
65
 |
 |
Movie Shaker
25
1
Click the Shake tab.
2
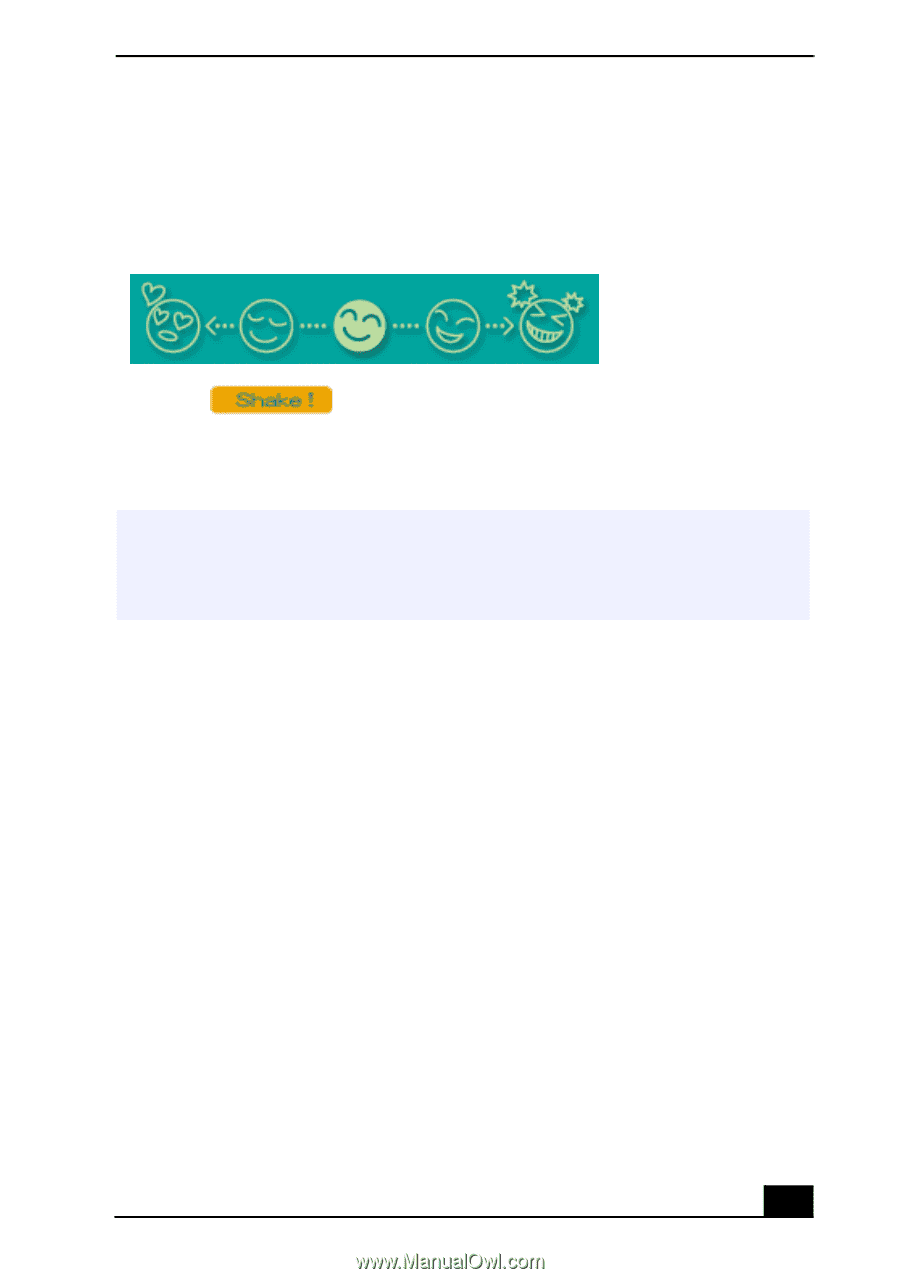
Select a mood by clicking a face in the Shaker tray.
3
Click
. A thirty second scene is automatically generated and
saved to the Product tray.
4
To preview, switch the Work Panel to Product tray mode and press play.
Shaker tray
Scenes created with Shaker begin with black frame and after processing are placed in
the first available slot on the Product tray. Limit the number of scenes placed on the
Product tray to 5 or less. MovieShaker may stop responding if too many scenes are
placed on the Product tray.