TEAC MC-DX32i MC-DX32i Manual - Page 7
AC Power Cord, POWER switch of the Subwoofer, Headphones, AUX IN, VIDEO OUT terminal, AM loop antenna - ipod
 |
View all TEAC MC-DX32i manuals
Add to My Manuals
Save this manual to your list of manuals |
Page 7 highlights
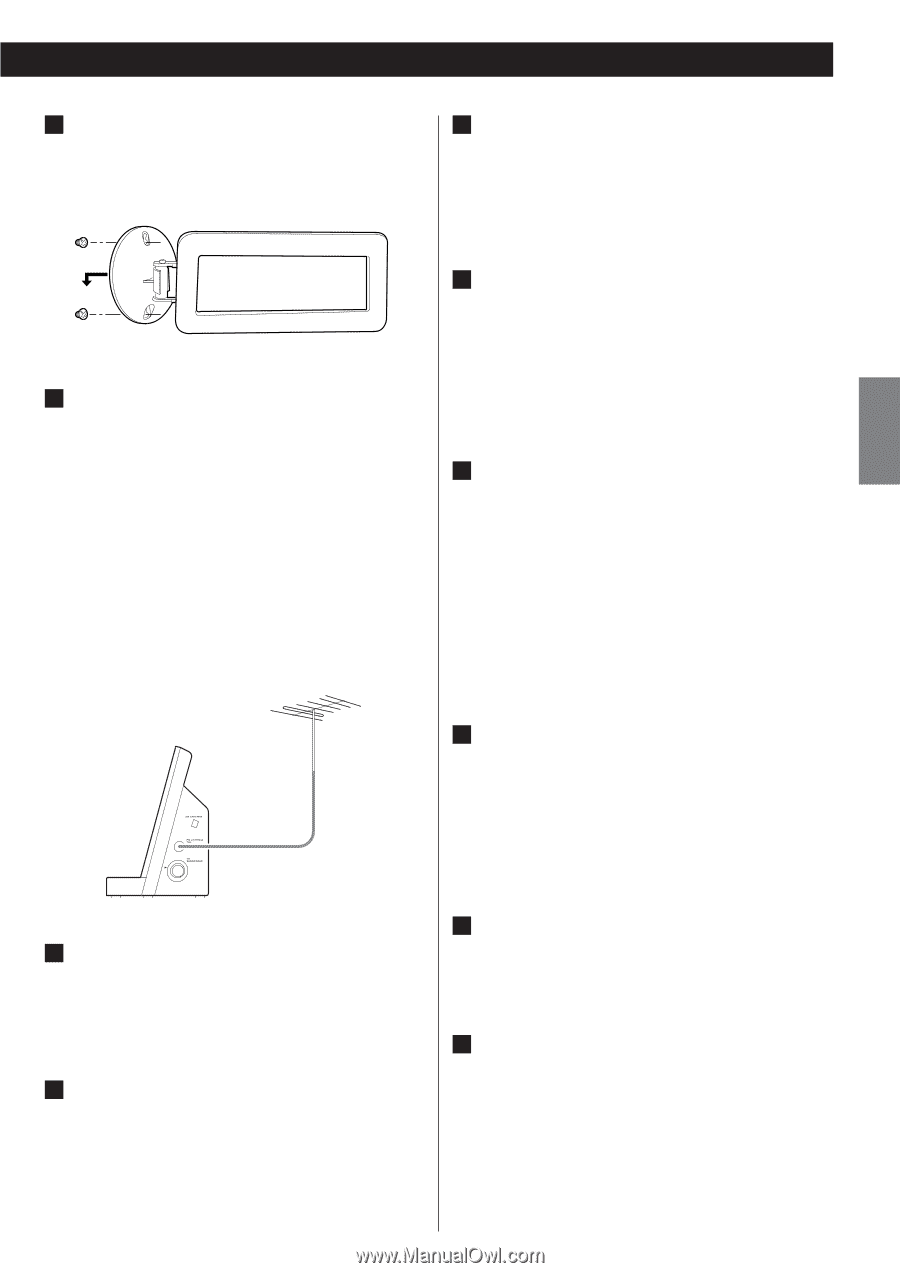
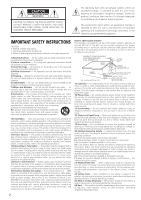
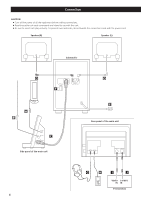
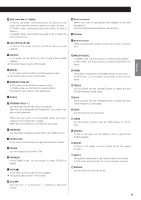
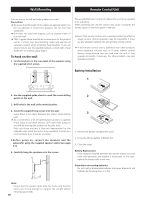
A AM loop antenna Position the antenna for the best sound. If you want, you can hook the AM antenna on a wall as shown below: E AC Power Cord Be sure to connect the power cord to an AC outlet which supplies the correct voltage. Hold the power plug when plugging or unplugging the power cord. Never pull or yank on the power cord. ENGLISH B FM antenna While in FM mode, tune in an FM station and extend the lead to find the best position for reception. This antenna may need to be repositioned if you move your unit to a new location. FM Outdoor Antenna In an area where FM signals are weak, it will be necessary to use a 75-ohm unbalanced-type outdoor FM antenna using an optional (not supplied) matching transformer connected to an external antenna. Generally, a 3-element antenna will be sufficient; if you live in an area where the FM signals are particularly weak, it may be necessary to use one with 5 or more elements. Outdoor FM Antenna (75Ω) F POWER switch of the Subwoofer Use this switch to turn the system on or off. < If the power switch of the subwoofer turned off, the settings kept in memory (clock, preset stations, timer setting) will be erased. To avoid loosing your settings, it is advisable to keep this switch ON when not in use. G Headphones For private listening, first reduce the volume level to minimum. Then insert the plug from your headphones into the PHONES jack, and adjust the volume using the VOLUME buttons. The sound from the speakers is cut off while the headphone jack is inserted. CAUTION Always lower the volume level prior to plugging in your headphones. TO AVOID DAMAGING YOUR HEARING - Do not place your headphones on your head until after you have plugged them in. H AUX IN You can connect a portable audio player to this jack. Connect the LINE OUT or PHONES jack (audio output jack) of the player using the supplied stereo mini plug cable. When using the PHONES jack of your mini player, you must adjust the volume of the mini-player or you may hear no sound from your MC-DX32i. C Subwoofer Connect the "TO SUBWOOFER" and the "FROM MAIN" sockets using the supplied cable. < Connect the Connectors in the direction as figured. D SPEAKERS Connect the left speaker's plug to L, and the right speaker's plug to R. < If not using the included speakers, make sure the speakers you use are at least 4 Ω impedance. < Do not connect anything other than speakers to these terminals. I VIDEO OUT terminal This terminal outputs video signal from iPod. Use an RCA (pin) video cable to connect the Dock to the composite video connector of a television or monitor. J S-VIDEO OUT terminal This terminal outputs video signal from iPod. Use an S-Video cable to connect the Dock to the S-Video input of a suitably equipped television or monitor. Use this connection in preference to a composite video connection. 7
-
 1
1 -
 2
2 -
 3
3 -
 4
4 -
 5
5 -
 6
6 -
 7
7 -
 8
8 -
 9
9 -
 10
10 -
 11
11 -
 12
12 -
13
-
14
-
15
-
16
-
17
-
18
-
19
-
20
-
21
-
22
-
23
-
24
-
25
-
26
-
27
-
28
-
29
-
30
-
31
-
32
-
33
-
34
-
35
-
36
-
37
-
38
-
39
-
40
-
41
-
42
-
43
-
44
-
45
-
46
-
47
-
48
-
49
-
50
-
51
-
52
-
53
-
54
-
55
-
56
-
57
-
58
-
59
-
60
-
61
-
62
-
63
-
64
-
65
-
66
-
67
-
68
-
69
-
70
-
71
-
72
-
73
-
74
-
75
-
76
 |
 |