TP-Link Archer T4UH Archer T4UH V1 User Guide - Page 36
Archer T4UH, Security Key, Show characters, Start this connection automatically, Connect
 |
View all TP-Link Archer T4UH manuals
Add to My Manuals
Save this manual to your list of manuals |
Page 36 highlights
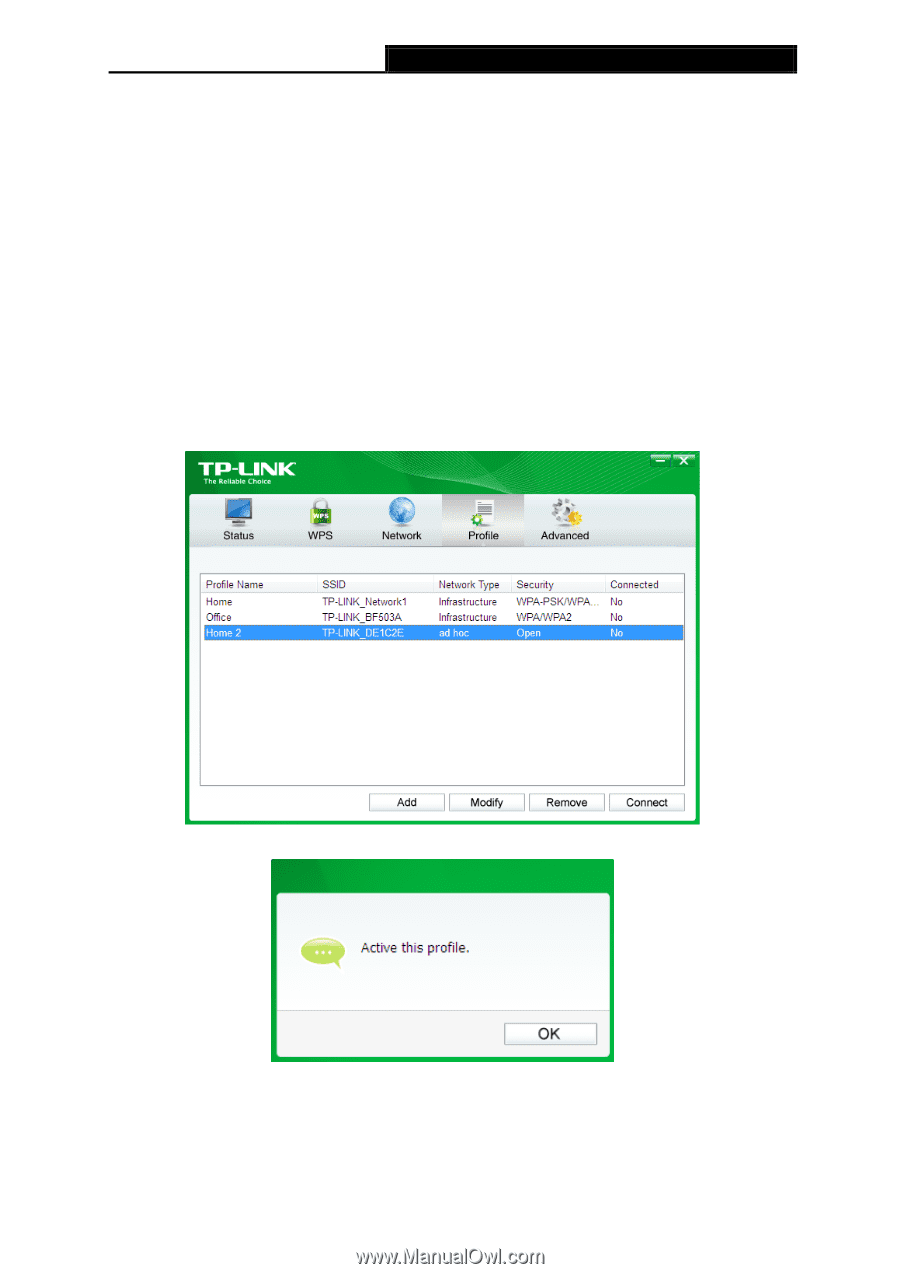
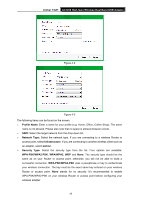
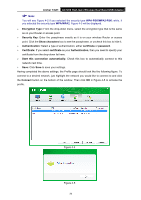
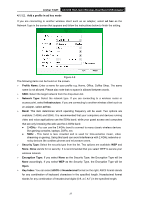
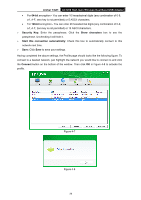
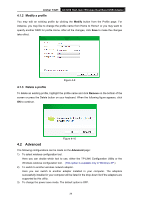
Archer T4UH AC1200 High Gain Wireless Dual Band USB Adapter • For 64-bit encryption - You can enter 10 hexadecimal digits (any combination of 0-9, a-f, A-F, zero key is not permitted) or 5 ASCII characters. • For 128-bit encryption - You can enter 26 hexadecimal digits (any combination of 0-9, a-f, A-F, zero key is not permitted) or 13 ASCII characters. Security Key: Enter the passphrase. Click the Show characters box to see the passphrase. Unchecking it will hide it. Start this connection automatically: Check this box to automatically connect to this network next time. Save: Click Save to save your settings. Having completed the above settings, the Profile page should looks like the following figure. To connect to a desired network, just highlight the network you would like to connect to and click the Connect button on the bottom of the window. Then click OK in Figure 4-8 to activate the profile. Figure 4-7 Figure 4-8 28
-
 1
1 -
2
-
3
-
4
-
5
-
6
-
7
-
8
-
9
-
10
-
11
-
12
-
13
-
14
-
15
-
16
-
17
-
18
-
19
-
20
-
21
-
22
-
23
-
24
-
25
-
26
-
27
-
28
-
29
-
30
-
 31
31 -
 32
32 -
 33
33 -
 34
34 -
 35
35 -
 36
36 -
 37
37 -
 38
38 -
 39
39 -
 40
40 -
 41
41 -
42
-
43
-
44
-
45
-
46
-
47
-
48
-
49
-
50
-
51
 |
 |