TP-Link TL-ER5120 TL-ER5120 User Guide - Page 124
Firewall, Anti ARP Spoofing, IP-MAC Binding, Set IP-MAC Binding Entry Manually, ARP Spoofing,
 |
View all TP-Link TL-ER5120 manuals
Add to My Manuals
Save this manual to your list of manuals |
Page 124 highlights
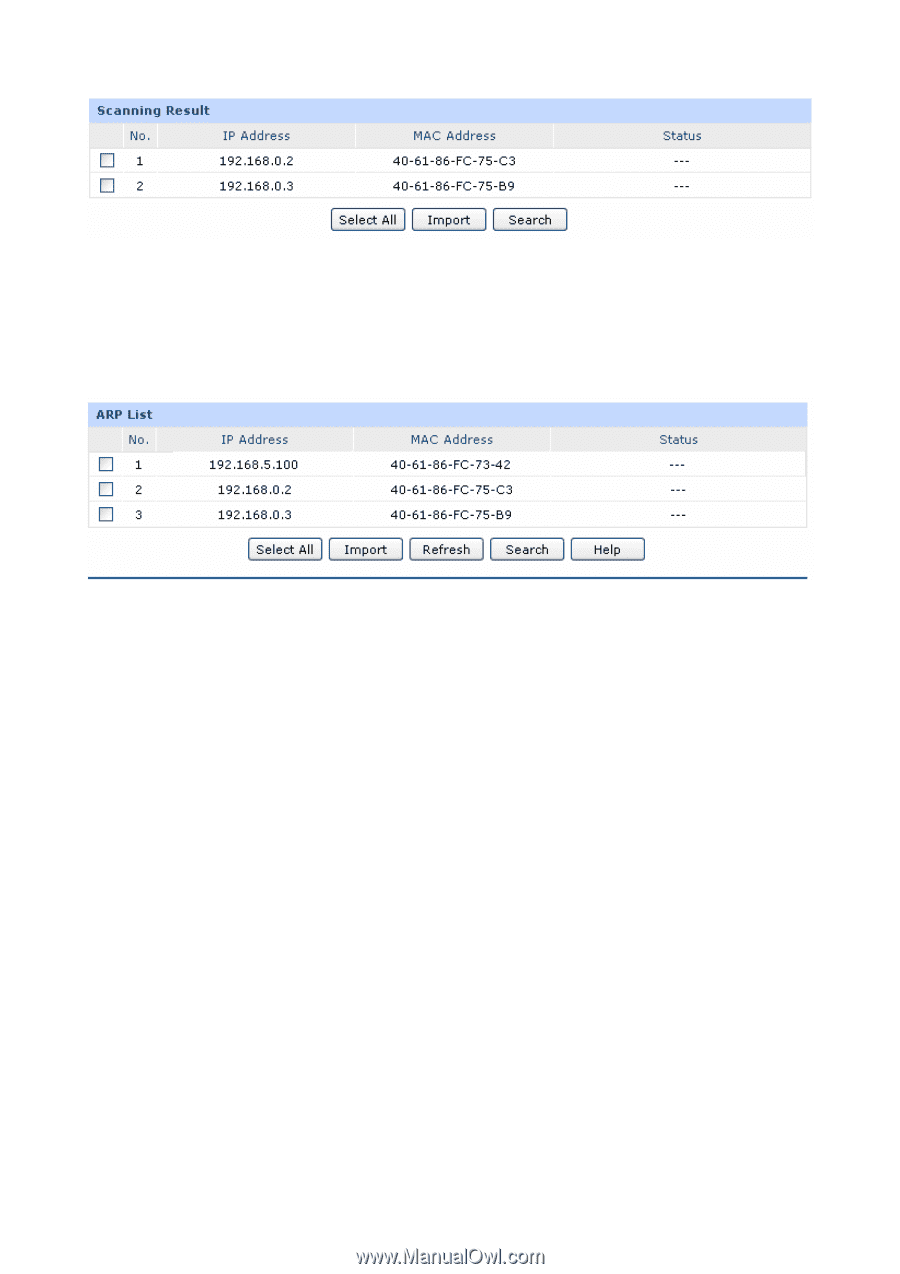
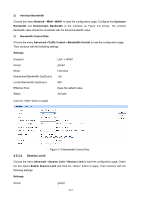
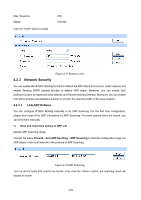
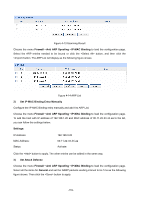
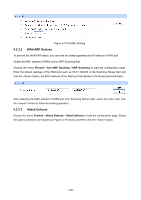
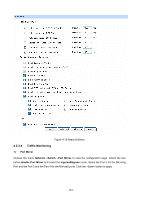
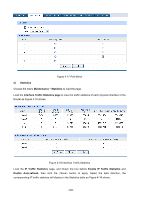
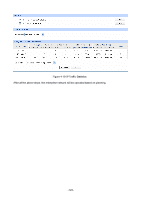
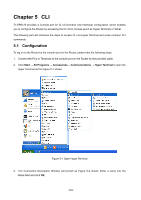
Figure 4-13 Scanning Result Choose the menu Firewall→Anti ARP Spoofing→IP-MAC Binding to load the configuration page. Select the ARP entries needed to be bound or click the button, and then click the button. The ARP List will display as the following figure shows. Figure 4-14 ARP List 2) Set IP-MAC Binding Entry Manually Configure the IP-MAC Binding entry manually and add it to ARP List. Choose the menu Firewall→Anti ARP Spoofing→IP-MAC Binding to load the configuration page. To add the host with IP address of 192.168.1.20 and MAC address of 00-11-22-33-44-aa to the list, you can follow the settings below: Settings: IP Address: MAC Address: Status: 192.168.0.20 00-11-22-33-44-aa Activate Click the button to apply. The other entries can be added in the same way. 3) Set Attack Defense Choose the menu Firewall→Anti ARP Spoofing→IP-MAC Binding to load the configuration page. Select all the items for General and set the GARP packets sending interval to be 1ms as the following figure shows. Then click the button to apply. -119-
-
 1
1 -
2
-
3
-
4
-
5
-
6
-
7
-
8
-
9
-
10
-
11
-
12
-
13
-
14
-
15
-
16
-
17
-
18
-
19
-
20
-
21
-
22
-
23
-
24
-
25
-
26
-
27
-
28
-
29
-
30
-
31
-
32
-
33
-
34
-
35
-
36
-
37
-
38
-
39
-
40
-
41
-
42
-
43
-
44
-
45
-
46
-
47
-
48
-
49
-
50
-
51
-
52
-
53
-
54
-
55
-
56
-
57
-
58
-
59
-
60
-
61
-
62
-
63
-
64
-
65
-
66
-
67
-
68
-
69
-
70
-
71
-
72
-
73
-
74
-
75
-
76
-
77
-
78
-
79
-
80
-
81
-
82
-
83
-
84
-
85
-
86
-
87
-
88
-
89
-
90
-
91
-
92
-
93
-
94
-
95
-
96
-
97
-
98
-
99
-
100
-
101
-
102
-
103
-
104
-
105
-
106
-
107
-
108
-
109
-
110
-
111
-
112
-
113
-
114
-
115
-
116
-
117
-
118
-
 119
119 -
 120
120 -
 121
121 -
 122
122 -
 123
123 -
 124
124 -
 125
125 -
 126
126 -
 127
127 -
 128
128 -
 129
129 -
130
-
131
-
132
-
133
-
134
-
135
-
136
-
137
-
138
-
139
-
140
-
141
-
142
-
143
-
144
-
145
-
146
 |
 |