TP-Link TL-WN951N User Guide - Page 31
Export a Profile, From the Profile Management screen shown in click - windows 8
 |
UPC - 813120012910
View all TP-Link TL-WN951N manuals
Add to My Manuals
Save this manual to your list of manuals |
Page 31 highlights
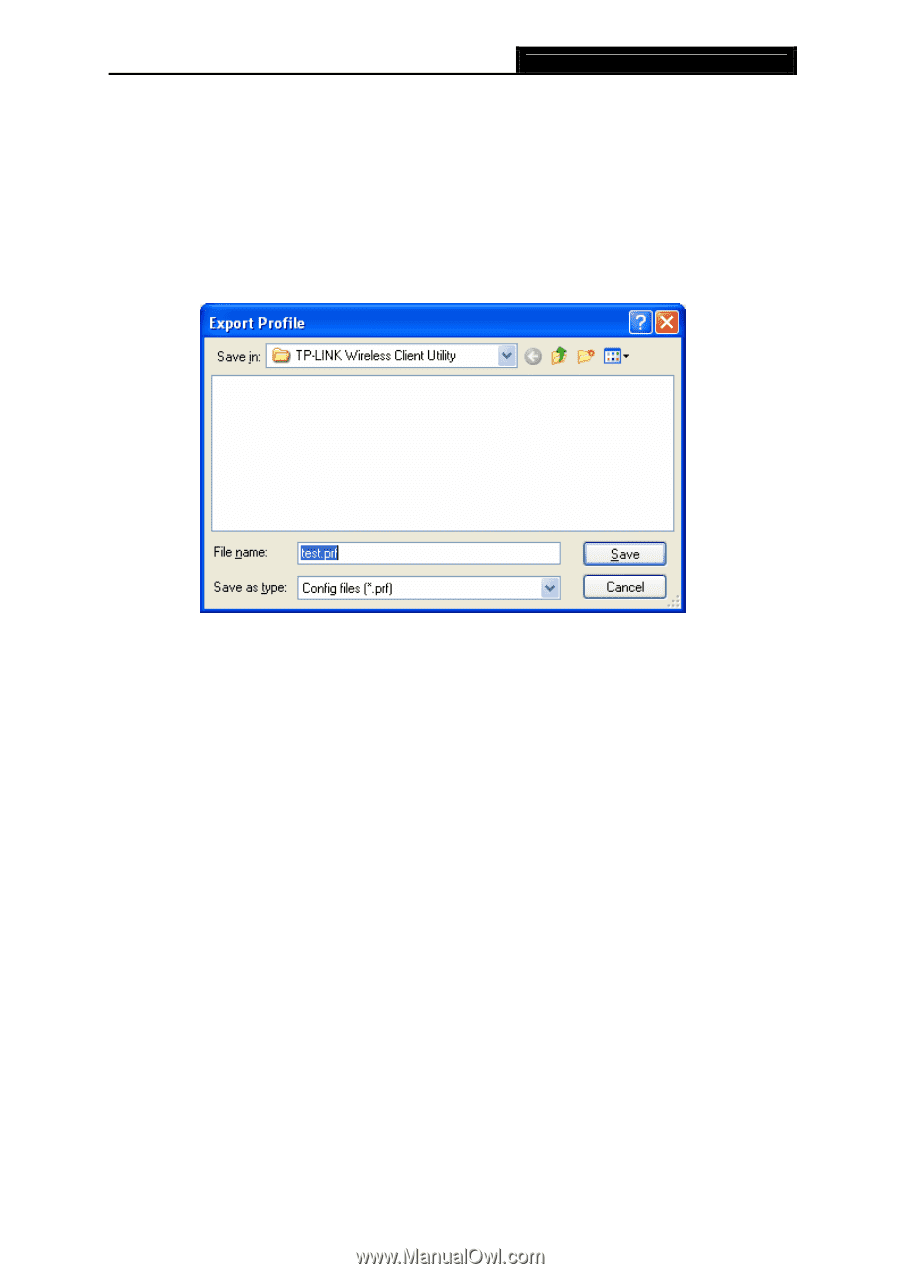
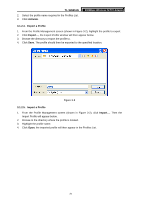
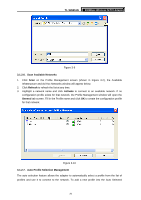
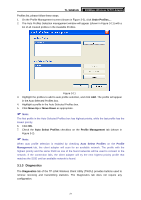
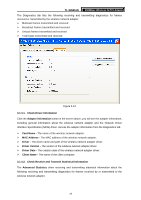
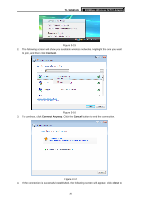
TL-WN951N 2. Select the profile name required in the Profiles List. 3. Click Activate. 300Mbps Wireless N PCI Adapter 3.1.2.4. Export a Profile 1. From the Profile Management screen (shown in Figure 3-2), highlight the profile to export. 2. Click Export..., the Export Profile window will then appear below. 3. Browse the directory to export the profile to. 4. Click Save. The profile should then be exported to the specified location. Figure 3-8 3.1.2.5. Import a Profile 1. From the Profile Management screen (shown in Figure 3-2), click Import.... Then the Import Profile will appear below. 2. Browse to the directory where the profile is located. 3. Highlight the profile name. 4. Click Open, the imported profile will then appear in the Profiles List. 25
-
 1
1 -
2
-
3
-
4
-
5
-
6
-
7
-
8
-
9
-
10
-
11
-
12
-
13
-
14
-
15
-
16
-
17
-
18
-
19
-
20
-
21
-
22
-
23
-
24
-
25
-
 26
26 -
 27
27 -
 28
28 -
 29
29 -
 30
30 -
 31
31 -
 32
32 -
 33
33 -
 34
34 -
 35
35 -
 36
36 -
37
-
38
-
39
-
40
-
41
-
42
-
43
-
44
-
45
-
46
-
47
-
48
 |
 |