Uniden BC296D English Owners Manual - Page 37
Attenuating All Search Ranges, Setting DELAY for All Search Ranges, Setting a Search Range
 |
UPC - 050633650356
View all Uniden BC296D manuals
Add to My Manuals
Save this manual to your list of manuals |
Page 37 highlights
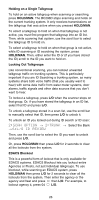
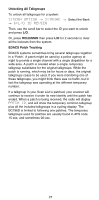
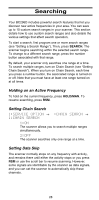
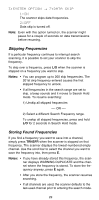
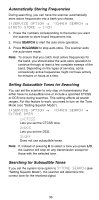
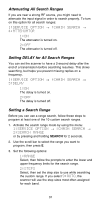
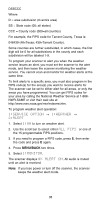
Attenuating All Search Ranges If you are near a strong RF source, you might need to attenuate the input signal in order to search properly. To turn on this option for all search ranges: 1:SERVICE OPTION → :CHAIN SEARCH → 4:ATTENUATOR 1:ON The attenuator is turned on. 2:OFF The attenuator is turned off. Setting DELAY for All Search Ranges You can set the scanner to have a 2-second delay after the end of a transmission before searching resumes. This slows searching, but helps you prevent missing replies on a frequency. 1:SERVICE OPTION → :CHAIN SEARCH → 3:DELAY 1:ON The delay is turned on. 2:OFF The delay is turned off. Setting a Search Range Before you can use a range search, follow these steps to program at least one of the 10 custom search ranges. 1. Activate the search range mode by using the menu: 1:SERVICE OPTION → :CHAIN SEARCH → 2:SEARCH RANGE or by pressing and holding SEARCH for 2 seconds. 2. Use the scroll bar to select the range you want to program, then press E. 3. Set the following options: 1:RANGE Select, then follow the prompts to enter the lower and upper frequency limits for the search range. 2:STEPS Select, then set the step size to use while searching the custom range. If you select 9:AUTO, the scanner will use the step sizes most often assigned for each band. 31
-
 1
1 -
2
-
3
-
4
-
5
-
6
-
7
-
8
-
9
-
10
-
11
-
12
-
13
-
14
-
15
-
16
-
17
-
18
-
19
-
20
-
21
-
22
-
23
-
24
-
25
-
26
-
27
-
28
-
29
-
30
-
31
-
 32
32 -
 33
33 -
 34
34 -
 35
35 -
 36
36 -
 37
37 -
 38
38 -
 39
39 -
 40
40 -
 41
41 -
 42
42 -
43
-
44
-
45
-
46
-
47
-
48
-
49
-
50
-
51
-
52
-
53
-
54
-
55
-
56
-
57
-
58
-
59
-
60
-
61
-
62
-
63
-
64
-
65
-
66
-
67
-
68
-
69
-
70
-
71
-
72
-
73
-
74
-
75
-
76
-
77
-
78
-
79
-
80
-
81
-
82
-
83
-
84
-
85
-
86
-
87
-
88
 |
 |
