Vantec UGT-ST350CB User Guide - Page 9
Select Silicon Image SiI-3132 Serial ATA Controller driver and press enter.
 |
View all Vantec UGT-ST350CB manuals
Add to My Manuals
Save this manual to your list of manuals |
Page 9 highlights
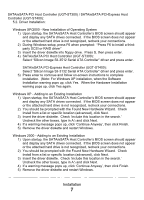
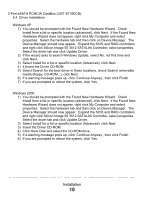
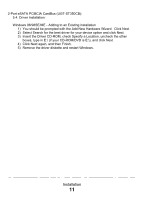
SATA/eSATA PCI Host Controller (UGT-ST300) / SATA/eSATA PCI-Express Host Controller (UGT-ST400): 5.2. Driver Installation: Windows XP/2000 - New Installation of Operating System 1) Upon startup, the SATA/eSATA Host Controller's BIOS screen should appear and display any SATA drives connected. If the BIOS screen does not appear or the attached hard drive is not recognized, recheck your connections. 2) During Windows setup, press F6 when prompted: "Press F6 to install a thirdparty SCSI or RAID driver" 3) Insert the driver diskette into floppy drive. Press S, then press enter. 4) SATA/eSATA PCI Host Controller (UGT-ST300): Select "Silicon Image SiI-3512 Serial ATA Controller" driver and press enter. SATA/eSATA PCI-Express Host Controller (UGT-ST400): Select "Silicon Image SiI-3132 Serial ATA Controller" driver and press enter. 5) Press enter to continue and follow on-screen instructions to complete installation. (Note: For Windows XP installation, when the Software Installation warning pops up, click Yes. When the Hardware Installation warning pops up, click Yes again. Windows XP - Adding to an Existing Installation 1) Upon startup, the SATA/eSATA Host Controller's BIOS screen should appear and display any SATA drives connected. If the BIOS screen does not appear or the attached hard drive is not recognized, recheck your connections. 2) You should be prompted with the Found New Hardware Wizard. Check Install from a list or specific location (advanced), click Next. 3) Insert the driver diskette. Check 'Include this location in the search.' Uncheck the other boxes, type in A:\ and click Next. 4) If a warning message pops up, click 'Continue Anyway', then click Finish. 5) Remove the driver diskette and restart Windows. Windows 2000 - Adding to an Existing Installation 1) Upon startup, the SATA/eSATA Host Controller's BIOS screen should appear and display any SATA drives connected. If the BIOS screen does not appear or the attached hard drive is not recognized, recheck your connections. 2) You should be prompted with the Found New Hardware Wizard. Check Install from a list or specific location (advanced), click Next. 3) Insert the driver diskette. Check 'Include this location in the search.' Uncheck the other boxes, type in A:\ and click Next. 4) If a warning message pops up, click 'Continue Anyway', then click Finish. 5) Remove the driver diskette and restart Windows. Installation 7
-
 1
1 -
2
-
3
-
 4
4 -
 5
5 -
 6
6 -
 7
7 -
 8
8 -
 9
9 -
 10
10 -
 11
11 -
 12
12 -
 13
13 -
 14
14 -
15
 |
 |