ViewSonic PJD6251 PJD6251 User Guide (English) - Page 18
Powering On/Off the Projector - won turn on
 |
UPC - 766907361117
View all ViewSonic PJD6251 manuals
Add to My Manuals
Save this manual to your list of manuals |
Page 18 highlights
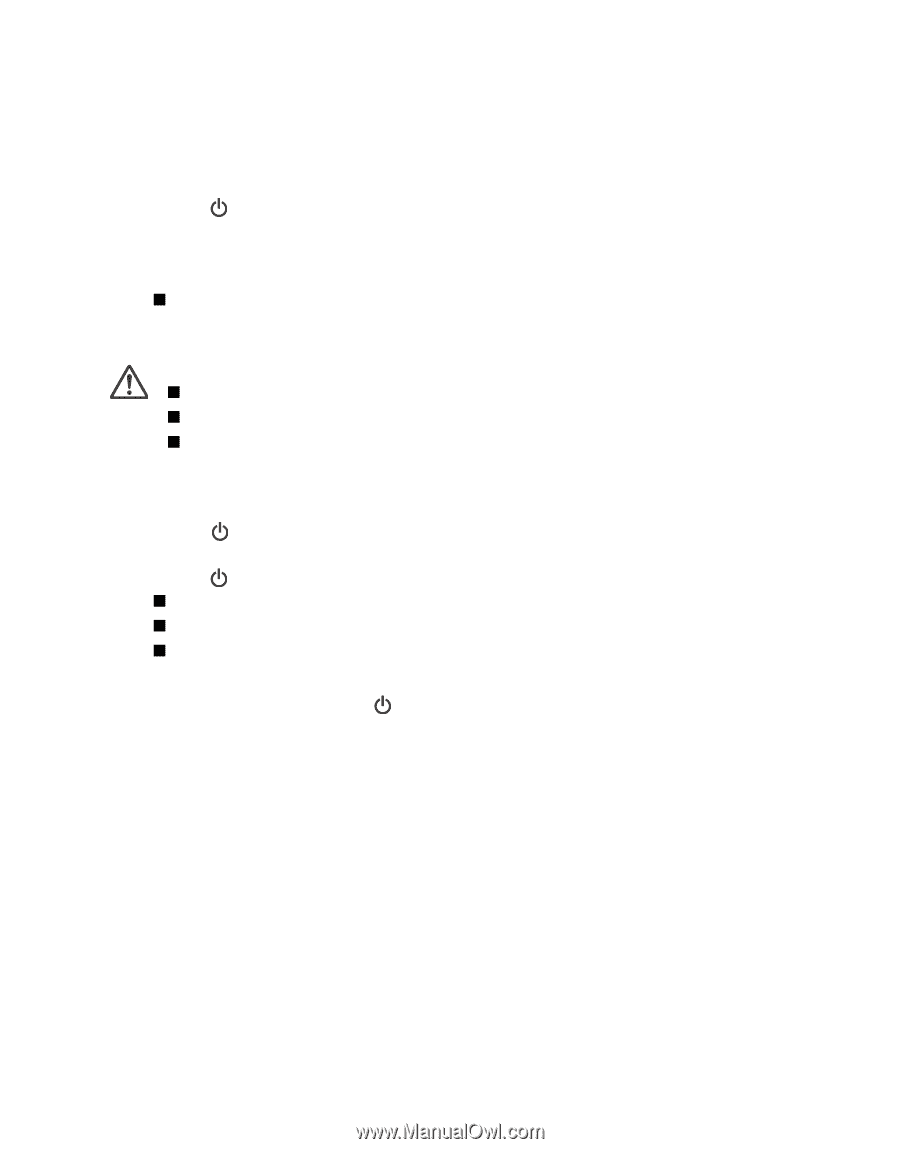
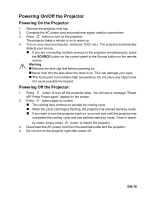
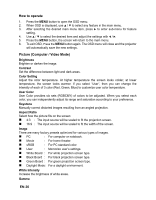
Powering On/Off the Projector Powering On the Projector: 1. Remove the projector lens cap. 2. Complete the AC power cord and peripheral signal cable(s) connections. 3. Press button to turn on the projector. The projector takes a minute or so to warm up. 4. Turn on your source (computer, notebook, DVD, etc.). The projector automatically detects your source. „ If you are connecting multiple sources to the projector simultaneously, press the SOURCE button on the control panel or the Source button on the remote control. Warning „ Remove the lens cap first before powering on. „ Never look into the lens when the lamp is on. This can damage your eyes. „ This focal point concentrates high temperature. Do not place any object near it to avoid possible fire hazard. Powering Off the Projector: 1. Press button to turn off the projector lamp. You will see a message "Power off? Press Power again" appear on the screen. 2. Press button again to confirm. „ The cooling fans continue to operate for cooling cycle. „ When the Lamp LED begins flashing, the projector has entered stand-by mode. „ If you want to turn the projector back on, you must wait until the projector has completed the cooling cycle and has entered stand-by mode. Once in stand- by mode, simply press button to restart the projector. 3. Disconnect the AC power cord from the electrical outlet and the projector. 4. Do not turn on the projector right after power off. EN-15
-
 1
1 -
2
-
3
-
4
-
5
-
6
-
7
-
8
-
9
-
10
-
11
-
12
-
 13
13 -
 14
14 -
 15
15 -
 16
16 -
 17
17 -
 18
18 -
 19
19 -
 20
20 -
 21
21 -
 22
22 -
 23
23 -
24
-
25
-
26
-
27
-
28
-
29
-
30
-
31
-
32
-
33
-
34
-
35
-
36
-
37
-
38
-
39
-
40
-
41
-
42
-
43
-
44
-
45
-
46
-
47
-
48
-
49
-
50
-
51
-
52
-
53
-
54
-
55
-
56
-
57
-
58
-
59
 |
 |