ViewSonic PJD6251 PJD6251 User Guide (English) - Page 28
Network Control
 |
UPC - 766907361117
View all ViewSonic PJD6251 manuals
Add to My Manuals
Save this manual to your list of manuals |
Page 28 highlights
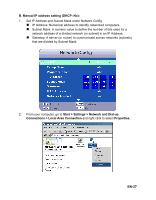
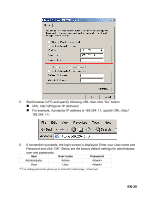
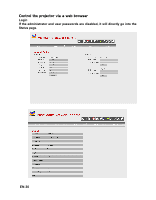
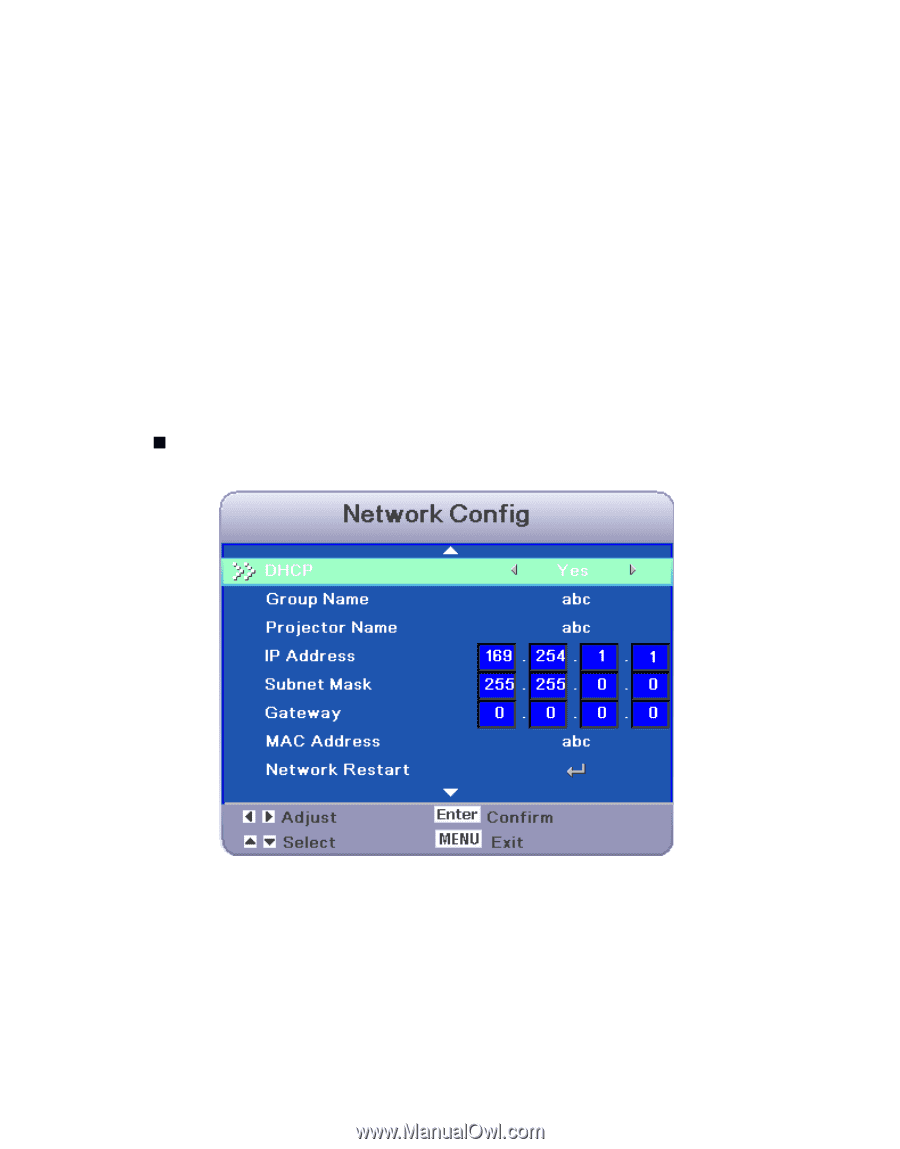
Network Control This feature provides the ability to remotely control and manage the projector through the network. Preparation: 1. Connect one end of the internet cable to the Network Control connector on the projector. 2. Connect the other end of the internet cable to an available RJ-45 connector on your computer. 3. Turn on your projector and computer. There are two ways to connect to the network control: A. Auto IP address setting (DHCP : Yes): 1. Enable DHCP from the projector OSD, under Network Config. „ When DHCP is enabled, IP Address, Subnet Mask and Gateway information will get from DHCP server automatically. EN-25
-
 1
1 -
2
-
3
-
4
-
5
-
6
-
7
-
8
-
9
-
10
-
11
-
12
-
13
-
14
-
15
-
16
-
17
-
18
-
19
-
20
-
21
-
22
-
 23
23 -
 24
24 -
 25
25 -
 26
26 -
 27
27 -
 28
28 -
 29
29 -
 30
30 -
 31
31 -
 32
32 -
 33
33 -
34
-
35
-
36
-
37
-
38
-
39
-
40
-
41
-
42
-
43
-
44
-
45
-
46
-
47
-
48
-
49
-
50
-
51
-
52
-
53
-
54
-
55
-
56
-
57
-
58
-
59
 |
 |
EN-25
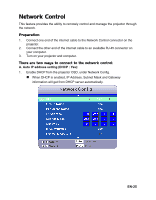
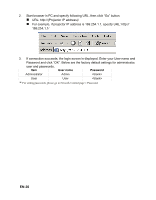
Network Control
This feature provides the ability to remotely control and manage the projector through
the network.
Preparation:
1.
Connect one end of the internet cable to the Network Control connector on the
projector.
2.
Connect the other end of the internet cable to an available RJ-45 connector on
your computer.
3.
Turn on your projector and computer.
There are two ways to connect to the network control:
A. Auto IP address setting (DHCP : Yes):
1.
Enable DHCP from the projector OSD, under Network Config.
When DHCP is enabled, IP Address, Subnet Mask and Gateway
information will get from DHCP server automatically.