Vizio M260VA M260VA-W User Manuals - Page 28
Adjusting Your HDTV Settings - service manual
 |
UPC - 845226003141
View all Vizio M260VA manuals
Add to My Manuals
Save this manual to your list of manuals |
Page 28 highlights
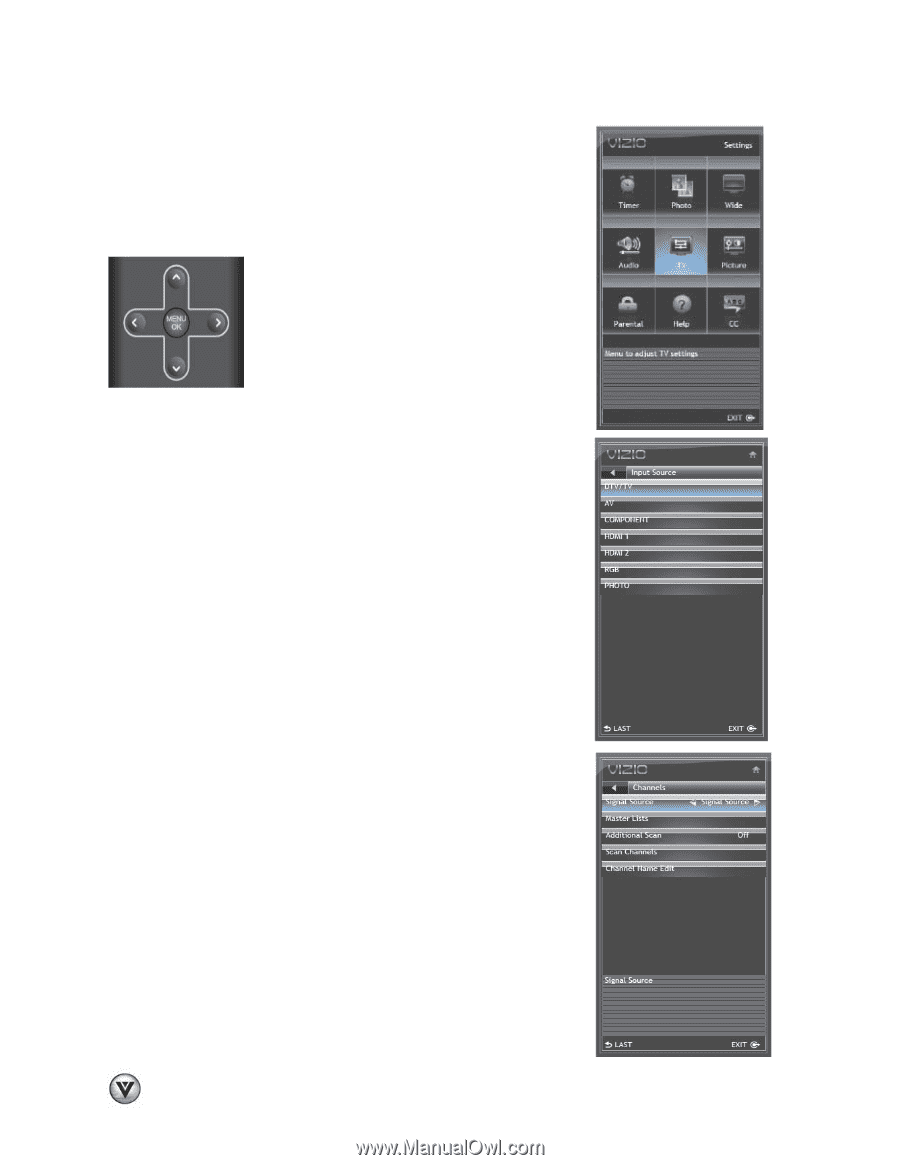
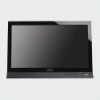
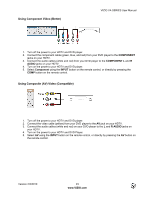
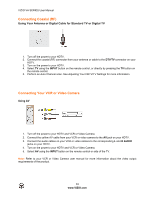
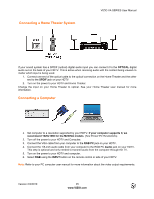
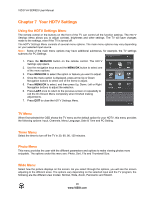
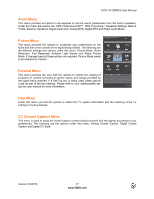
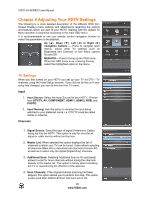
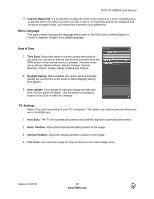
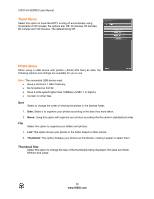
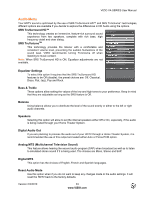
VIZIO VA SERIES User Manual Chapter 8 Adjusting Your HDTV Settings The following is a more detailed description of the different OSD (OnScreen Display) menu settings and adjustments regarding the options and features which are part of your HDTV. Starting with the default TV Menu and then in sequence according to the main OSD menu. It is recommendable to use your remote control navigation buttons to select the parameters to be adjusted. Up (▲), Down (▼), Left (◄) or Right (►) navigation buttons - Press to navigate open menus, adjust other TV settings such as Brightness and Contrast, or turn menu options On and Off. MENU/OK- Press to bring up the OSD menu. When the OSD menu is up, pressing this key select the highlighted option in the menu. TV Settings When you first turned on your HDTV you set up your TV for DTV / TV channels using the Initial Setup screens. If you did not do this or if your setup has changed, you can do this from the TV menu. Input 1. Input Source: Select the Input Source for your HDTV. Choose from DTV/TV, AV, COMPONENT, HDMI 1, HDMI 2, RGB, and PHOTO. 2. Input Naming: Use this option to rename the input being watched to your preferred name; i.e. DTV/TV could be called Cable or Antenna. Channels 1. Signal Source: Select the type of signal (Antenna or Cable) being fed into the HDTV. This option is only for over the air signal or cable service without set-top box. 2. Master List: When selected this option displays the list of channels to which your TV can be tuned. It also allows selecting all channels (Mark All) or deselected all channels (Unmark All) as well as to select only the digital (Digital Only) channels. 3. Additional Scan: Selecting Additional Scan to On (activated) allows to scan for more channels without losing the channels already in the master list. This option is handy when relocating the TV or repositioning the direction of the antenna. 4. Scan Channels: If the original channel scanning had been skipped, this option allows you to perform this step. This option is also used after Additional Scan has been set to On. 28 www.VIZIO.com
-
 1
1 -
2
-
3
-
4
-
5
-
6
-
7
-
8
-
9
-
10
-
11
-
12
-
13
-
14
-
15
-
16
-
17
-
18
-
19
-
20
-
21
-
22
-
 23
23 -
 24
24 -
 25
25 -
 26
26 -
 27
27 -
 28
28 -
 29
29 -
 30
30 -
 31
31 -
 32
32 -
 33
33 -
34
-
35
-
36
-
37
-
38
-
39
-
40
-
41
-
42
-
43
-
44
-
45
-
46
-
47
-
48
-
49
-
50
-
51
 |
 |