Vtech Master Video Painter User Manual - Page 9
\16\A
 |
View all Vtech Master Video Painter manuals
Add to My Manuals
Save this manual to your list of manuals |
Page 9 highlights
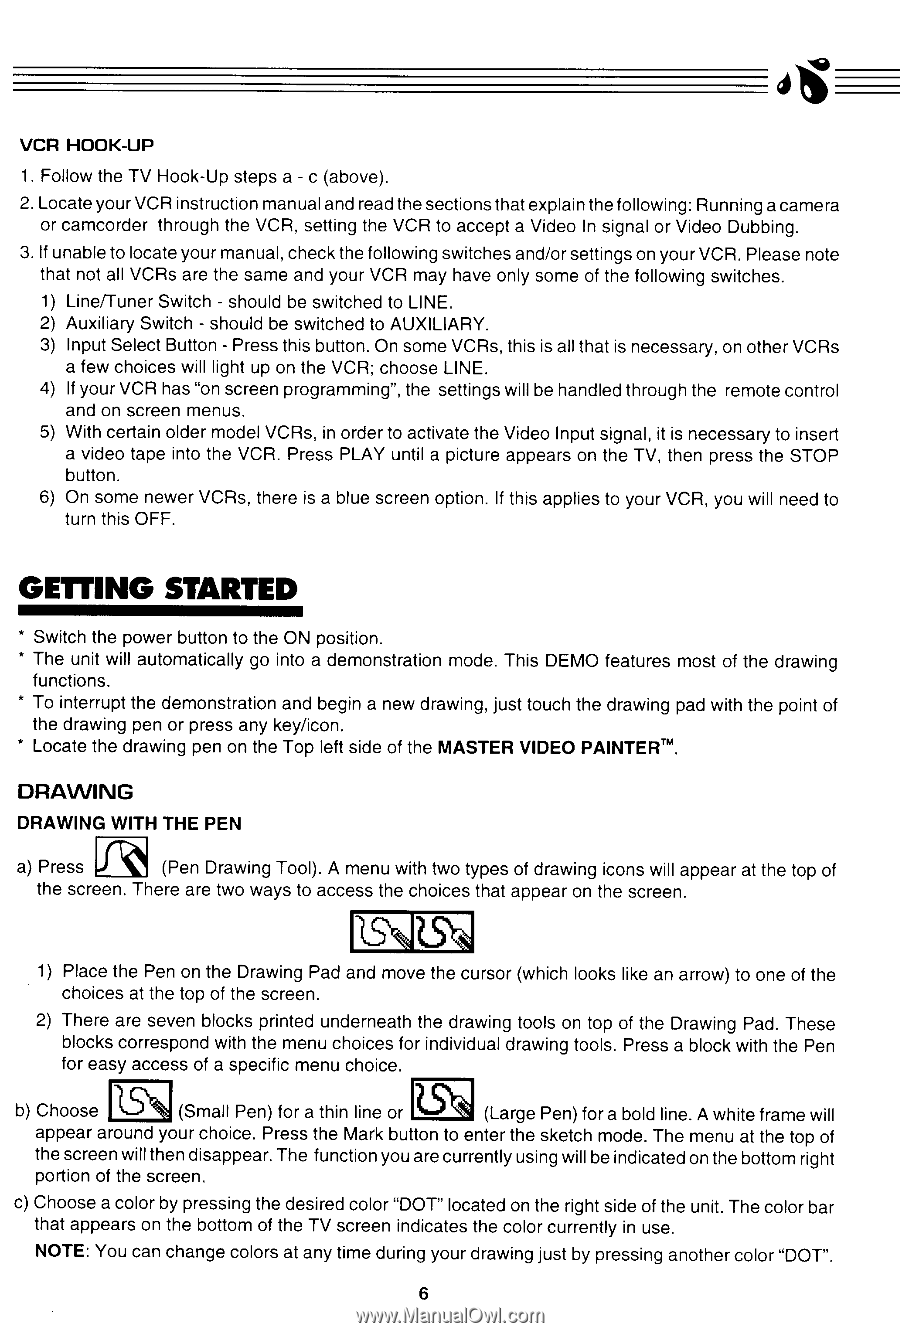
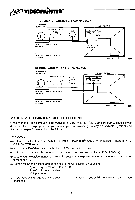
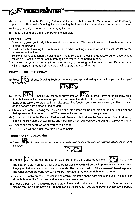
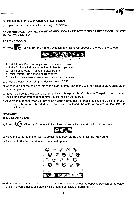
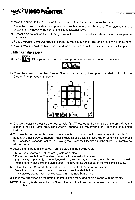
VCR HOOK-UP 1. Follow the TV Hook-Up steps a - c (above). 2. Locate your VCR instruction manual and read the sections that explain the following: Running a camera or camcorder through the VCR, setting the VCR to accept a Video In signal or Video Dubbing. 3. If unable to locate your manual, check the following switches and/or settings on your VCR. Please note that not all VCRs are the same and your VCR may have only some of the following switches. 1) Line/Tuner Switch - should be switched to LINE. 2) Auxiliary Switch - should be switched to AUXILIARY. 3) Input Select Button - Press this button. On some VCRs, this is all that is necessary, on other VCRs a few choices will light up on the VCR; choose LINE. 4) If your VCR has "on screen programming", the settings will be handled through the remote control and on screen menus. 5) With certain older model VCRs, in order to activate the Video Input signal, it is necessary to insert a video tape into the VCR. Press PLAY until a picture appears on the TV, then press the STOP button. 6) On some newer VCRs, there is a blue screen option. If this applies to your VCR, you will need to turn this OFF. GETTING STARTED * Switch the power button to the ON position. * The unit will automatically go into a demonstration mode. This DEMO features most of the drawing functions. * To interrupt the demonstration and begin a new drawing, just touch the drawing pad with the point of the drawing pen or press any key/icon. * Locate the drawing pen on the Top left side of the MASTER VIDEO PAINTERTH. DRAWING DRAWING WITH THE PEN a) Press Fi q (Pen Drawing Tool). A menu with two types of drawing icons will appear at the top of the screen. There are two ways to access the choices that appear on the screen. 1,5\16\A 1) Place the Pen on the Drawing Pad and move the cursor (which looks like an arrow) to one of the choices at the top of the screen. 2) There are seven blocks printed underneath the drawing tools on top of the Drawing Pad. These blocks correspond with the menu choices for individual drawing tools. Press a block with the Pen for easy access of a specific menu choice. b) Choose (Small Pen) for a thin line or ?SCA (Large Pen) for a bold line. A white frame will appear around your choice. Press the Mark button to enter the sketch mode. The menu at the top of the screen will then disappear. The function you are currently using will be indicated on the bottom right portion of the screen. c) Choose a color by pressing the desired color "DOT" located on the right side of the unit. The color bar that appears on the bottom of the TV screen indicates the color currently in use. NOTE: You can change colors at any time during your drawing just by pressing another color "DOT". 6
-
 1
1 -
2
-
3
-
 4
4 -
 5
5 -
 6
6 -
 7
7 -
 8
8 -
 9
9 -
 10
10 -
 11
11 -
 12
12 -
 13
13 -
 14
14 -
15
-
16
-
17
-
18
-
19
-
20
-
21
-
22
-
23
-
24
-
25
-
26
-
27
-
28
 |
 |