Whirlpool WFW9470WW Owners Manual - Page 9
Features And Benefits - washing machine
 |
UPC - 883049186856
View all Whirlpool WFW9470WW manuals
Add to My Manuals
Save this manual to your list of manuals |
Page 9 highlights
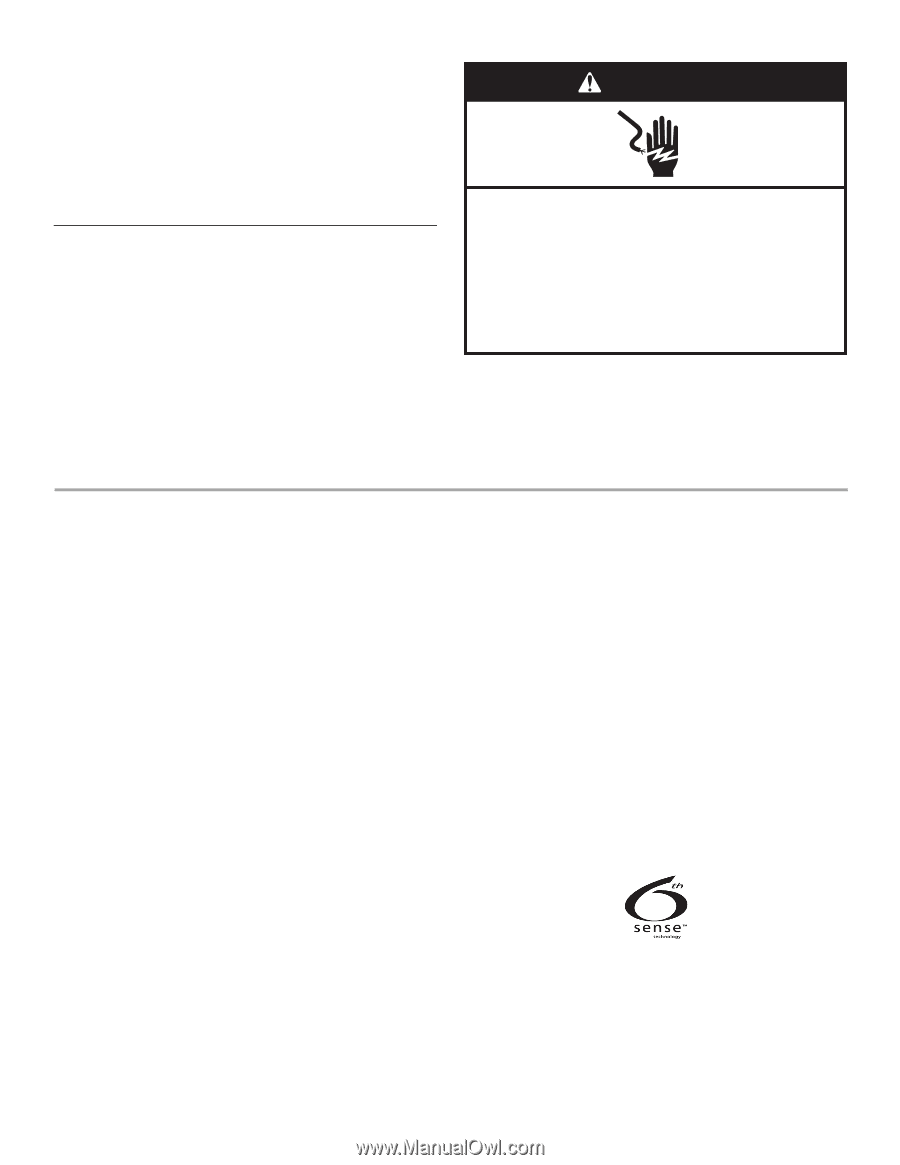
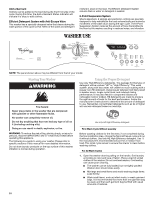
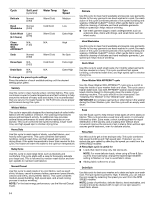
2. Make sure all four feet are stable and resting on the floor. Then check that the washer is perfectly level (use a level). 3. After the washer is level, use a 17 mm open-end wrench to turn the nuts on the feet tightly against the washer cabinet. IMPORTANT: All four feet must be tightened. If the nuts are not tight against the washer cabinet, the washer may vibrate. 4. The washer should not move front to back, side to side, or diagonally when pushed on its top edges. 5. Slide the washer to its final location. 6. Confirm the levelness of the washer. Complete Installation 1. Check the electrical requirements. Be sure that you have the correct electrical supply and the recommended grounding method. See "Electrical Requirements." 2. Check that all parts are now installed. If there is an extra part, go back through the steps to see which step was skipped. 3. Check that you have all of your tools. 4. Dispose of/recycle all packaging materials. 5. Check that the water faucets are on. 6. Check for leaks around faucets and inlet hoses. WARNING Electrical Shock Hazard Plug into a grounded 3 prong outlet. Do not remove ground prong. Do not use an adapter. Do not use an extension cord. Failure to follow these instructions can result in death, fire, or electrical shock. 7. Plug into a grounded 3 prong outlet. 8. Read "Washer Use." 9. To test and clean your machine, make sure there are no clothes in the washer and add one AFFRESH® tablet to the washer drum. Select Power, the Clean Washer cycle and then select START. This cycle will take approximately 50 minutes to complete. Allow the washer to complete the entire cycle without interruption. FEATURES AND BENEFITS Electronic Controls Flexible electronic controls are easy to use whether you are a beginner or an expert. Smart Dispensers The Smart Dispensers make your washer truly automatic. This washer provides a three-compartment dispenser which includes separate compartments for main wash detergent, fabric softener, and bleach. The dispenser has large pour zones. The dispenser is self-cleaning, and can be easily removed. Laundry products are diluted with fresh water and added to the load at the proper time in the wash cycle. Clean Washer with AFFRESH™ Cycle This cycle uses steam to raise the temperature of the unit and makes the washer self-cleaning, flushing the machine's interior free of dirt and other residue. The use of AFFRESH® washer cleaner or liquid chlorine bleach with this cycle will remove and help avoid odor-causing residue. Auto Water Level This washer automatically adjusts water level for optimal cleaning and rinsing performance. Two sensors determine load size, load composition, and suds level, then the sensors adjust the water level to the proper setting. This eliminates guesswork. The water level is just right for every wash load size. Larger Load Size Since there is no agitator, you can wash larger, bulkier items such as a king-sized bedspread. You are also able to wash more clothes at one time, which means fewer loads. Stainless Steel Drum The stainless steel drum eliminates corrosion and enables higher spin speeds for more water extraction, helping to reduce drying time compared to traditional top-load washers. High-Efficiency Wash System Your new front-loading, high-efficiency washer saves time with fewer, larger loads. It also lowers your water and energy bills by helping conserve resources. Spin Speeds This washer automatically selects the spin speed based on the cycle selected. This factory setting can be changed, however. This washer offers up to four different spin speed choices, up to 1300 rpm. Heating Element This washer has a heating element that automatically heats the water to the optimal temperature on select cycles. This enables stepped cleaning, a process in which warm water is brought in and mixed with detergent first, then the water is heated. Stepped cleaning starts the wash cycle with warm water to remove stains (such as blood and grass). 6th Sense® Technology Intuitive intelligence "knows every load" determining load sizes, water levels and how much cleaning time is needed. Direct Injection Wash System This washer channels 100% of the water through the dispensers to assure thorough rinse-out and mixture of all the laundry products before they touch any garments. The water is then sprayed from the top front onto the center of the load, providing even distribution and optimum cleaning performance. It is normal for small amounts of water to remain in the dispensers when the wash cycle is complete. 9
-
 1
1 -
2
-
3
-
 4
4 -
 5
5 -
 6
6 -
 7
7 -
 8
8 -
 9
9 -
 10
10 -
 11
11 -
 12
12 -
 13
13 -
 14
14 -
15
-
16
-
17
-
18
-
19
-
20
-
21
-
22
-
23
-
24
-
25
-
26
-
27
-
28
-
29
-
30
-
31
-
32
-
33
-
34
-
35
-
36
-
37
-
38
-
39
-
40
-
41
-
42
-
43
-
44
-
45
-
46
-
47
-
48
 |
 |