Whirlpool WRF560SFYB Use & Care Guide - Page 9
Filters And Accessories
 |
View all Whirlpool WRF560SFYB manuals
Add to My Manuals
Save this manual to your list of manuals |
Page 9 highlights
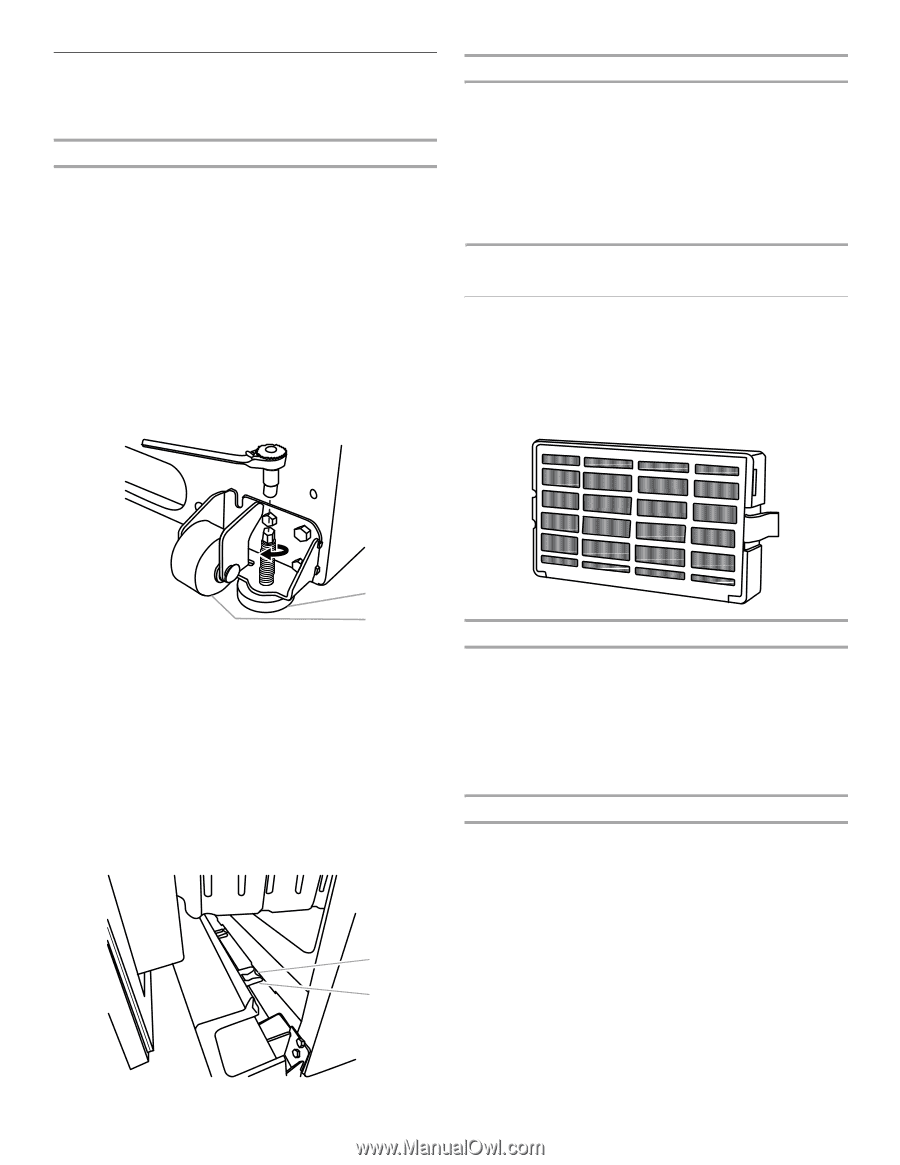
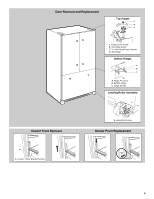
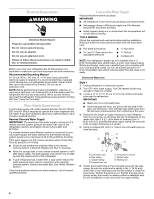
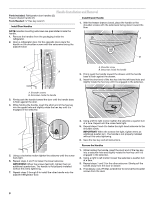
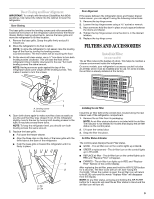
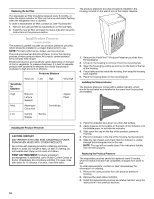
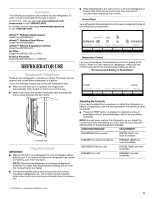
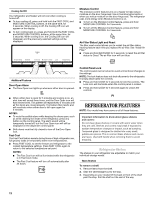
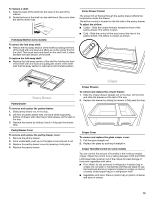
Door Closing and Door Alignment IMPORTANT: To comply with American Disabilities Act (ADA) guidelines, fully retract the rollers into the cabinet to lower the refrigerator. Door Closing The base grille covers the leveling screws and roller assemblies located at the bottom of the refrigerator cabinet below the freezer drawer. Before making adjustments, remove the base grille and move the refrigerator to its final location. 1. Remove the base grille. Grasp the grille firmly and pull it toward you. 2. Move the refrigerator to its final location. NOTE: To allow the refrigerator to roll easier, raise the leveling legs off the floor by turning the leveling screws counterclockwise. The front rollers will be touching the floor. 3. So the doors will close easier, use a ¹⁄₄" hex driver to turn both leveling screws clockwise. This will raise the front of the refrigerator tilting it slightly downward to the rear. Turn both leveling screws the same amount. NOTE: Having someone push against the top of the refrigerator takes some weight off the leveling screws. This makes it easier to turn the screws. Door Alignment If the space between the refrigerator doors and freezer drawer looks uneven, you can adjust it using the following instructions: 1. Remove the top hinge cover. 2. Loosen the top hinge screws using a socket or wrench. 3. Have someone hold the door in place or put a spacer between the doors and drawer. 4. Tighten the top hinge screws once the door is in the desired location. 5. Replace the top hinge cover. FILTERS AND ACCESSORIES Install Air Filter (on some models) The air filter reduces the buildup of odors. This helps to maintain a cleaner environment inside the refrigerator. On some models, your refrigerator's accessory packet includes an air filter, which must be installed prior to use. On some models, the air filter is already installed at the factory. ¹⁄₄" A B A. Leveling screw B. Front roller 4. Open both doors again to make sure they close as easily as you like and that they stay closed. If not, tilt the refrigerator slightly more to the rear by turning both leveling screws to the right. It may take several more turns. NOTE: To keep the refrigerator level, you should turn both leveling screws the same amount. 5. Replace the base grille. ■ Pull open the freezer drawer. ■ Align the three clips on the back of the base grille with the three tabs at the base of the refrigerator. ■ Push the base grille in toward the refrigerator until it is firmly in place. A B A. Tab B. Clip Installing the Air Filter Install the air filter behind the vented door, located along the rear interior wall of the refrigerator compartment. 1. Remove the air filter from its packaging. NOTE: An air filter status indicator is included with the air filter. The indicator is not needed for models that display the air filter status on the control panel. 2. Lift open the vented door. 3. Snap the filter into place. Air Filter Status Indicator The control panel displays the Air Filter status. ■ GOOD - The air filter icon on the control lights up in BLUE. ■ ORDER a replacement - The air filter icon on the control lights up in YELLOW. ■ REPLACE air filter - The air filter icon on the control lights up in RED and "Replace Filter" will appear. ■ EXPIRED - The air filter icon lights up in RED and "Replace Filter" flashes on the control display. After replacing the air filter, press and hold the AIR FILTER button for 3 seconds. The filter icons will turn off. See "Using the Control(s)." When the system is reset, the air filter icon will return to its BLUE color and the words "Replace Filter" will disappear from the display. NOTE: At any filter status, pressing and holding the AIR FILTER button for 3 seconds will reset the air filter status to Good and the air filter icon will turn off. 9
-
 1
1 -
2
-
3
-
 4
4 -
 5
5 -
 6
6 -
 7
7 -
 8
8 -
 9
9 -
 10
10 -
 11
11 -
 12
12 -
 13
13 -
 14
14 -
15
-
16
-
17
-
18
-
19
-
20
-
21
-
22
-
23
-
24
-
25
-
26
-
27
-
28
-
29
-
30
-
31
-
32
-
33
-
34
-
35
-
36
-
37
-
38
-
39
-
40
-
41
-
42
-
43
-
44
-
45
-
46
-
47
-
48
-
49
-
50
-
51
-
52
-
53
-
54
-
55
-
56
-
57
-
58
-
59
-
60
-
61
-
62
-
63
-
64
-
65
-
66
 |
 |