Yamaha DT50S Drum Trigger Module Setup Manual for DT50S/DT50K - Page 8
TIPS!, Adjusting the Noise Filter, Adjusting Head and Rim Balance
 |
View all Yamaha DT50S manuals
Add to My Manuals
Save this manual to your list of manuals |
Page 8 highlights
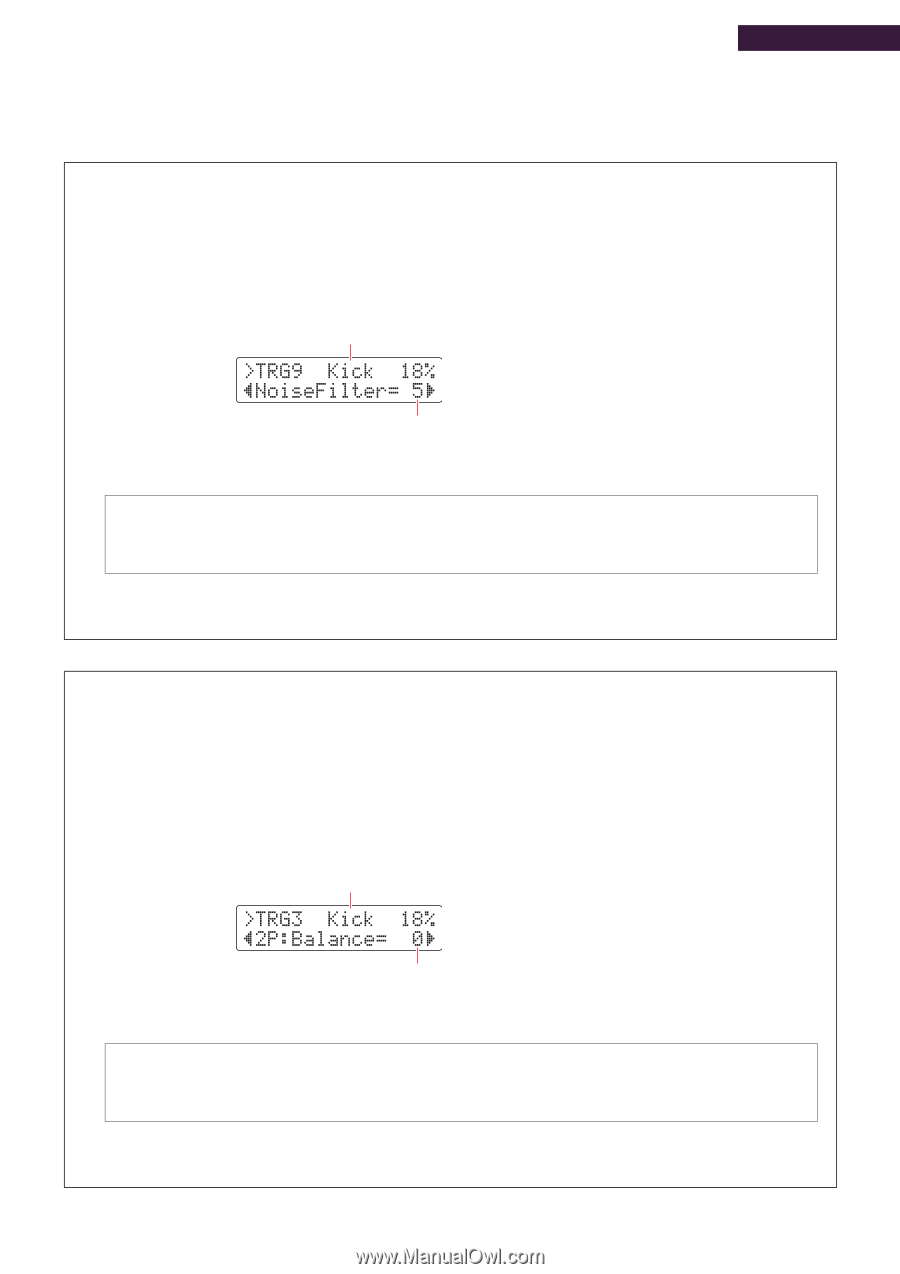
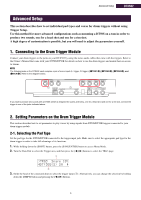
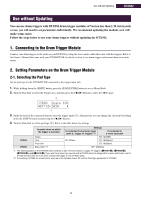
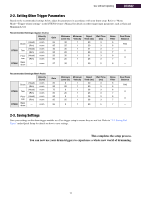
TIPS! This section provides tips on how to make your drum triggers even easier to use. DTX502 Adjusting the Noise Filter Follow the steps below to make adjustments in situations where, for whatever reason, noise enters the trigger signal when a pad is struck or other instability in trigger signals leads to sounds not being generated correctly. 1. While holding down the [SHIFT] button, press the [SAVE/ENTER] button to access Menu Mode. 2. Turn the Data Dial to select the Trigger area, and then press the [] buttons to navigate to the Noise Filter page (TRG9). q w 3. Strike the head of the connected drum to select the trigger input (q), and then turn the Data Dial to set the noise filter (w). HINT The larger the value, the more noise and unintentional sounds will be filtered. Larger noise filter settings can, in cases where the drum is struck multiple times in rapid succession, result in sounds being dropped. Be sure to adjust the setting to best match your style of drumming. 4. Save your settings on the drum trigger module as a User trigger setup to ensure they are not lost. Refer to "2-2. Saving Pad Types" in this manual for details on how to save settings. Adjusting Head and Rim Balance Follow the steps below to adjust the balance between the head and rim of the snare or other drum on which a DT50S is mounted. This setting will only work when you have selected "DT50S SN", "DT50S tomH", or "DT50S tomL" for the Pad Type parameter. 1. While holding down the [SHIFT] button, press the [SAVE/ENTER] button to access Menu Mode. 2. Turn the Data Dial to select the Trigger area, and then press the [] buttons to navigate to the Balance page (TRG3). q w 3. Strike the head of the connected drum to select the trigger input (q), and then turn the Data Dial to set the balance (w). HINT If the head sounds when the rim is struck, move the balance further to the R side (i.e., raise the setting) to ensure that the rim sounds. Similarly, if the rim sounds when the head is struck, move the balance further to the H side (i.e., lower the setting) to ensure that the head sounds instead. Adjust the value until you reach the optimal balance. 4. Save your settings on the drum trigger module as a User trigger setup to ensure they are not lost. Refer to "2-2. Saving Pad Types" in this manual for details on how to save settings. 8
-
 1
1 -
2
-
 3
3 -
 4
4 -
 5
5 -
 6
6 -
 7
7 -
 8
8 -
 9
9 -
 10
10 -
 11
11 -
 12
12 -
 13
13 -
14
-
15
-
16
-
17
-
18
-
19
-
20
-
21
-
22
-
23
-
24
-
25
-
26
-
27
-
28
-
29
-
30
 |
 |