Yamaha DVD-S663 Owner's Manual - Page 32
General setup menu, Recording CD tracks onto your, USB device
 |
View all Yamaha DVD-S663 manuals
Add to My Manuals
Save this manual to your list of manuals |
Page 32 highlights
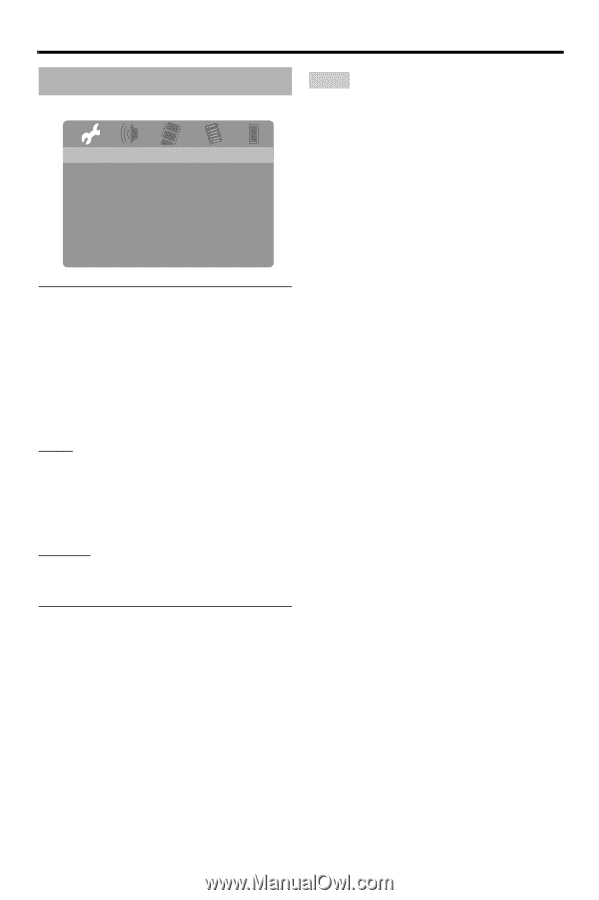
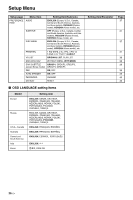
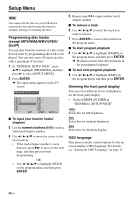
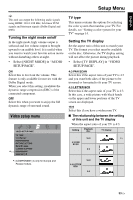
Setup Menu General setup menu GENERAL SETUP PAGE DISC LOCK MP3 RECORD PROGRAM DISPLAY DIM OSD LANGUAGE SCREEN SAVER SLEEP DIVX(R) VOD CODE Locking/Unlocking the disc for viewing Not all discs are rated or coded by the manufacturer of the disc. You can prevent playback of a specific disc by locking the disc. You can lock up to 40 discs on this unit. • Select [DISC LOCK] in "GENERAL SETUP PAGE". LOCK Select this to lock playback of the current disc. Subsequent access to a locked disc requires a six-digit password. The default password is "000 000" (see "Changing the password" on page 40). UNLOCK Select this to unlock the disc and allow future playback. Recording CD tracks onto your USB device You can record CD tracks onto your USB device connected to this unit. The tracks are recorded in MP3 format. Notes • MP3 files created by this unit are restricted to your private enjoyment only. Unauthorized use of copyrighted recordings can be copyright infringement. • Yamaha and suppliers accepts no liability for the loss of data saved on the USB devices connected to this unit. As a precaution, it is recommended that the files are made backup copies. • Discs incompatible with CDDA standard are not guaranteed to function. • Copy protected music discs incompatible with CDDA standard are not recordable. • Tracks protected by SCMS (Serial Copy Management System) are not recordable. • If "USB current protection active. Device not supported" appears on the TV screen, the device is not usable with this unit because the power consumption of the device is too high. • "Device not supported" or "USB current protection active. Device not supported" appears on the TV screen when you connect the USB device, this unit does not support the USB device. In this case, use a different USB device. • During recording, do not disconnect your USB device or set this unit to the standby mode. y About the USB devices supported by this unit, refer to "Supported USB devices" on page 23. 1 Connect your USB device to the USB port of this unit (see "USB port" on page 12). 2 Load a music CD (see "Basic operation" on page 17). 3 In "GENERAL SETUP PAGE", press 5/a to highlight [MP3 RECORD], and then press 3 to select [SETUP]. 4 Press ENTER. 28 En
-
 1
1 -
2
-
3
-
4
-
5
-
6
-
7
-
8
-
9
-
10
-
11
-
12
-
13
-
14
-
15
-
16
-
17
-
18
-
19
-
20
-
21
-
22
-
23
-
24
-
25
-
26
-
 27
27 -
 28
28 -
 29
29 -
 30
30 -
 31
31 -
 32
32 -
 33
33 -
 34
34 -
 35
35 -
 36
36 -
 37
37 -
38
-
39
-
40
-
41
-
42
-
43
-
44
-
45
-
46
-
47
-
48
-
49
-
50
-
51
-
52
-
53
 |
 |