Yamaha P-100 Owner's Manual (image) - Page 49
Program change transmit table
 |
View all Yamaha P-100 manuals
Add to My Manuals
Save this manual to your list of manuals |
Page 49 highlights
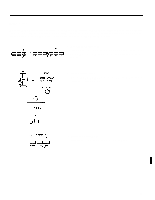
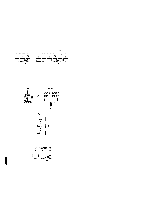
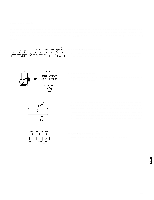
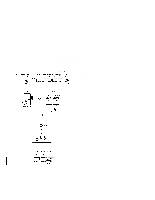
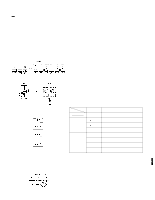
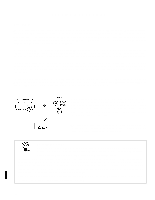
Program change transmit table Your P-100 generally transmits a program change message each time you press a [VOICE/UTILITY] button to select a voice. The number of the program change message that is sent is displayed for a second after you press the button, before being replaced by the number of the voice you selected. When your P-100 left the Yamaha factory, it was preset so that each [VOICE/UTILITY] button will send the program change number corresponding to the number above the button. Thus, an external tone generator connected to the P-100 will receive messages selecting program 1 when you press the [PIANO l] button, program 2 when you press the [PIANO 2] button, and so on. These settings are grouped in a table known as the program change transmit table. This is merely a table of one-toone correspondences which assigns a program change number to each of the P-100's ten [VOICE/UTILITY] buttons. You can change the assignments in this table using the procedure described below. 1. Enter MIDI Utility mode. Press the [PC TRNS] button while holding down the [MIDI] button. The LED above the button for the currently selected voice (the main voice in Dual or Split mode) will light steadily, and the current transmit table setting for this button will appear in the display. 2. Select a [VOICE/UTILITY] button. Press the [VOICE/UTILITY] button for which you wish to change the setting. The current transmit table setting for that button will appear in the display. (If you want to change the transmit table setting for the currently selected button, you can skip to step 3.) 3. Set the desired value. Use the [DATA ENTRY] slider or the [-l] and [+l] buttons to select the desired value. You can set a program change number from 1 to 128 for each of the P-100's [VOICE/UTILITY] buttons. If you wish, you can make this setting using a MIDI message instead of the [DATA ENTRY] slider. To do so, have an external device transmit the desired program change number on the P-100's program change receive channel. The number of the message you send will appear in the P-100's display. 40
-
 1
1 -
2
-
3
-
4
-
5
-
6
-
7
-
8
-
9
-
10
-
11
-
12
-
13
-
14
-
15
-
16
-
17
-
18
-
19
-
20
-
21
-
22
-
23
-
24
-
25
-
26
-
27
-
28
-
29
-
30
-
31
-
32
-
33
-
34
-
35
-
36
-
37
-
38
-
39
-
40
-
41
-
42
-
43
-
 44
44 -
 45
45 -
 46
46 -
 47
47 -
 48
48 -
 49
49 -
 50
50 -
 51
51 -
 52
52 -
 53
53 -
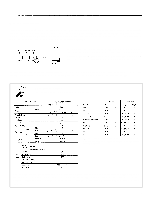 54
54 -
55
-
56
-
57
-
58
-
59
-
60
-
61
-
62
-
63
-
64
-
65
-
66
-
67
-
68
-
69
 |
 |
