Yamaha PSR-200 Owner's Manual - Page 11
Auto Accompaniment - features
 |
View all Yamaha PSR-200 manuals
Add to My Manuals
Save this manual to your list of manuals |
Page 11 highlights
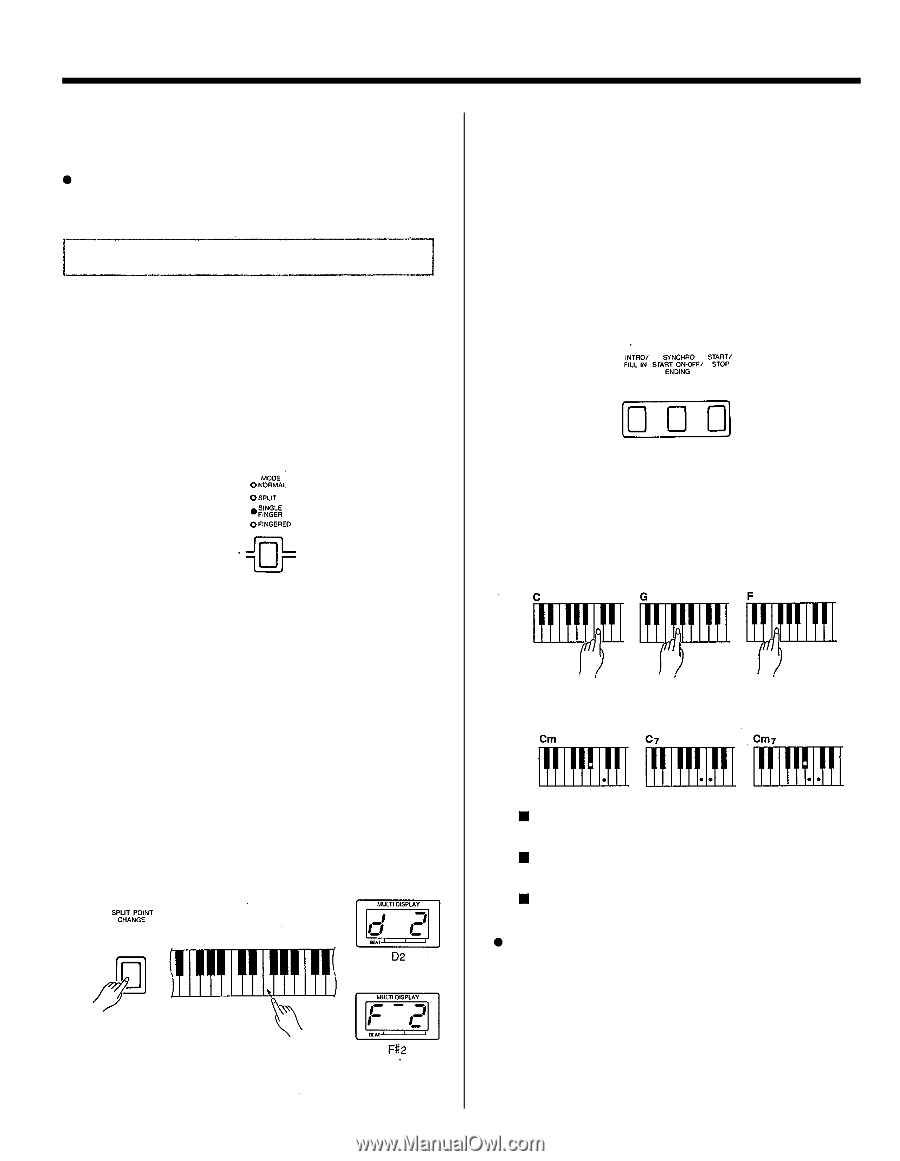
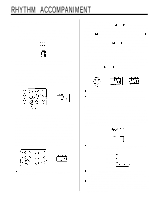
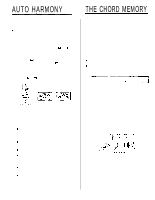
AUTO ACCOMPANIMENT The PSR-200/PSR-300 includes a sophisticated Auto accompaniment system that can provide automated bass and chordal backing in a number of ways. The maximum number of notes that can be played simultaneously on the PSR-200/PSR-300 keyboard is reduced when the Auto Accompaniment feature is used. Single Finger Accompaniment SINGLE FINGER accompaniment makes it simple to produce beautifully orchestrated accompaniment using major, seventh, minor and minor-seventh chords by pressing a minimum number of keys in the left-hand section of the keyboard. The bass and chord accompaniment produced is perfectly matched to the currently selected accompaniment style. 1. Press the [MODE] button as many times as necessary until the SINGLE FINGER indicator lights - this selects the SINGLE FINGER mode. 2. If necessary, set the split point as described below: Setting the SINGLE FINGER Mode Split Point: The split point for the SINGLE FINGER mode is initially set at the D2 key. It can be set to any other key by pressing the desired split-point key while holding the [SPLIT POINT CHANGE] button. The split point is shown on the MULTI DISPLAY for as long as the [SPLIT POINT CHANGE] button is held. The D2 key, for example, would be displayed as "d 2". F#2 would be displayed as "F-2". The sharp is indicated by the lit bar between the "F" and the "2." The SINGLE FINGER mode split point is retained in memory and will be recalled whenever the SINGLE FINGER mode is selected. A method of initializing the SINGLE FINGER mode split point to its original default value is described on page 6. 3. Select the desired accompaniment style in the normal way. Although you can select the melody (upper keyboard) voice you intend to use, the PSR-200/PSR-300 automatically determines the voices to be used for the accompaniment part according the accompaniment style you select. 4. Press the [START/STOP] button, [SYNCHRO START/ ENDING] button or the [INTRO/FILL IN] buttons to determine how the accompaniment will be started (see page 7). If you press the [START/STOP] button or the [INTRO/FILL IN] button, the rhythm will begin playing immediately without bass and chord accompaniment. 5. Press any key to the left of the split point to start the auto- matic accompaniment. If you press a "C" key, for example, a C-major accompaniment will be played. Press another key in the left-hand section of the keyboard to select a new chord. The key you press will always determine the "root" of the chord played (i.e. "C" for a C chord). Playing Minor, Seventh, and Minor-seventh Chords in the Single-finger Mode For a minor chord, press the root key and a black key to its left. For a seventh chord, press the root key and a white key to its left. For a minor-seventh chord, press the root key and both a white and black key to its left. The automatic accompaniment will continue playing even if you lift your fingers from the Auto Accompaniment keys. You only need to press the Auto Accompaniment keys when changing cords. 6. Press the [START/STOP] button or the [SYNCHRO START/ENDING] button to stop the Accompaniment. 9
-
 1
1 -
2
-
3
-
4
-
5
-
 6
6 -
 7
7 -
 8
8 -
 9
9 -
 10
10 -
 11
11 -
 12
12 -
 13
13 -
 14
14 -
 15
15 -
 16
16 -
17
-
18
-
19
-
20
-
21
-
22
-
23
-
24
-
25
-
26
-
27
-
28
-
29
 |
 |