Yamaha PSR-510 Owner's Manual - Page 33

Accompaniment Volume, The Track Buttons

Page 33 highlights

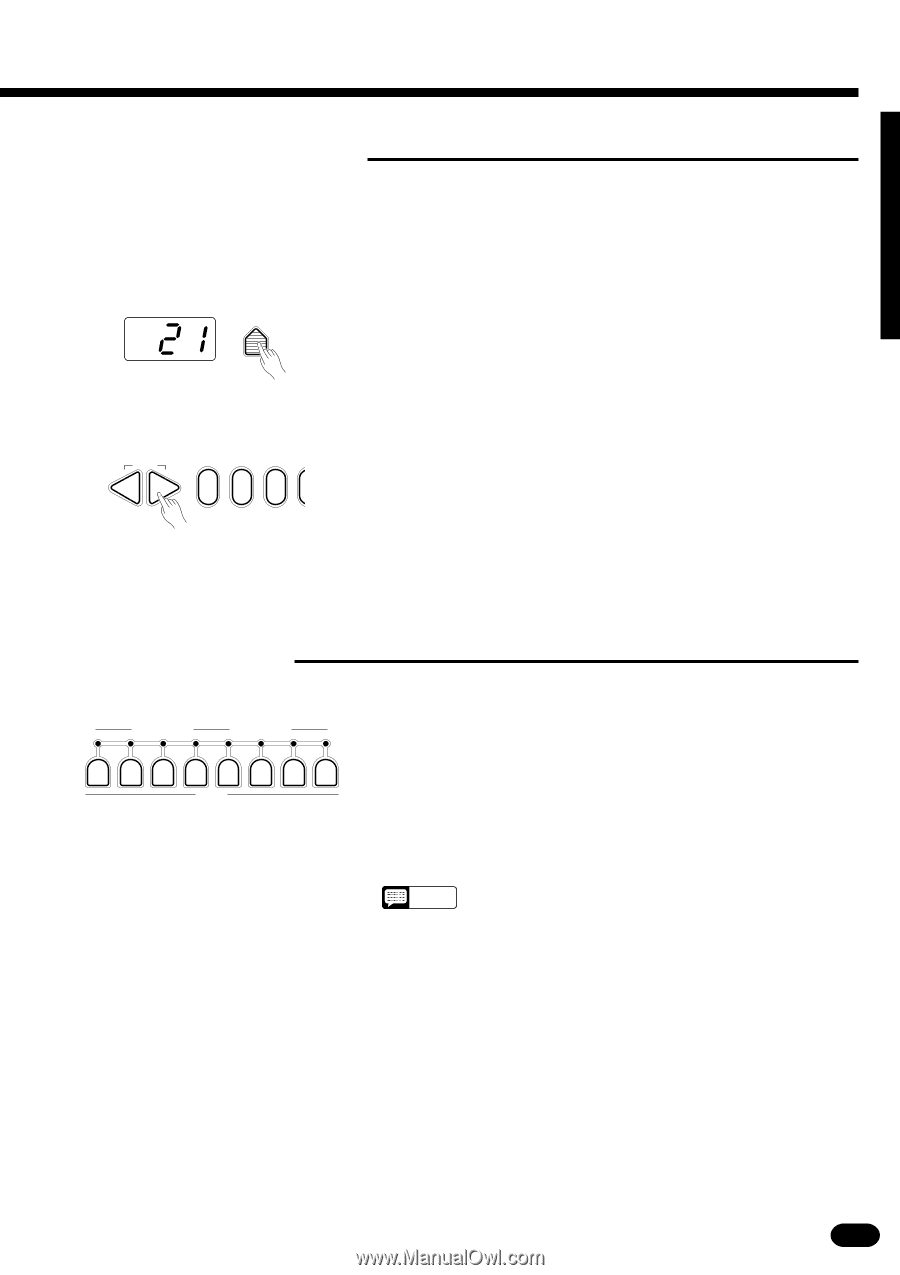
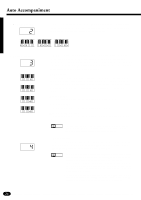
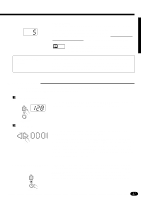
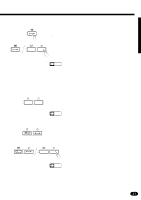
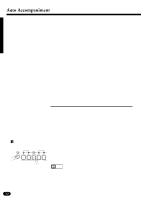
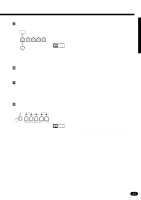
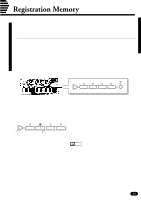
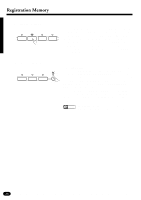
s Accompaniment Volume While the VOICE control section [VOL] button can be used to set the volume levels of the orchestration parts, the [ACCOMP VOLUME] button can be used to adjust the volume of the selected accompaniment in relation to the voices. ZPress the [ACCOMP VOLUME] Button ACCOMP VOLUME Press the AUTO ACCOMPANIMENT control section [ACCOMP VOLUME] button. The current accompaniment volume value will appear on the MULTI DISPLAY. XSet the Volume ... RESET -+ 012 Use the [+] and [-] buttons, the number buttons, the data dial, or the [ACCOMP VOLUME] button itself to set the desired volume. The volume range is from 00 (no sound) to 24 (maximum volume). The default volume value (21) can be recalled instantly by pressing both the [+] and [-] buttons at the same time. s The Track Buttons RHYTHM 1 2 BASS RHYTHMIC CHORD 1 2 PAD CHORD PHRASE 1 2 TRACK The PSR-510 Auto Accompaniment system includes eight TRACK buttons which allow you to control the accompaniment arrangement in real time. You can turn tracks on or off while playing for extra accompaniment variety. The various tracks are turned on or off by pressing the corresponding TRACK button. When a part is turned off the corresponding indicator will go out. To silence the bass part, for example, press the TRACK [BASS] button so that its indicator goes out. Press the button again to turn that part back on. NOTES • The indicators for all tracks that contain data in any section will light whenever an accompaniment style is selected. (Depending on the selected accompaniment style, some tracks may not contain any data.) q What's In the Tracks... Here's how the tracks are normally used: RHYTHM 1: This is the main rhythm track, and usually plays a drum kit. RHYTHM 2: Additional rhythm. Turning the RHYTHM 2 track ON will usually increase the "energy" of the rhythm. In many styles this track plays percussion instruments such as congas, bongos, etc. This means you can turn off the RHYTHM 1 track and use only RHYTHM 2 for a "light" rhythm sound. 31

  • 1
  • 2
  • 3
  • 4
  • 5
  • 6
  • 7
  • 8
  • 9
  • 10
  • 11
  • 12
  • 13
  • 14
  • 15
  • 16
  • 17
  • 18
  • 19
  • 20
  • 21
  • 22
  • 23
  • 24
  • 25
  • 26
  • 27
  • 28
  • 29
  • 30
  • 31
  • 32
  • 33
  • 34
  • 35
  • 36
  • 37
  • 38
  • 39
  • 40
  • 41
  • 42
  • 43
  • 44
  • 45
  • 46
  • 47
  • 48
  • 49
  • 50
  • 51
  • 52
  • 53
  • 54
  • 55
  • 56
  • 57
  • 58
  • 59
  • 60
  • 61
  • 62
  • 63
  • 64
  • 65
  • 66
  • 67
  • 68
  • 69
  • 70
  • 71
  • 72
  • 73
  • 74
  • 75
  • 76
  • 77

31
| | | | | | | | | | | | | | | | | | | | | | | | | | | | | | | | | | | | | | | | | | | | | | | | | | | | | | | | | | | | | | | | | | | | | | | | | | | | | | | | | | | | | | | | | | | | | | | | | | | | | | | | | | | | | | | | | | | | | | | | | | | | | | | | | | | | | | | | | | | | |
Accompaniment Volume
While the VOICE control section
[VOL]
button can be used to set the volume levels of the orchestration
parts, the
[ACCOMP VOLUME]
button can be used to adjust the volume of the selected accompaniment in
relation to the voices.
Z
Press the [ACCOMP VOLUME] Button
.................................................................................................
Press the AUTO ACCOMPANIMENT control section
[ACCOMP VOL-
UME]
button. The current accompaniment volume value will appear on the
MULTI DISPLAY.
X
Set the Volume
.......................................................................................................................................
Use the
[+]
and
[–]
buttons, the number buttons, the data dial, or the
[ACCOMP VOLUME]
button itself to set the desired volume. The volume
range is from
00
(no sound) to
24
(maximum volume). The default volume
value (21) can be recalled instantly by pressing both the
[+]
and
[–]
buttons
at the same time.
The Track Buttons
The PSR-510 Auto Accompaniment system includes eight
TRACK buttons which allow you to control the accompaniment ar-
rangement in real time. You can turn tracks on or off while playing
for extra accompaniment variety.
The various tracks are turned on or off by pressing the corre-
sponding TRACK button. When a part is turned off the corresponding
indicator will go out. To silence the bass part, for example, press the
TRACK
[BASS]
button so that its indicator goes out. Press the button
again to turn that part back on.
NOTES
• The indicators for all tracks that contain data in any section will
light whenever an accompaniment style is selected. (Depend-
ing on the selected accompaniment style, some tracks may not
contain any data.)
What’s In the Tracks
...............................................................................................................................
Here’s how the tracks are normally used:
RHYTHM 1:
This is the main rhythm track, and usually plays a drum kit.
RHYTHM 2:
Additional rhythm. Turning the RHYTHM 2 track ON will usually increase
the “energy” of the rhythm. In many styles this track plays percussion in-
struments such as congas, bongos, etc. This means you can turn off the
RHYTHM 1 track and use only RHYTHM 2 for a “light” rhythm sound.
RESET
+
0
2
1
TRACK
RHYTHM
1
2
BASS
RHYTHMIC
CHORD
1
2
PAD
CHORD
PHRASE
1
2
ACCOMP
VOLUME