eMachines ET1161 8512161 - eMachines Desktop Hardware Reference Guide - Page 60
Replacing the system board
 |
View all eMachines ET1161 manuals
Add to My Manuals
Save this manual to your list of manuals |
Page 60 highlights
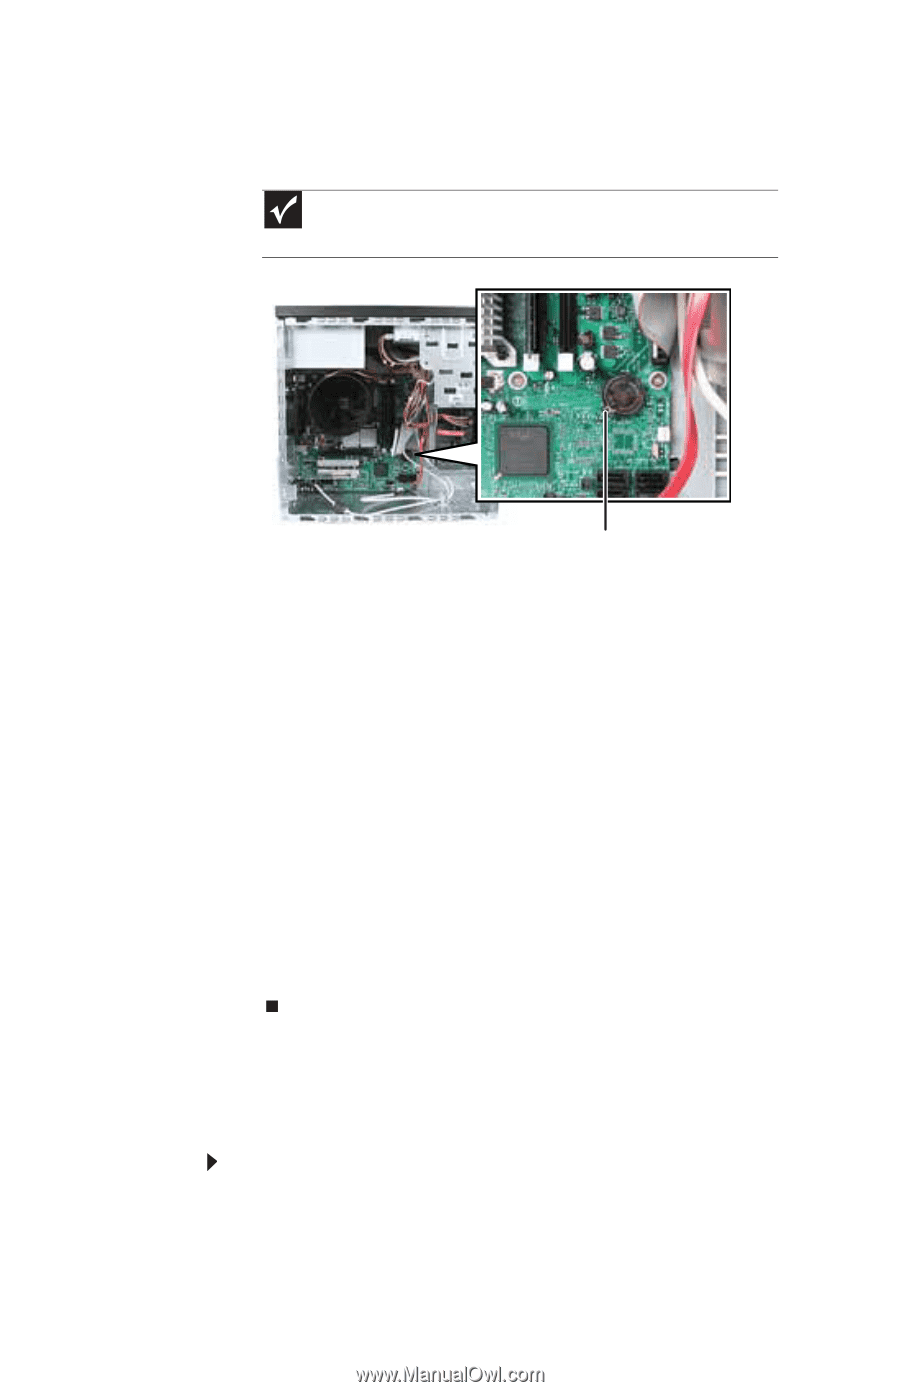
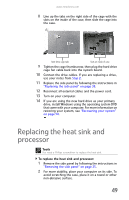
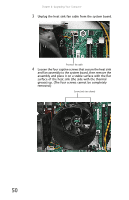
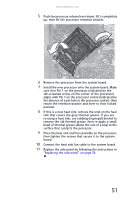
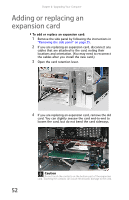
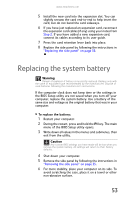
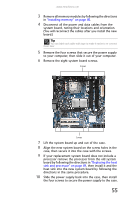
Chapter 4: Upgrading Your Computer 7 Locate the old battery on the system board and note its orientation. You will need to install the new battery the same way. Important Your computer's battery location may vary from the illustration below. Battery release tab 8 Push the battery release tab. The battery pops out of the socket. 9 Make sure that the positive (+) side of the new battery is facing up (usually the side that the battery type and model number are etched into), then press the battery into the socket until it snaps into place. 10 Replace the side panel by following the instructions in "Replacing the side panel" on page 38. 11 Reconnect all external cables and the power cord. 12 Turn on your computer. 13 While your computer starts, press and hold the F1 key. The main menu of the BIOS Setup utility opens. 14 In the BIOS Setup utility, restore any settings that you wrote down in Step 3. 15 Save all your settings and exit the BIOS Setup utility. Replacing the system board To replace the system board: 1 Remove the side panel by following the instructions in "Removing the side panel" on page 35. 2 Remove all expansion cards by following the directions in "Adding or replacing an expansion card" on page 52. 54
-
 1
1 -
2
-
3
-
4
-
5
-
6
-
7
-
8
-
9
-
10
-
11
-
12
-
13
-
14
-
15
-
16
-
17
-
18
-
19
-
20
-
21
-
22
-
23
-
24
-
25
-
26
-
27
-
28
-
29
-
30
-
31
-
32
-
33
-
34
-
35
-
36
-
37
-
38
-
39
-
40
-
41
-
42
-
43
-
44
-
45
-
46
-
47
-
48
-
49
-
50
-
51
-
52
-
53
-
54
-
 55
55 -
 56
56 -
 57
57 -
 58
58 -
 59
59 -
 60
60 -
 61
61 -
 62
62 -
 63
63 -
 64
64 -
 65
65 -
66
-
67
-
68
-
69
-
70
-
71
-
72
-
73
-
74
-
75
-
76
-
77
-
78
-
79
-
80
-
81
-
82
-
83
-
84
-
85
-
86
-
87
-
88
-
89
-
90
-
91
-
92
-
93
-
94
-
95
-
96
-
97
-
98
-
99
-
100
-
101
-
102
-
103
-
104
-
105
-
106
-
107
-
108
-
109
-
110
-
111
-
112
-
113
-
114
-
115
-
116
-
117
-
118
-
119
-
120
-
121
-
122
-
123
-
124
-
125
-
126
-
127
-
128
-
129
-
130
-
131
-
132
-
133
-
134
 |
 |