Asko D5893 User manual Use & Care Guide Asko D5893 EN - Page 36
Do not attach the plastic feet if the installa, tion space is of minimum height.
 |
View all Asko D5893 manuals
Add to My Manuals
Save this manual to your list of manuals |
Page 36 highlights
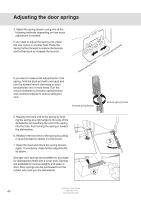
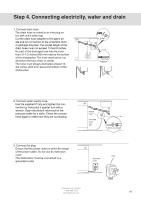
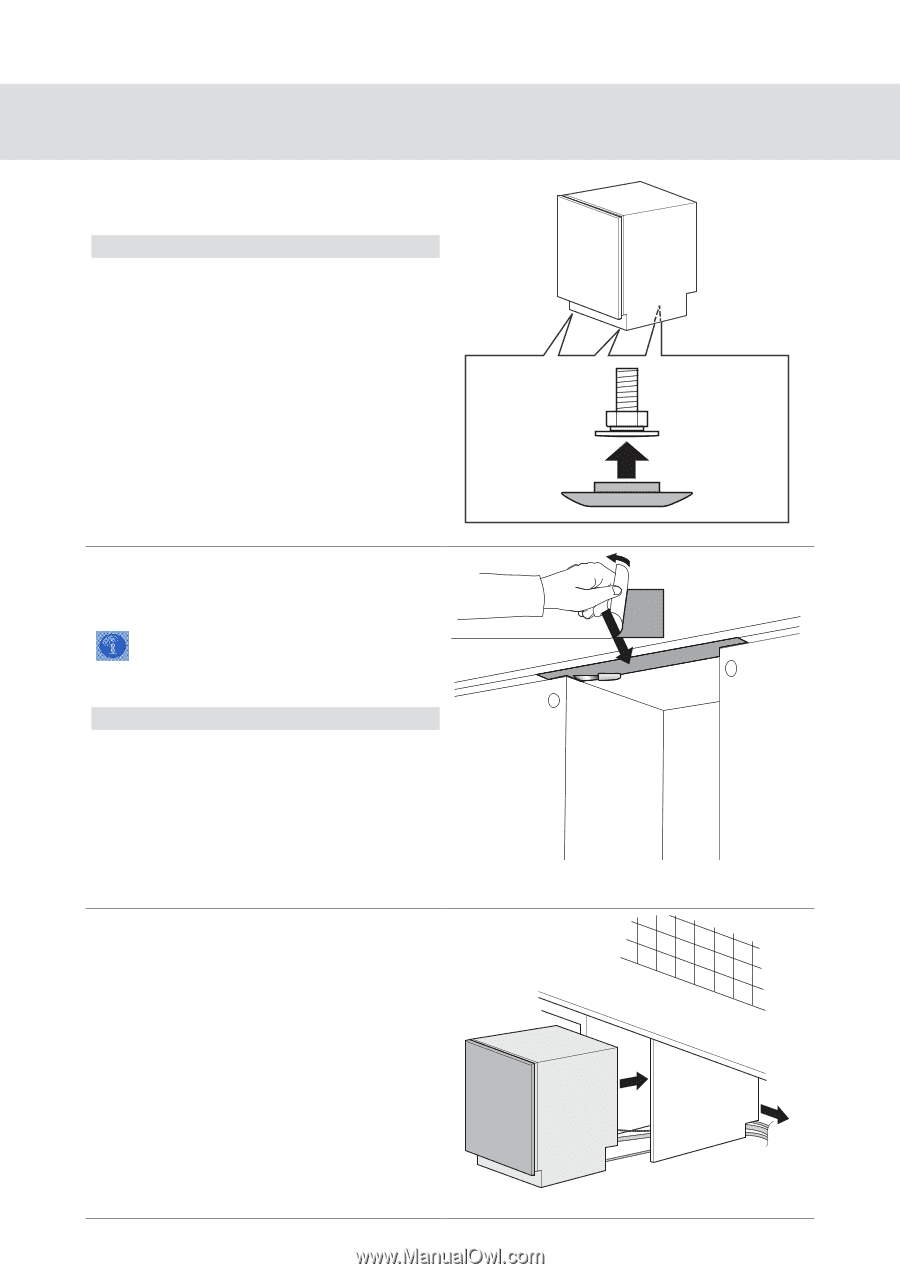
Step 1. Fitting the dishwasher in place 4. Push the plastic feet into place on all three steel feet (included in document bag). Note: Do not attach the plastic feet if the installation space is of minimum height. 5. Affix the light shielding film (packed in the document bag) to the underside of the worktop above the touch buttons. The light shielding film ensures optimal button functionality. Note: The surface on which the protective film is to be affixed must be clean and dry. 6. Push the dishwasher into the cavity. At the same time, pull the electric cable and drainage and supply hoses through the cable hole. Customer Care Center 36 1-800-898-1879 www.askousa.com
-
 1
1 -
2
-
3
-
4
-
5
-
6
-
7
-
8
-
9
-
10
-
11
-
12
-
13
-
14
-
15
-
16
-
17
-
18
-
19
-
20
-
21
-
22
-
23
-
24
-
25
-
26
-
27
-
28
-
29
-
30
-
 31
31 -
 32
32 -
 33
33 -
 34
34 -
 35
35 -
 36
36 -
 37
37 -
 38
38 -
 39
39 -
 40
40 -
 41
41 -
42
-
43
-
44
-
45
-
46
-
47
-
48
-
49
-
50
-
51
-
52
 |
 |
36
Customer Care Center
1-800-898-1879
www.askousa.com
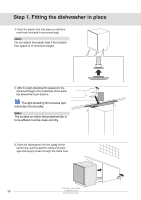
Step 1. Fitting the dishwasher in place
4. Push the plastic feet into place on all three
steel feet (included in document bag).
Note:
Do not attach the plastic feet if the installa-
tion space is of minimum height.
5.
Affix the light shielding film (packed in the
document bag) to the underside of the work-
top above the touch buttons.
The light shielding film ensures opti
-
mal button functionality.
Note:
The surface on which the protective film is
to be affixed must be clean and dry.
6. Push the dishwasher into the
cavity
. At the
same time, pull the electric cable and drain-
age and supply hoses through the cable hole.