Brother International MFC-J6510DW Quick Setup Guide - English - Page 20
Windows, Wired Network
 |
UPC - 012502626626
View all Brother International MFC-J6510DW manuals
Add to My Manuals
Save this manual to your list of manuals |
Page 20 highlights
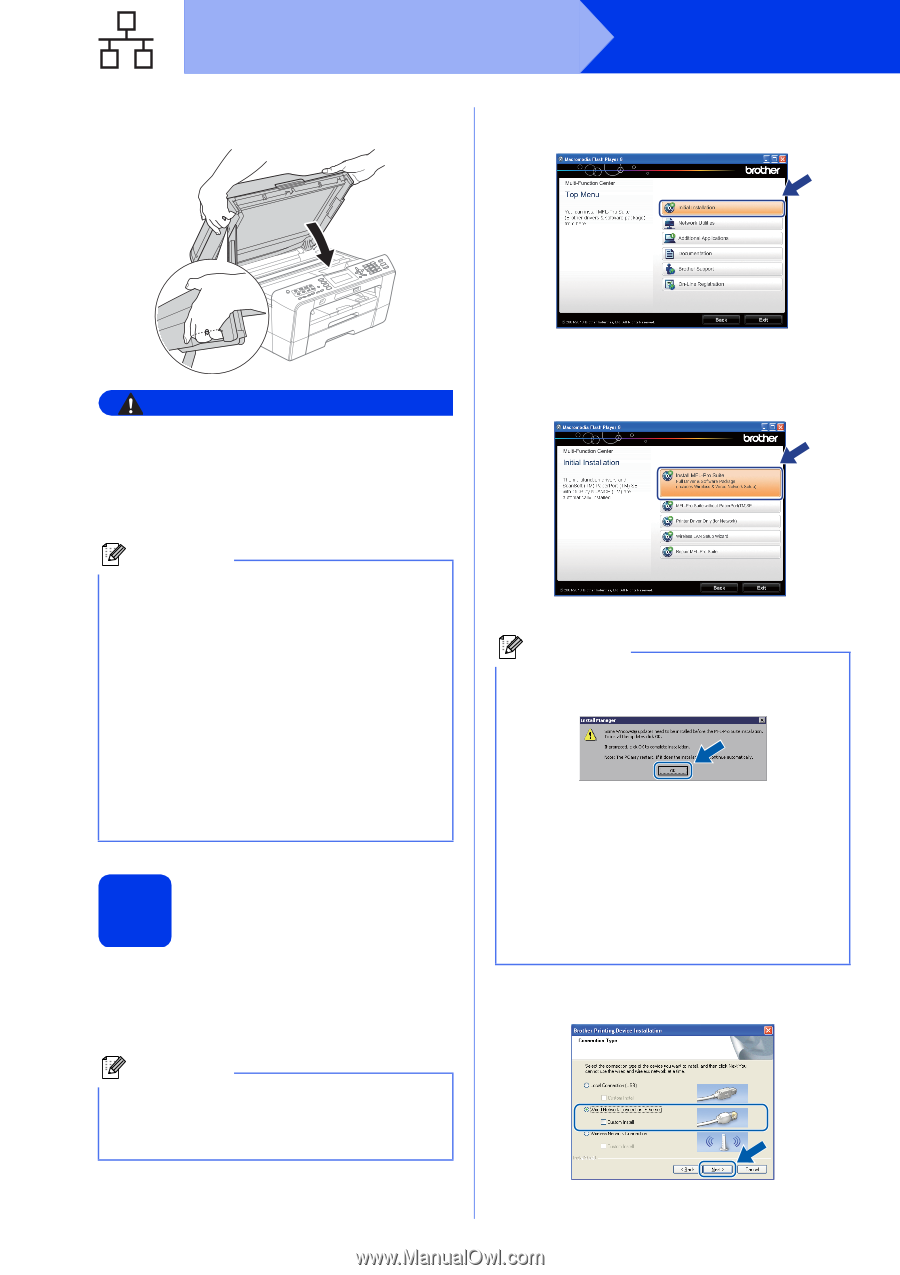
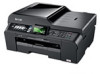
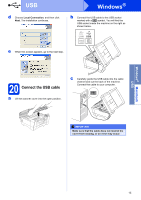
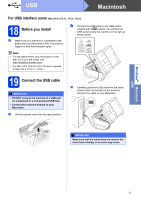
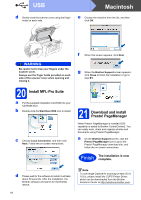
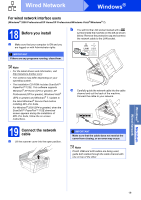
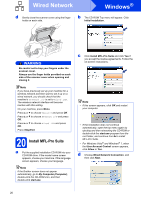
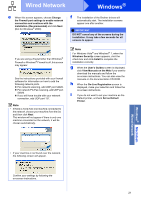
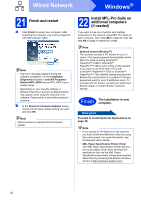
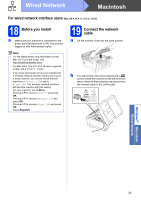
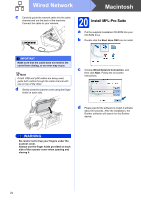
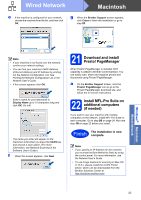
Wired Network Windows® d Gently close the scanner cover using the finger holds on each side. b The CD-ROM Top menu will appear. Click Initial Installation. WARNING Be careful not to trap your fingers under the scanner cover. Always use the finger holds provided on each side of the scanner cover when opening and closing it. Note If you have previously set up your machine for a wireless network and then want to set it up on a wired network, you should check that the machine's Network I/F is set to Wired LAN. The wireless network interface will become inactive with this setting. On your machine, press Menu. Press a or b to choose Network and press OK. Press a or b to choose Network I/F and press OK. Press a or b to choose Wired LAN and press OK. Press Stop/Exit. 20 Install MFL-Pro Suite a Put the supplied installation CD-ROM into your CD-ROM drive. If the model name screen appears, choose your machine. If the language screen appears, choose your language. Note If the Brother screen does not appear automatically, go to My Computer (Computer), double-click the CD-ROM icon, and then double-click start.exe. c Click Install MFL-Pro Suite and click Yes if you accept the license agreements. Follow the on-screen instructions. Note • If this screen appears, click OK and restart your computer. • If the installation does not continue automatically, open the top menu again by ejecting and then reinserting the CD-ROM or double-click the start.exe program from the root folder, and continue from b to install MFL-Pro Suite. • For Windows Vista® and Windows® 7, when the User Account Control screen appears, click Allow or Yes. d Choose Wired Network Connection, and then click Next. 20
-
 1
1 -
2
-
3
-
4
-
5
-
6
-
7
-
8
-
9
-
10
-
11
-
12
-
13
-
14
-
 15
15 -
 16
16 -
 17
17 -
 18
18 -
 19
19 -
 20
20 -
 21
21 -
 22
22 -
 23
23 -
 24
24 -
 25
25 -
26
-
27
-
28
-
29
-
30
-
31
-
32
-
33
-
34
-
35
-
36
-
37
-
38
-
39
-
40
 |
 |