Brother International VX-807 Users Manual - English - Page 28
reinforment
 |
View all Brother International VX-807 manuals
Add to My Manuals
Save this manual to your list of manuals |
Page 28 highlights
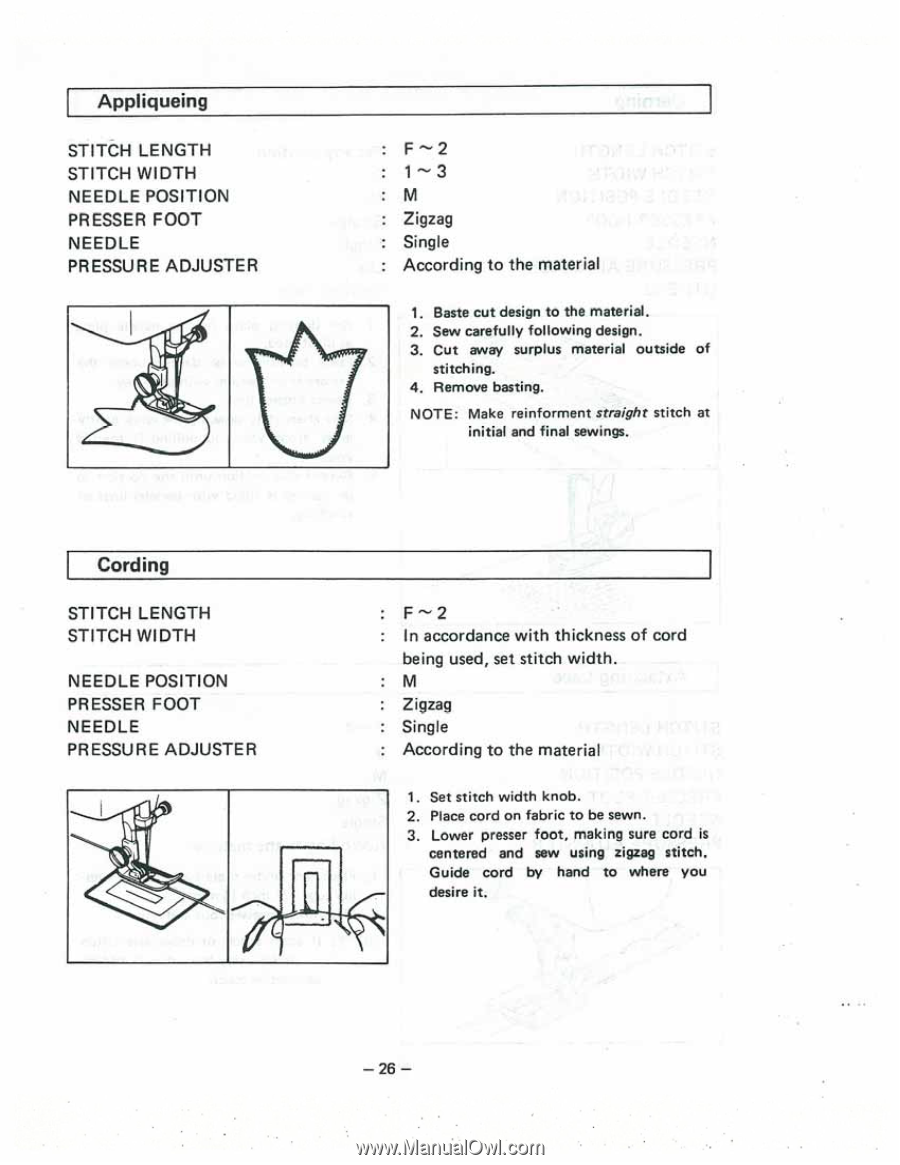
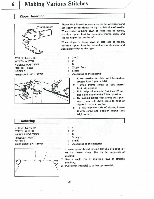
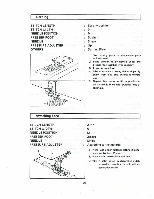
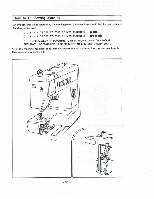
Appliqueing STITCH LENGTH STITCH WIDTH NEEDLE POSITION PRESSER FOOT NEEDLE PRESSURE ADJUSTER F - 2 : 1- 3 : M : Zigzag Single : According to the material 1. Baste cut design to the material. 2. Sew carefully following design. 3. Cut away surplus material outside of stitching. 4. Remove basting. NOTE: Make reinforment straight stitch at initial and final sewings. Cording STITCH LENGTH STITCH WIDTH NEEDLE POSITION PRESSER FOOT NEEDLE PRESSURE ADJUSTER : F^'2 In accordance with thickness of cord being used, set stitch width. : M Zigzag Single : According to the material 1. Set stitch width knob. 2. Place cord on fabric to be sewn. 3. Lower presser foot, making sure cord is centered and sew using zigzag stitch. Guide cord by hand to where you desire it. - 26 -
-
 1
1 -
2
-
3
-
4
-
5
-
6
-
7
-
8
-
9
-
10
-
11
-
12
-
13
-
14
-
15
-
16
-
17
-
18
-
19
-
20
-
21
-
22
-
 23
23 -
 24
24 -
 25
25 -
 26
26 -
 27
27 -
 28
28 -
 29
29 -
 30
30 -
 31
31 -
 32
32 -
 33
33 -
34
-
35
-
36
-
37
-
38
-
39
-
40
 |
 |