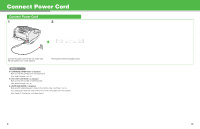
Canon FAXPHONE L120 FAXPHONE L120 Starter Guide - Page 8
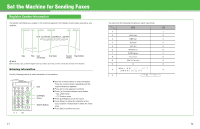
Register Sender Information, Set the Telephone Line Type, Menu], Up/Down], Left/Right], Stop/Reset]
 |
View all Canon FAXPHONE L120 manuals
Add to My Manuals
Save this manual to your list of manuals |
Page 8 highlights
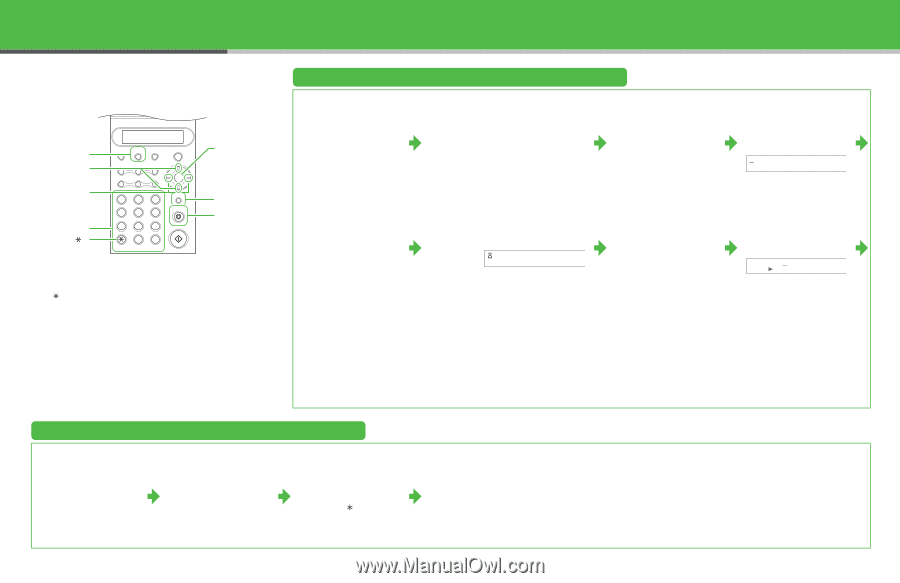
[Menu] [Up/Down] [Left/Right] Numeric Buttons [] FAXPHONE L120 Add.Mode Menu Status Copy ImageQualityDirectory CodedDial Redial Pause Hook Set ABC DEF 123 GHI JKL MNO 456 PQRS TUV WXYZ 789 OPER SYMBOLS 0# Tone Clear Stop/Reset Start [Set] [Clear] [Stop/Reset] ● Entering Information - Numeric buttons: Enters letters and numbers. - [ ]: Switches letter and number input modes. - [Up/Down]: Scrolls through the setting menu. - [Left/Right]: Moves the cursor position. - [Clear]: Deletes the character at the cursor position, or the entire entry if held for more than one second. Register 1 Press [Menu]. 5 Use [Up/Down] to select , then press [Set]. 9 Press [Stop/Reset] to return to standby mode. Sender Information 2 Use [Up/Down] to select , then press [Set]. 3 Use [Up/Down] to select , then press [Set]. 6 Use the numeric buttons to enter your fax number (up to 20 digits), then press [Set] twice. Ex. =0123_ YES=SET 7 Use [Up/Down] to select , then press [Set]. 4 Use the numeric buttons to enter hour (in 24-hour format), minute, year, month, and day, and press [Set] twice. Ex. 17:01 '05 05 06 SET HOUR (YES=SET) 8 Use the numeric buttons to enter the user name (up to 32 characters), then press [Set]. Press [#] to enter a space. Ex. NAME=CAN OK= [A] Set the Telephone Line Type 1 Press [Menu]. 2 Use [Up/Down] to select , then press [Set]. 3 Use [Left/Right] to select the telephone line type, then press [Set]. : Tone dialing (default) : Pulse dialing - The selected item is preceded by an asterisk ( ). 4 Press [Stop/Reset] to return to standby mode. 13 14
-
 1
1 -
2
-
 3
3 -
 4
4 -
 5
5 -
 6
6 -
 7
7 -
 8
8 -
 9
9 -
 10
10 -
 11
11
 |
 |