Canon PIXMA MX340 MX340 series Getting Started - Page 67
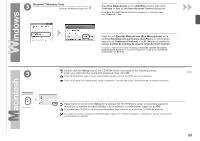
A continuación, lea Instalación del software 3 en la página 66., Next
 |
View all Canon PIXMA MX340 manuals
Add to My Manuals
Save this manual to your list of manuals |
Page 67 highlights
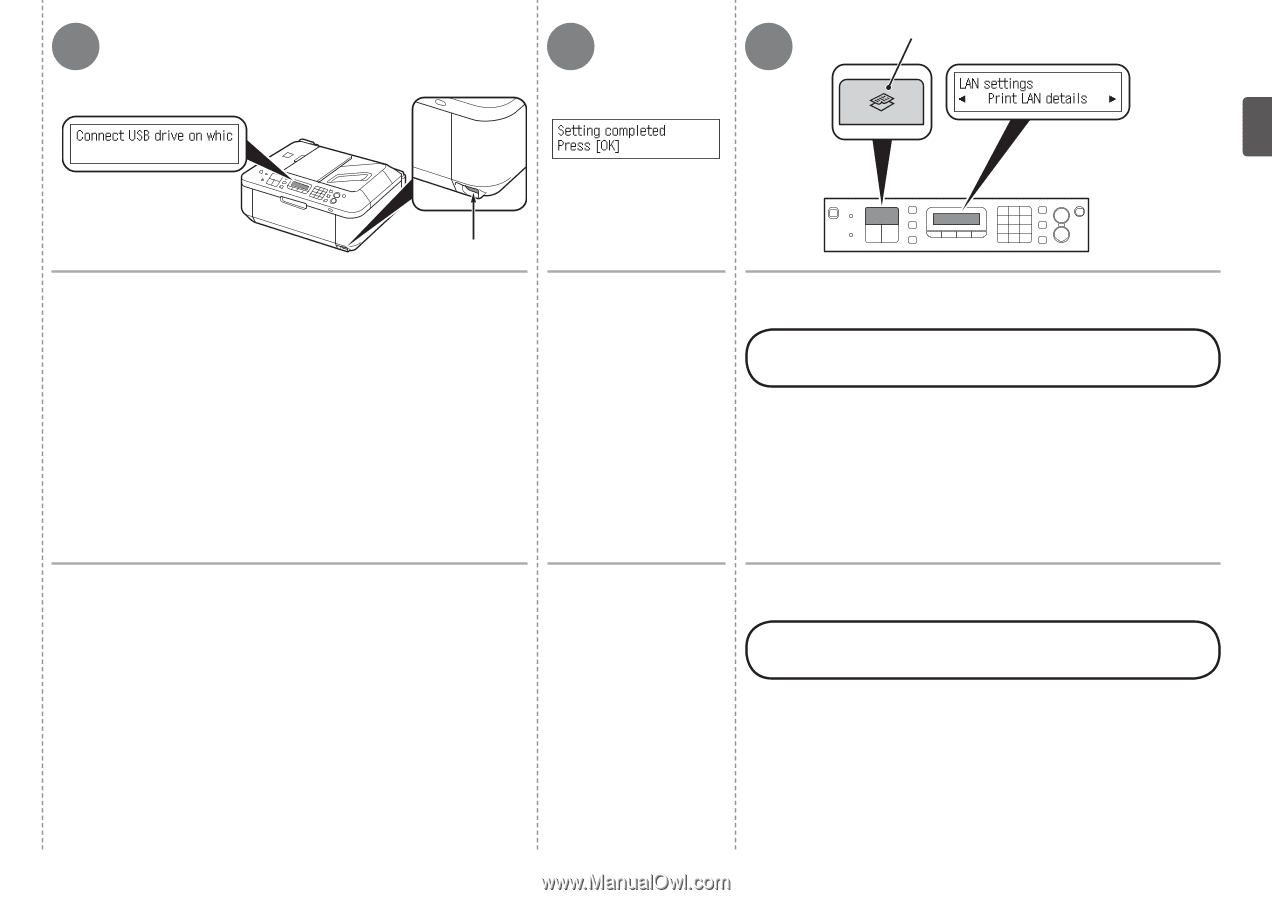
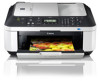
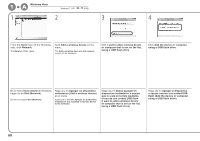
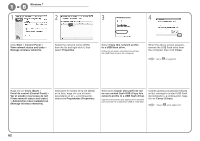
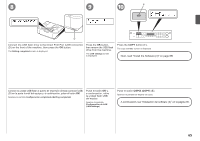
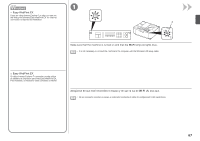
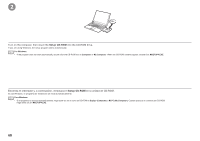
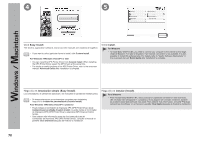
8 9 10 E D Connect the USB flash drive to the Direct Print Port (USB connector) (D) on the front of the machine, then press the OK button. The Setting completed screen is displayed. Press the OK button, then remove the USB flash drive from the machine. The LAN settings screen is displayed. Press the COPY button (E). The copy standby screen is displayed. Next, read "Install the Software (3)" on page 66! Conecte la unidad USB flash al puerto de impresión directa (conector USB) (D) en la parte frontal del equipo y, a continuación, pulse el botón OK. Aparece la pantalla Configuración completada (Setting completed). Pulse el botón OK y, a continuación, retire la unidad flash USB del equipo. Aparece la pantalla Configuración de LAN (LAN settings). Pulse el botón COPIA (COPY) (E). Aparece la pantalla de espera de copia. A continuación, lea "Instalación del software (3)" en la página 66. 65
-
 1
1 -
2
-
3
-
4
-
5
-
6
-
7
-
8
-
9
-
10
-
11
-
12
-
13
-
14
-
15
-
16
-
17
-
18
-
19
-
20
-
21
-
22
-
23
-
24
-
25
-
26
-
27
-
28
-
29
-
30
-
31
-
32
-
33
-
34
-
35
-
36
-
37
-
38
-
39
-
40
-
41
-
42
-
43
-
44
-
45
-
46
-
47
-
48
-
49
-
50
-
51
-
52
-
53
-
54
-
55
-
56
-
57
-
58
-
59
-
60
-
61
-
 62
62 -
 63
63 -
 64
64 -
 65
65 -
 66
66 -
 67
67 -
 68
68 -
 69
69 -
 70
70 -
 71
71 -
 72
72 -
73
-
74
-
75
-
76
-
77
-
78
-
79
-
80
-
81
-
82
-
83
-
84
-
85
-
86
-
87
-
88
-
89
-
90
-
91
-
92
-
93
-
94
-
95
-
96
-
97
-
98
 |
 |