Canon PIXMA MX870 Solución de problemas de configuración de red - Page 12
Action, Entering the Access Point's Wireless LAN Settings Directly on the, Machine - setup
 |
UPC - 013803119015
View all Canon PIXMA MX870 manuals
Add to My Manuals
Save this manual to your list of manuals |
Page 12 highlights
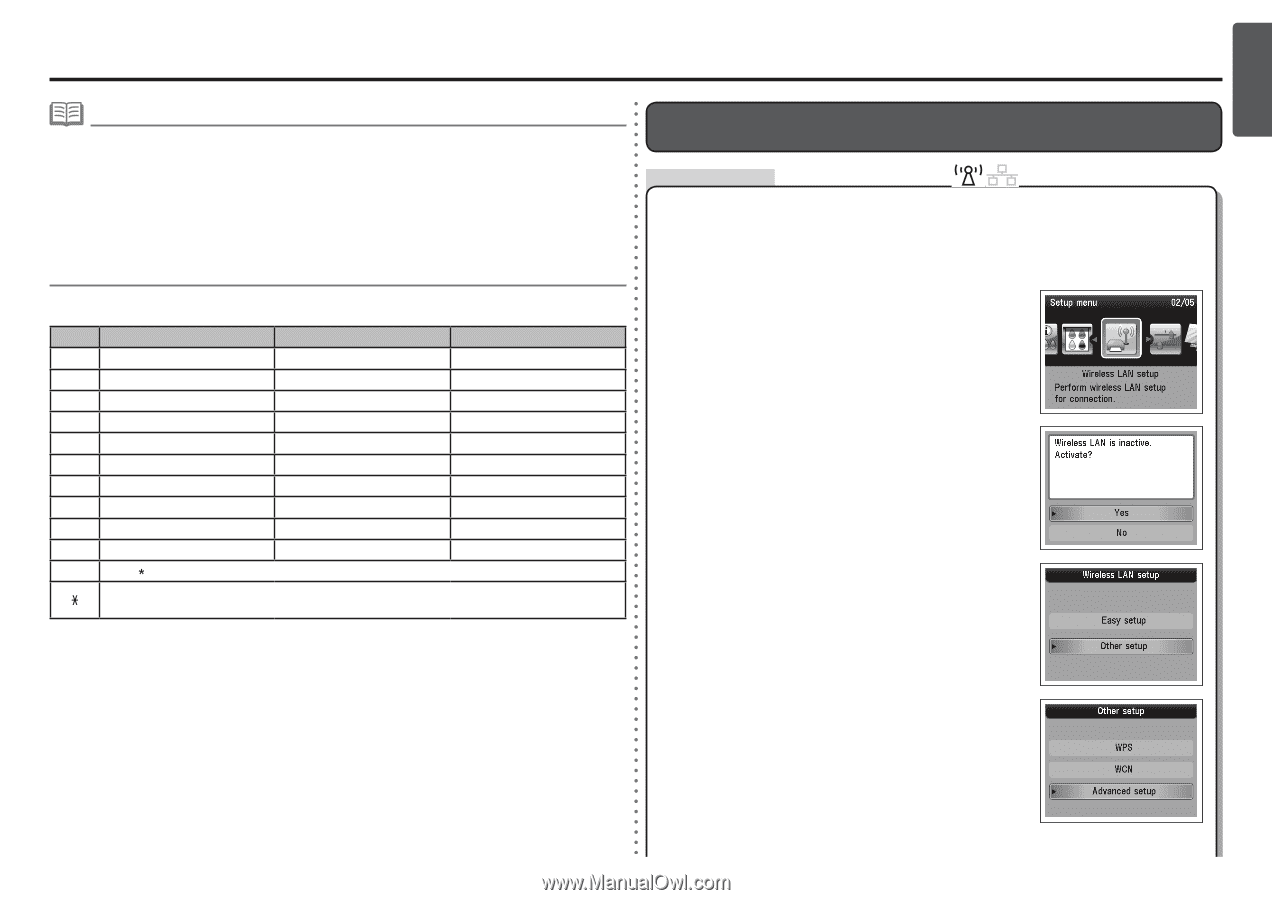
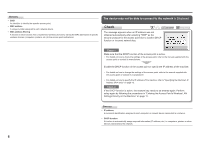
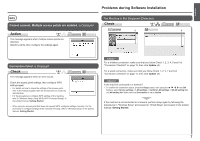
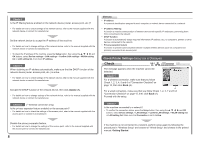
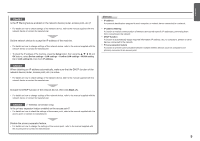
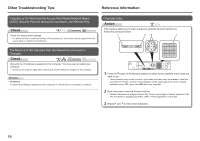
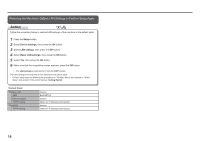
ENGLISH • To enter characters assigned to the same key successively (e.g., enter "N" then "O"), press the ] button (B) to move the cursor by one character to the right first. • To insert a space, move the cursor to the target position using the [ or ] button (B), then press the left FUNCTION button (C). • To insert characters, move the cursor to the character on the right of the target position using the [ or ] button, then enter characters. • To delete a character, move the cursor to the target character using the [ or ] button, then press the right FUNCTION button (D). Button 1 2 3 4 Numeric mode 123 1 2 3 4 Upper case mode ABC Lower case mode abc ABC abc DEF def GHI ghi 5 5 JKL jkl 6 6 MNO mno 7 7 PQRS pqrs 8 8 TUV tuv 9 9 WXYZ wxyz 0 0 # - . SP Each time you press this button, the entry mode changes between numeric mode 123, upper case mode ABC and lower case mode abc. SP: Indicates a single space. Entering the Access Point's Wireless LAN Settings Directly on the Machine Action Enter the access point name/network name (SSID) and security setting (WEP, WPA, etc.) on the machine directly. Follow the procedure below. 1 Press the Setup button. 2 Use the [ or ] button to select Wireless LAN Setup, then press the OK button. 3 Select Yes, then press the OK button. • When wireless connection is enabled, the Wi-Fi lamp lights blue. 4 Use the { or } button to select Other setup, then press the OK button. 5 Select Advanced setup, then press the OK button. 11
-
 1
1 -
2
-
3
-
4
-
5
-
6
-
 7
7 -
 8
8 -
 9
9 -
 10
10 -
 11
11 -
 12
12 -
 13
13 -
 14
14 -
 15
15 -
 16
16 -
 17
17 -
18
-
19
-
20
-
21
-
22
-
23
-
24
-
25
-
26
-
27
-
28
-
29
-
30
-
31
-
32
-
33
-
34
 |
 |