Canon imagePROGRAF iPF650 iPF650 655 750 755 Setup-Guide - Page 11
Getting Ready
 |
View all Canon imagePROGRAF iPF650 manuals
Add to My Manuals
Save this manual to your list of manuals |
Page 11 highlights
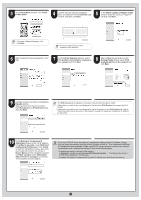
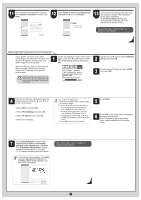
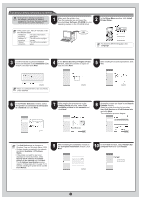
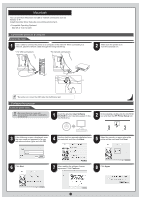
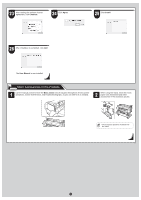
11 The printer driver settings take effect after the computer restarts. This completes printer driver installation. An iPFxxxx Support desktop icon is created after installation. (iPFxxxx represents the printer model.) Next, follow steps 12-16 on page 7 to install the User Manual. When entering the printer's IP address manually • If the printer is already connected to the network, confirm the IP address assigned to the printer. Ask your network administrator for further information. • If the printer is on, the Link indicator under MEMO the LAN port lights. 1000Base-T connection The LED on the bottom lights green. 100Base-TX connection The LED on the top lights orange. 10Base-T connection The LED on the top lights green. 1 Make sure the printer is on. Turn the computer on and insert the provided User Software CD-ROM for your operating system in the CD-ROM drive. 2 In the Setup Menu window, click Install Printer Driver. • To choose a different language, click MEMO Language. 3 Confirm that the required installation items are selected in the Installation List window, and then click Next. 4 In the Select Country or Region of Use window, select the country or region of use and click Next. 5 After reading the license agreement, click Yes. • Point at a software title to view a summary MEMO of the software. 6 In the Printer Selection window, select The printer is connected to computers in a network and click Next. 7 After reading the precautions in the Getting Ready window, select Specify the IP address of available printers in the network and click Next. 8 In the IP Address Specification window, select either IPv4 Address or IPv6 Address to enter the printer's IP address and click Install. The installation process begins. • IPv6 Address is displayed in Windows MEMO Vista and Windows Server 2008. • Ask your network administrator for the IP address, as needed. 11
-
 1
1 -
2
-
3
-
4
-
5
-
 6
6 -
 7
7 -
 8
8 -
 9
9 -
 10
10 -
 11
11 -
 12
12 -
 13
13 -
 14
14 -
 15
15 -
 16
16
 |
 |
