Casio LK 210 User Guide - Page 12
Rear Panel, Attaching the Score Stand - usb
 |
UPC - 079767313395
View all Casio LK 210 manuals
Add to My Manuals
Save this manual to your list of manuals |
Page 12 highlights
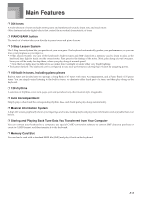
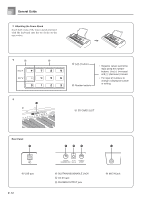
General Guide *1 Attaching the Score Stand Insert both ends of the music stand provided with the keyboard into the two holes on the top surface. *2 ] ^ *3 a ] [+]/[-] buttons ^ Number buttons • Negative values cannot be input using the number buttons. Use [+] (increase) and [-] (decrease) instead. • For input of numbers to change a displayed number or setting. a SD CARD SLOT Rear Panel b c d e f b USB port E-10 c SUSTAIN/ASSIGNABLE JACK d DC 9V jack e PHONES/OUTPUT jack f MIC IN jack
-
 1
1 -
2
-
3
-
4
-
5
-
6
-
 7
7 -
 8
8 -
 9
9 -
 10
10 -
 11
11 -
 12
12 -
 13
13 -
 14
14 -
 15
15 -
 16
16 -
 17
17 -
18
-
19
-
20
-
21
-
22
-
23
-
24
-
25
-
26
-
27
-
28
-
29
-
30
-
31
-
32
-
33
-
34
-
35
-
36
-
37
-
38
-
39
-
40
-
41
-
42
-
43
-
44
-
45
-
46
-
47
-
48
-
49
-
50
-
51
-
52
-
53
-
54
-
55
-
56
-
57
-
58
-
59
 |
 |
E-10
General Guide
*
2
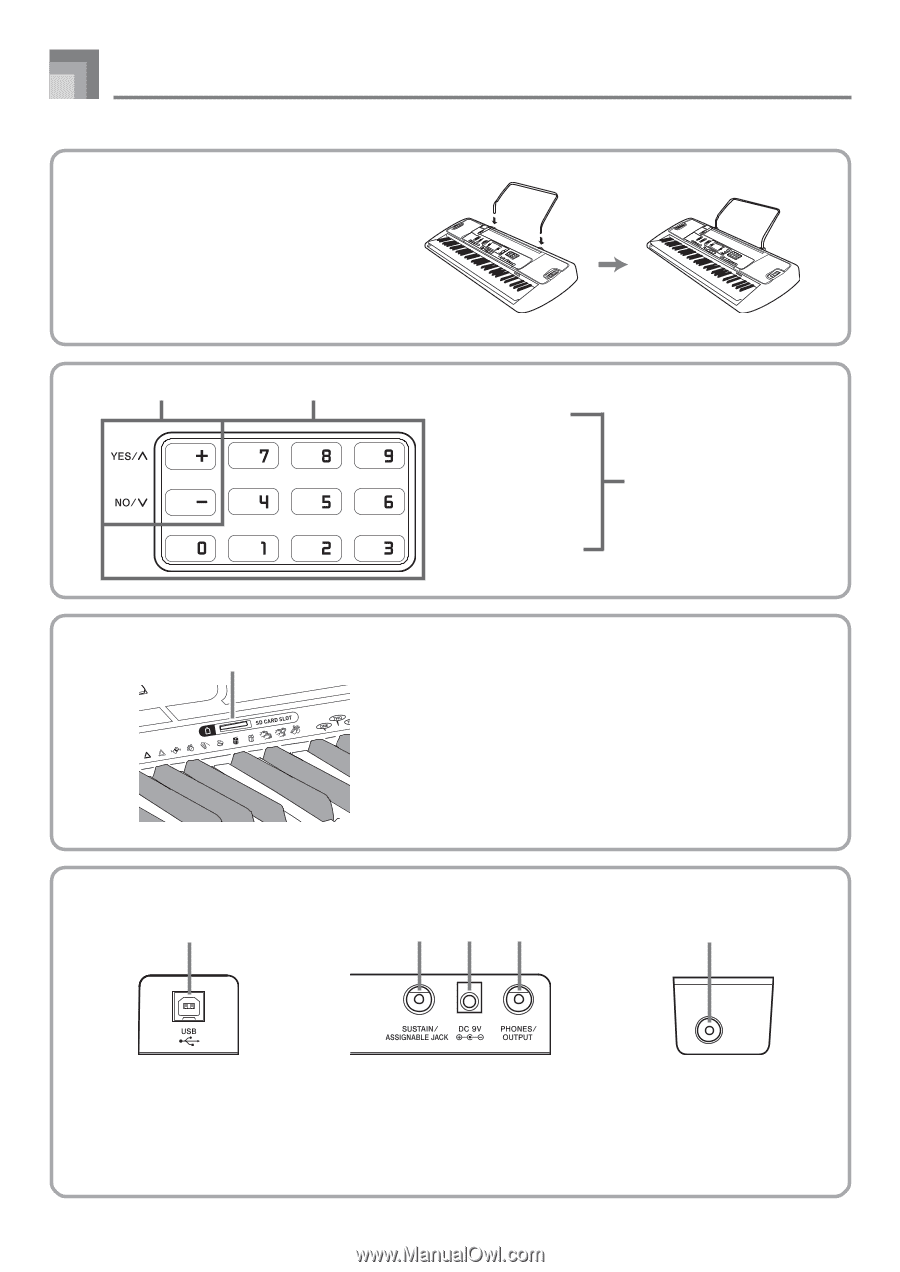
Rear Panel
c
d
e
c
SUSTAIN/ASSIGNABLE JACK
d
DC 9V jack
e
PHONES/OUTPUT jack
]
[+]/[
–
] buttons
^
Number buttons
•
Negative values cannot be
input using the number
buttons. Use [+] (increase)
and [
–
] (decrease) instead.
•
For input of numbers to
change a displayed number
or setting.
a
SD CARD SLOT
a
b
USB port
*
3
b
*
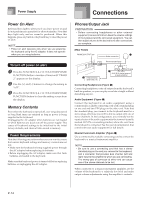
1
Attaching the Score Stand
Insert both ends of the music stand provided
with the keyboard into the two holes on the
top surface.
]
^
f
f
MIC IN jack