Casio LK 210 User Guide - Page 28
Step 3 - Play at normal speed.
 |
UPC - 079767313395
View all Casio LK 210 manuals
Add to My Manuals
Save this manual to your list of manuals |
Page 28 highlights
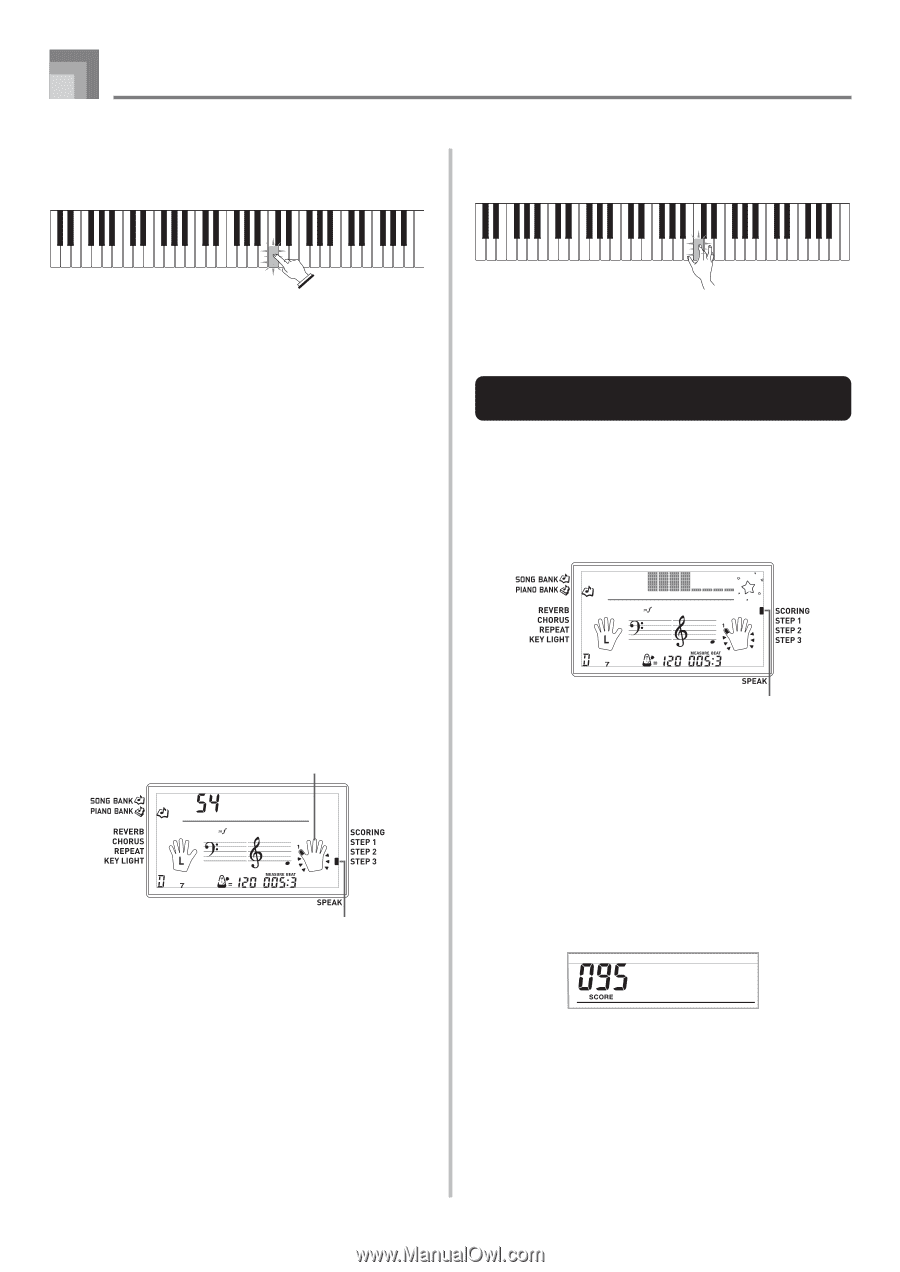
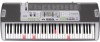
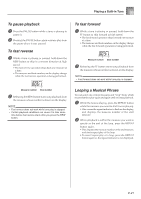
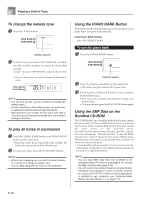
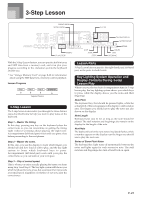
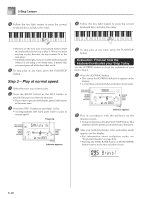
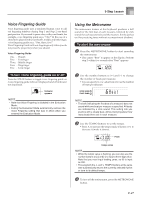
3-Step Lesson 4 Follow the key light system to press the correct keyboard keys and play the notes. 4 Follow the key light system to press the correct keyboard keys and play the notes. • The key for the next note to be played flashes while the keyboard waits for you to play it. When you press any key to play the note, the key remains lit as the note plays. • If multiple keys light on the on-screen keyboard guide when you are using a two-hand tune, it means that you must press all of the keys that are lit. 5 To stop play at any time, press the PLAY/STOP button. Step 3 - Play at normal speed. 1 Select the tune you want to play. 2 Press the RIGHT button or the LEFT button to specify the part you want to practice. • If you want to practice both hands, press both buttons at the same time. 3 Press the STEP 3 button to start Step 3 play. • Accompaniment (left hand part) starts to play at normal speed. Fingering Al oha Oe Indicator appears 5 To stop play at any time, press the PLAY/STOP button. Evaluation: Find out how the keyboard evaluates your Step 3 play. Use the SCORING button to check the evaluation of your play in Step 3. 1 Press the SCORING button. • This causes the SCORING indicator to appear on the display. • A count beat sounds and then evaluation mode starts. Indicator appears 2 Play in accordance with the guidance on the monitor screen. • To stop evaluation, press the PLAY/STOP button. This displays only the points accumulated up to that point. 3 After you finished playing, your evaluation result appears on the display. • For information about evaluation ranks, see "Evaluation Results" on page E-24. • Pressing the SONG BANK button or PIANO BANK button returns to the tune selection screen. Br avo ! E-26
-
 1
1 -
2
-
3
-
4
-
5
-
6
-
7
-
8
-
9
-
10
-
11
-
12
-
13
-
14
-
15
-
16
-
17
-
18
-
19
-
20
-
21
-
22
-
 23
23 -
 24
24 -
 25
25 -
 26
26 -
 27
27 -
 28
28 -
 29
29 -
 30
30 -
 31
31 -
 32
32 -
 33
33 -
34
-
35
-
36
-
37
-
38
-
39
-
40
-
41
-
42
-
43
-
44
-
45
-
46
-
47
-
48
-
49
-
50
-
51
-
52
-
53
-
54
-
55
-
56
-
57
-
58
-
59
 |
 |