Dell A920 Owner's Manual - Page 33
Display Advanced Scan Settings, See More Scan Settings
 |
View all Dell A920 manuals
Add to My Manuals
Save this manual to your list of manuals |
Page 33 highlights
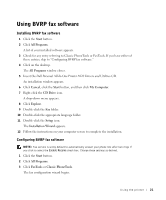
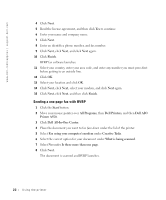
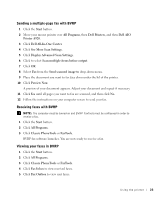
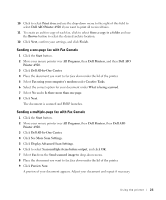
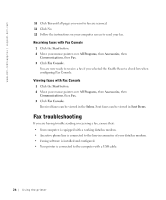
Sending a multiple-page fax with BVRP 1 Click the Start button. 2 Move your mouse pointer over All Programs, then Dell Printers, and then Dell AIO Printer A920. 3 Click Dell All-In-One Center. 4 Click See More Scan Settings. 5 Click Display Advanced Scan Settings. 6 Click to select Scan multiple items before output. 7 Click OK. 8 Select Fax from the Send scanned image to drop-down menu. 9 Place the document you want to fax face down under the lid of the printer. 10 Click Preview Now. A preview of your document appears. Adjust your document and repeat if necessary. 11 Click Yes until all pages you want to fax are scanned, and then click No. 12 Follow the instructions on your computer screen to send your fax. Receiving faxes with BVRP NOTE: The computer must be turned on and BVRP FaxTools must be configured in order to receive a fax. 1 Click the Start button. 2 Click All Programs. 3 Click Classic PhoneTools or FaxTools. BVRP fax software launches. You are now ready to receive a fax. Viewing your faxes in BVRP 1 Click the Start button. 2 Click All Programs. 3 Click Classic PhoneTools or FaxTools. 4 Click Fax Inbox to view received faxes. 5 Click Fax Outbox to view sent faxes. Using the printer 23
-
 1
1 -
2
-
3
-
4
-
5
-
6
-
7
-
8
-
9
-
10
-
11
-
12
-
13
-
14
-
15
-
16
-
17
-
18
-
19
-
20
-
21
-
22
-
23
-
24
-
25
-
26
-
27
-
 28
28 -
 29
29 -
 30
30 -
 31
31 -
 32
32 -
 33
33 -
 34
34 -
 35
35 -
 36
36 -
 37
37 -
 38
38 -
39
-
40
-
41
-
42
-
43
-
44
-
45
-
46
-
47
-
48
-
49
-
50
-
51
-
52
-
53
-
54
-
55
-
56
-
57
-
58
-
59
-
60
-
61
-
62
-
63
-
64
-
65
-
66
-
67
-
68
-
69
-
70
-
71
-
72
-
73
-
74
-
75
-
76
-
77
-
78
-
79
-
80
-
81
-
82
-
83
 |
 |
