Dell M5200 Dell™ Workgroup Laser Printer M5200 User's Guide - Page 199
Align the metal tab on the left side of the new charge roll with its hole and insert it.
 |
View all Dell M5200 manuals
Add to My Manuals
Save this manual to your list of manuals |
Page 199 highlights
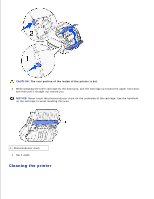
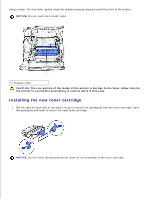
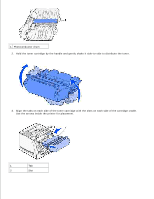
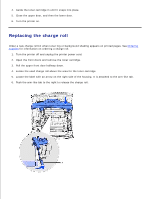
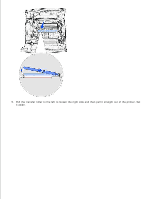
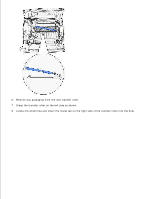
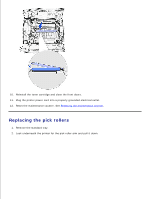
1 Metal tab 2 Cylinder part 10. Remove any packaging from the new charge roll. NOTICE: Do not touch the cylinder part of the charge roll when installing the unit. You may touch the metal tabs on each end to help you in the installation. Touching the cylinder part will contaminate the charge roll and affect printing. 11. Align the metal tab on the left side of the new charge roll with its hole and insert it. 12. Raise the right side of the charge roll. 13. Push the arm-like tab with the right arrow label on it to the right. 14. Lift the right side of the charge roll and insert it into its hole.
-
 1
1 -
2
-
3
-
4
-
5
-
6
-
7
-
8
-
9
-
10
-
11
-
12
-
13
-
14
-
15
-
16
-
17
-
18
-
19
-
20
-
21
-
22
-
23
-
24
-
25
-
26
-
27
-
28
-
29
-
30
-
31
-
32
-
33
-
34
-
35
-
36
-
37
-
38
-
39
-
40
-
41
-
42
-
43
-
44
-
45
-
46
-
47
-
48
-
49
-
50
-
51
-
52
-
53
-
54
-
55
-
56
-
57
-
58
-
59
-
60
-
61
-
62
-
63
-
64
-
65
-
66
-
67
-
68
-
69
-
70
-
71
-
72
-
73
-
74
-
75
-
76
-
77
-
78
-
79
-
80
-
81
-
82
-
83
-
84
-
85
-
86
-
87
-
88
-
89
-
90
-
91
-
92
-
93
-
94
-
95
-
96
-
97
-
98
-
99
-
100
-
101
-
102
-
103
-
104
-
105
-
106
-
107
-
108
-
109
-
110
-
111
-
112
-
113
-
114
-
115
-
116
-
117
-
118
-
119
-
120
-
121
-
122
-
123
-
124
-
125
-
126
-
127
-
128
-
129
-
130
-
131
-
132
-
133
-
134
-
135
-
136
-
137
-
138
-
139
-
140
-
141
-
142
-
143
-
144
-
145
-
146
-
147
-
148
-
149
-
150
-
151
-
152
-
153
-
154
-
155
-
156
-
157
-
158
-
159
-
160
-
161
-
162
-
163
-
164
-
165
-
166
-
167
-
168
-
169
-
170
-
171
-
172
-
173
-
174
-
175
-
176
-
177
-
178
-
179
-
180
-
181
-
182
-
183
-
184
-
185
-
186
-
187
-
188
-
189
-
190
-
191
-
192
-
193
-
 194
194 -
 195
195 -
 196
196 -
 197
197 -
 198
198 -
 199
199 -
 200
200 -
 201
201 -
 202
202 -
 203
203 -
 204
204 -
205
-
206
-
207
-
208
-
209
-
210
-
211
-
212
-
213
-
214
-
215
-
216
-
217
-
218
-
219
-
220
-
221
-
222
-
223
-
224
-
225
-
226
-
227
-
228
 |
 |
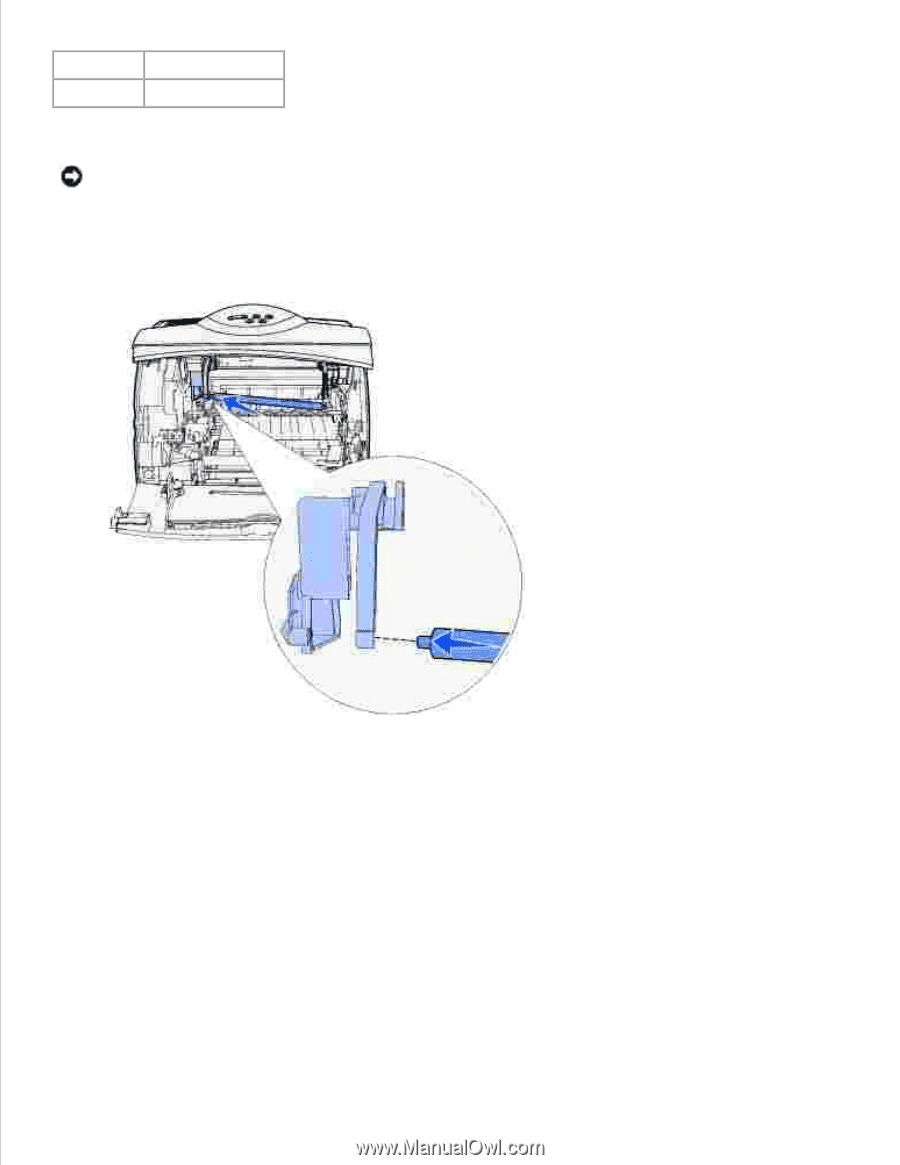
1
Metal tab
2
Cylinder part
Remove any packaging from the new charge roll.
10.
NOTICE:
Do not touch the cylinder part of the charge roll when installing the unit. You may touch the
metal tabs on each end to help you in the installation. Touching the cylinder part will contaminate the
charge roll and affect printing.
Align the metal tab on the left side of the new charge roll with its hole and insert it.
11.
Raise the right side of the charge roll.
12.
Push the arm-like tab with the right arrow label on it to the right.
13.
Lift the right side of the charge roll and insert it into its hole.
14.