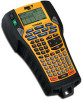
Dymo Rhino 6000 Industrial Label Printer Quick Start Guide - Page 5
Inserting the label cassette
 |
View all Dymo Rhino 6000 Industrial Label Printer manuals
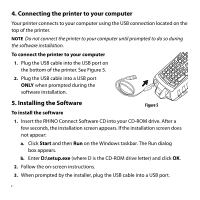
Add to My Manuals
Save this manual to your list of manuals |
Page 5 highlights
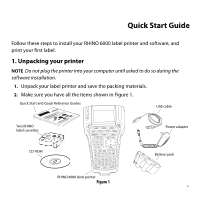
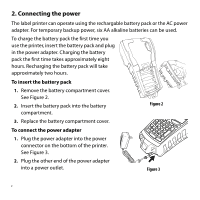
3. Inserting the label cassette Your printer comes with two RHINO label cassettes. Visit www.rhinolabeling.com for information about purchasing additional label cassettes. To insert the label cassette 1. Lift the label cassette cover to open the label compartment. See Figure 4. 2. Make sure the label and ribbon are taut across the mouth of the cassette and that the label passes between the guideposts. If necessary, turn the spool clockwise to tighten the ribbon. 3. Insert the cassette and press gently until the cassette is eased into place. 4. Make sure the two blue clips lock the cassette in place. Refer to the label on the cassette. 5. Close the label cassette cover. Lift Eject Button Figure 4 To remove the label cassette 1. Lift the label cassette cover to open the label cassette compartment. 2. Press the Eject button. The label cassette is automatically lifted. 3. Replace the cassette as described above. 3
-
 1
1 -
 2
2 -
 3
3 -
 4
4 -
 5
5 -
 6
6 -
 7
7 -
 8
8 -
 9
9
 |
 |
