HP A6430f Getting Started Guide - Page 155
Audio CD, Data CD, Untitled, albums, playlists, Change Name, Clear All, Burn CD, IMPORTANT - review
 |
UPC - 883585738946
View all HP A6430f manuals
Add to My Manuals
Save this manual to your list of manuals |
Page 155 highlights
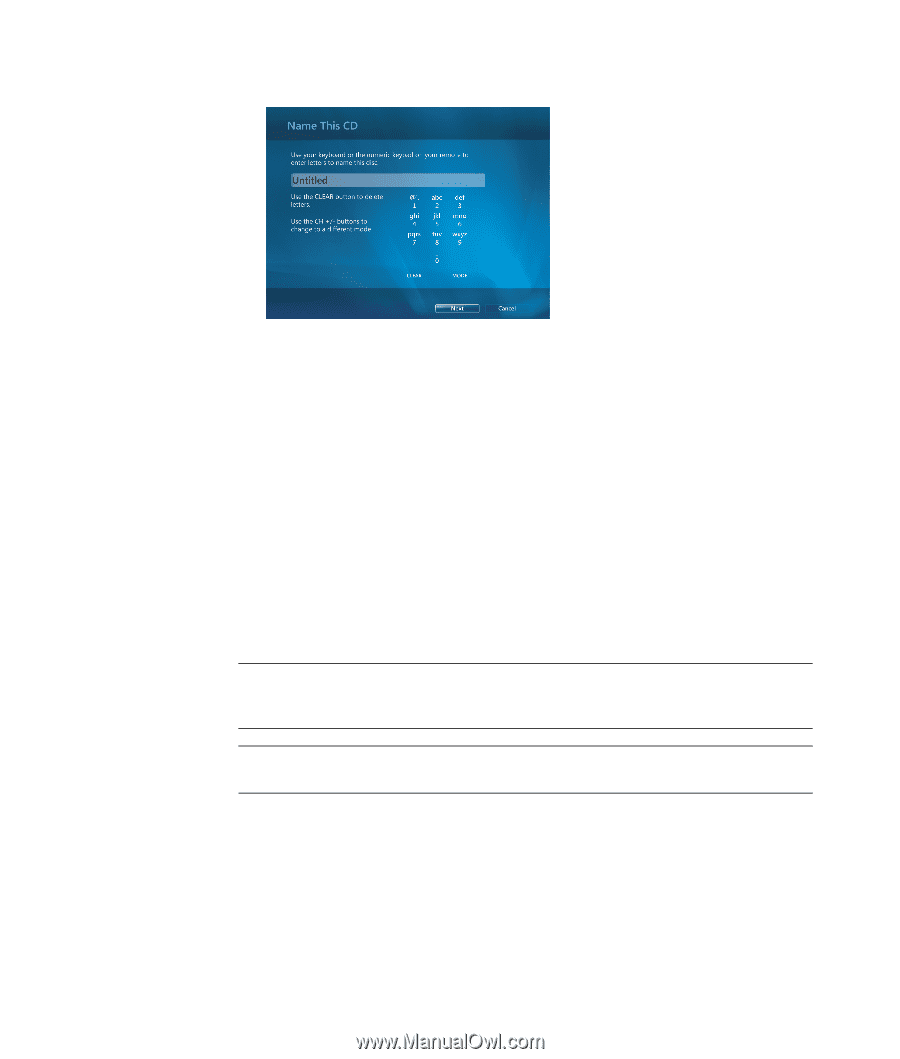
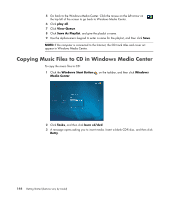
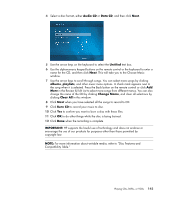
4 Select a disc format, either Audio CD or Data CD, and then click Next. 5 Use the arrow keys on the keyboard to select the Untitled text box. 6 Use the alphanumeric keypad buttons on the remote control or the keyboard to enter a name for the CD, and then click Next. This will take you to the Choose Music window. 7 Use the arrow keys to scroll through songs. You can select more songs by clicking albums, playlists, and other music menu options. A check mark appears next to the song when it is selected. Press the Back button on the remote control or click Add More in the Review & Edit List to select more songs from different menus. You can also change the name of the CD by clicking Change Name, and clear all selections by clicking Clear All in this window. 8 Click Next when you have selected all the songs to record to CD. 9 Click Burn CD to record your music to disc. 10 Click Yes to confirm you want to burn a disc with these files. 11 Click OK to do other things while the disc is being burned. 12 Click Done when the recording is complete. IMPORTANT: HP supports the lawful use of technology and does not endorse or encourage the use of our products for purposes other than those permitted by copyright law. NOTE: For more information about writable media, refer to "Disc Features and Compatibility Table." Playing CDs, DVDs, or VCDs 145
-
 1
1 -
2
-
3
-
4
-
5
-
6
-
7
-
8
-
9
-
10
-
11
-
12
-
13
-
14
-
15
-
16
-
17
-
18
-
19
-
20
-
21
-
22
-
23
-
24
-
25
-
26
-
27
-
28
-
29
-
30
-
31
-
32
-
33
-
34
-
35
-
36
-
37
-
38
-
39
-
40
-
41
-
42
-
43
-
44
-
45
-
46
-
47
-
48
-
49
-
50
-
51
-
52
-
53
-
54
-
55
-
56
-
57
-
58
-
59
-
60
-
61
-
62
-
63
-
64
-
65
-
66
-
67
-
68
-
69
-
70
-
71
-
72
-
73
-
74
-
75
-
76
-
77
-
78
-
79
-
80
-
81
-
82
-
83
-
84
-
85
-
86
-
87
-
88
-
89
-
90
-
91
-
92
-
93
-
94
-
95
-
96
-
97
-
98
-
99
-
100
-
101
-
102
-
103
-
104
-
105
-
106
-
107
-
108
-
109
-
110
-
111
-
112
-
113
-
114
-
115
-
116
-
117
-
118
-
119
-
120
-
121
-
122
-
123
-
124
-
125
-
126
-
127
-
128
-
129
-
130
-
131
-
132
-
133
-
134
-
135
-
136
-
137
-
138
-
139
-
140
-
141
-
142
-
143
-
144
-
145
-
146
-
147
-
148
-
149
-
 150
150 -
 151
151 -
 152
152 -
 153
153 -
 154
154 -
 155
155 -
 156
156 -
 157
157 -
 158
158 -
 159
159 -
 160
160 -
161
-
162
-
163
-
164
-
165
-
166
-
167
-
168
-
169
-
170
-
171
-
172
-
173
-
174
-
175
-
176
-
177
-
178
-
179
-
180
-
181
-
182
-
183
-
184
-
185
-
186
-
187
-
188
-
189
-
190
-
191
-
192
-
193
-
194
-
195
-
196
-
197
-
198
-
199
-
200
-
201
-
202
-
203
-
204
-
205
-
206
-
207
-
208
-
209
-
210
-
211
-
212
-
213
-
214
-
215
-
216
-
217
-
218
-
219
-
220
-
221
-
222
 |
 |