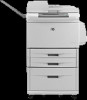
HP LaserJet M9059 HP LaserJet M9059 MFP - User Guide - Page 178
Clean the top ADF glass strip
 |
View all HP LaserJet M9059 manuals
Add to My Manuals
Save this manual to your list of manuals |
Page 178 highlights
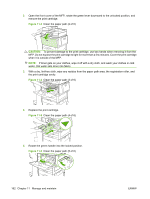
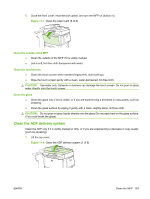
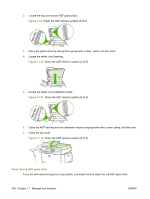
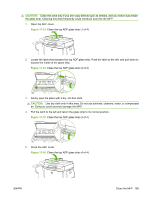
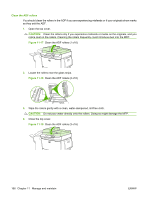
2. Locate the top and bottom ADF glass strips. Figure 11-9 Clean the ADF delivery system (2 of 5) 3. Clean the glass strips by wiping them gently with a clean, damp, lint-free cloth. 4. Locate the white, vinyl backing. Figure 11-10 Clean the ADF delivery system (3 of 5) 5. Locate the white, vinyl calibration strips. Figure 11-11 Clean the ADF delivery system (4 of 5) 6. Clean the ADF backing and the calibration strips by wiping them with a clean, damp, lint-free cloth. 7. Close the top cover. Figure 11-12 Clean the ADF delivery system (5 of 5) Clean the top ADF glass strip If you are still experiencing poor copy quality, you might need to clean the top ADF glass strip. 164 Chapter 11 Manage and maintain ENWW
-
 1
1 -
2
-
3
-
4
-
5
-
6
-
7
-
8
-
9
-
10
-
11
-
12
-
13
-
14
-
15
-
16
-
17
-
18
-
19
-
20
-
21
-
22
-
23
-
24
-
25
-
26
-
27
-
28
-
29
-
30
-
31
-
32
-
33
-
34
-
35
-
36
-
37
-
38
-
39
-
40
-
41
-
42
-
43
-
44
-
45
-
46
-
47
-
48
-
49
-
50
-
51
-
52
-
53
-
54
-
55
-
56
-
57
-
58
-
59
-
60
-
61
-
62
-
63
-
64
-
65
-
66
-
67
-
68
-
69
-
70
-
71
-
72
-
73
-
74
-
75
-
76
-
77
-
78
-
79
-
80
-
81
-
82
-
83
-
84
-
85
-
86
-
87
-
88
-
89
-
90
-
91
-
92
-
93
-
94
-
95
-
96
-
97
-
98
-
99
-
100
-
101
-
102
-
103
-
104
-
105
-
106
-
107
-
108
-
109
-
110
-
111
-
112
-
113
-
114
-
115
-
116
-
117
-
118
-
119
-
120
-
121
-
122
-
123
-
124
-
125
-
126
-
127
-
128
-
129
-
130
-
131
-
132
-
133
-
134
-
135
-
136
-
137
-
138
-
139
-
140
-
141
-
142
-
143
-
144
-
145
-
146
-
147
-
148
-
149
-
150
-
151
-
152
-
153
-
154
-
155
-
156
-
157
-
158
-
159
-
160
-
161
-
162
-
163
-
164
-
165
-
166
-
167
-
168
-
169
-
170
-
171
-
172
-
 173
173 -
 174
174 -
 175
175 -
 176
176 -
 177
177 -
 178
178 -
 179
179 -
 180
180 -
 181
181 -
 182
182 -
 183
183 -
184
-
185
-
186
-
187
-
188
-
189
-
190
-
191
-
192
-
193
-
194
-
195
-
196
-
197
-
198
-
199
-
200
-
201
-
202
-
203
-
204
-
205
-
206
-
207
-
208
-
209
-
210
-
211
-
212
-
213
-
214
-
215
-
216
-
217
-
218
-
219
-
220
-
221
-
222
-
223
-
224
-
225
-
226
-
227
-
228
-
229
-
230
-
231
-
232
-
233
-
234
-
235
-
236
-
237
-
238
-
239
-
240
-
241
-
242
-
243
-
244
-
245
-
246
-
247
-
248
-
249
-
250
-
251
-
252
-
253
-
254
-
255
-
256
-
257
-
258
-
259
-
260
-
261
-
262
-
263
-
264
-
265
-
266
-
267
-
268
-
269
-
270
-
271
-
272
 |
 |
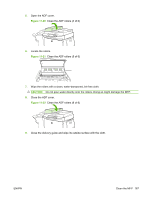
2.
Locate the top and bottom ADF glass strips.
Figure 11-9
Clean the ADF delivery system (2 of 5)
3.
Clean the glass strips by wiping them gently with a clean, damp, lint-free cloth.
4.
Locate the white, vinyl backing.
Figure 11-10
Clean the ADF delivery system (3 of 5)
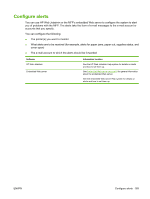
5.
Locate the white, vinyl calibration strips.
Figure 11-11
Clean the ADF delivery system (4 of 5)
6.
Clean the ADF backing and the calibration strips by wiping them with a clean, damp, lint-free cloth.
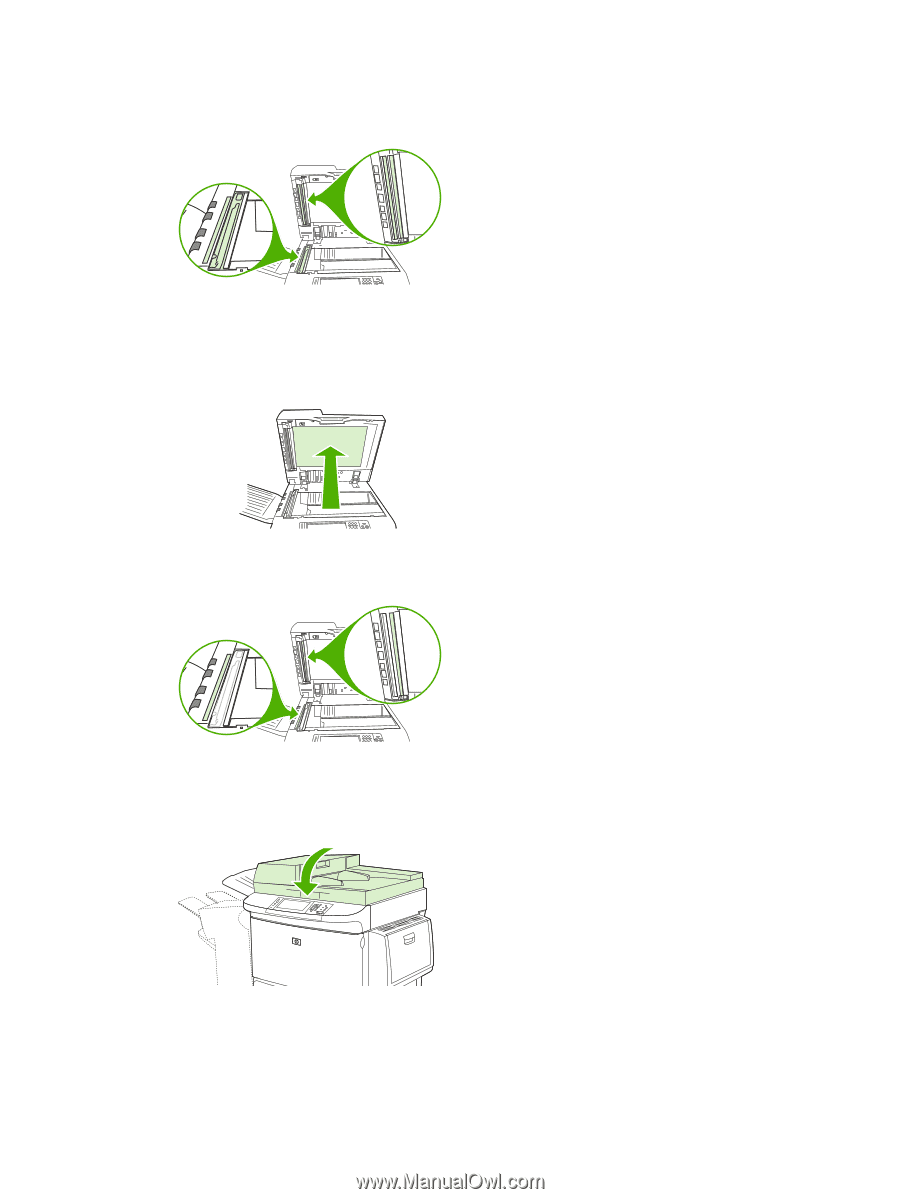
7.
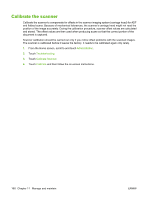
Close the top cover.
Figure 11-12
Clean the ADF delivery system (5 of 5)
Clean the top ADF glass strip
If you are still experiencing poor copy quality, you might need to clean the top ADF glass strip.
164
Chapter 11
Manage and maintain
ENWW